I had just completed my resawing jig, which smoothly ran the length of my tablesaw fence. However, as I reached the end of the fence and before the jig had cleared the saw blade, I recognized another problem – there was not enough room on the tablesaw surface to carry the cut securely to the end. To be sure, for all the years I have used this saw, I have simply let my ripped lumber fall to the floor once it cleared the sawblade. With the new jig, that wasn’t going to be feasible, so I decided that it was time to fix it. This would not only enhance the effectiveness of the resawing jig, but it would benefit all the lengthy rips needed in dulcimer building.
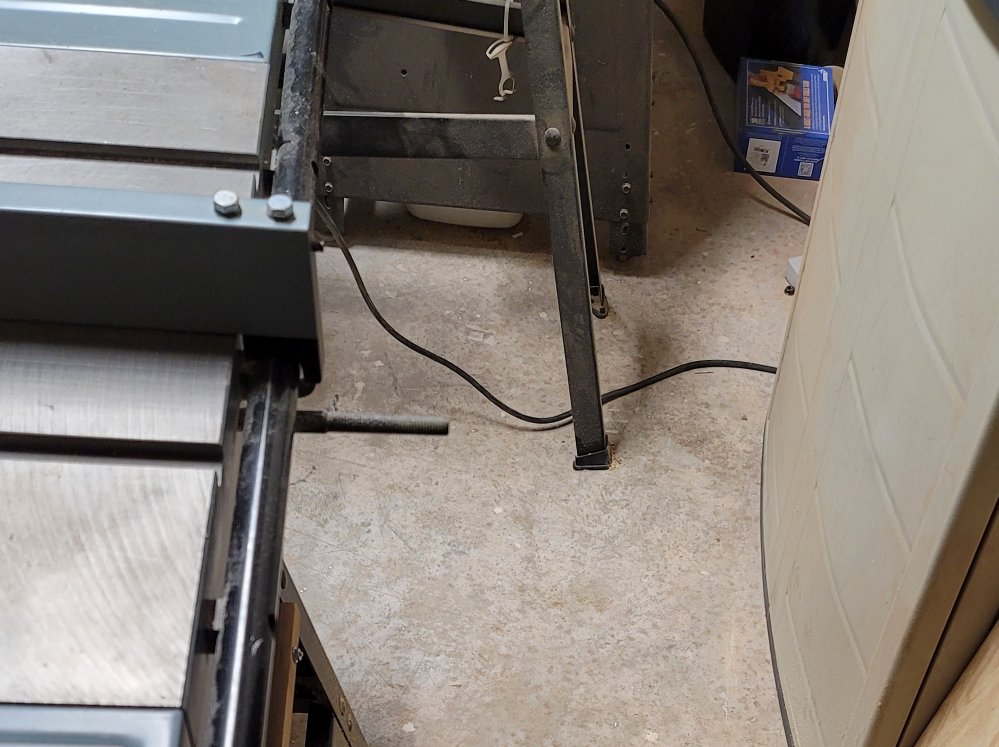
I researched the term “outfeed” in the context of woodworking and mostly found outfeed tables. That would be perfect if I were working in a large, roomy shop. Unfortunately, I don’t have that luxury. I love that my little workshop was evidently designed into the original house plans, so it is heated and cooled with the other rooms. The downside is that my space is limited so an outfeed table was out of the question. My research also found several types of outfeed rollers, which were either free-standing or attached to a portable workbench or sawhorse. That seemed more plausible, although it was still going to be tight. The photo to the left does not show the full 3 1/2 feet of clearance, which is sufficient for the boards that I use.
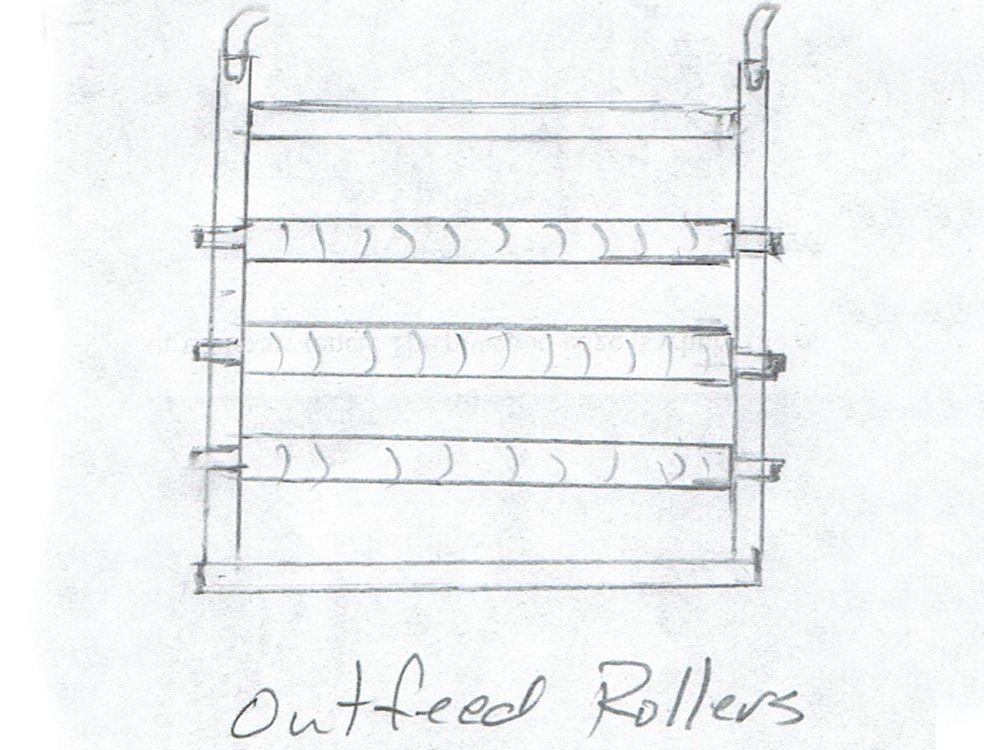
Instead of a table or a roller, I thought I could borrow from both of those ideas to build something which would be tailored to my limited space. As it happened, I had recently purchased a 1 ¼” dowel rod from Lowes. I only needed 6” of that dowel for another project, but I had to purchase a 4’ long piece to have that diameter. I decided that my design would use most of that dowel as well as whatever scrap lumber that was squirreled around the shop. I determined that a 12” wide by 12” long platform, secured to the tablesaw, would work in the space that I had available. I would incorporate three 12” rollers made from the dowel rod. The final construction should be adjustable and removeable.
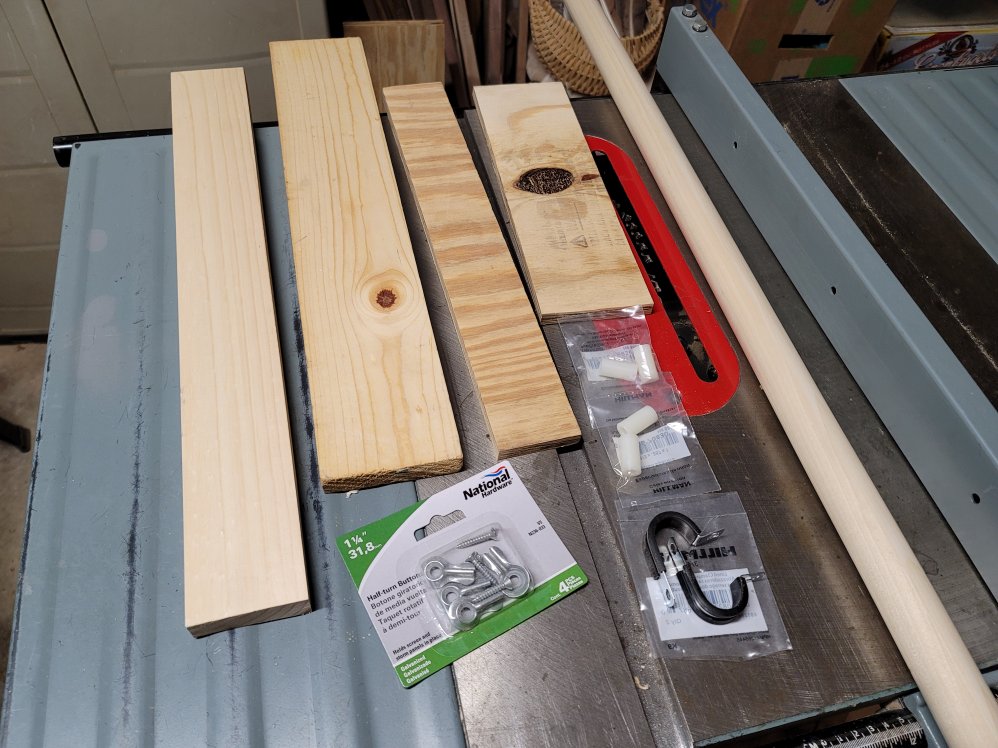
I decided to work mostly with scrap pine boards that I would rip to about 1 ¾”. I also had some scrap plywood, but it was mostly thin. I already had several lengths of wood screws and drywall screws in stock but needed a few small hardware items. My usual M.O. when creating a project is to go to the hardware store with a general idea of what I need, but continually modify the plan when I see hardware items that are available, or things discovered that might be more efficient than what I initially had in mind. It was serendipitous to find a couple of hangers that would perfectly fit the round fence guide on my tablesaw; the fact that they were vinyl coated was a bonus. The nylon spacers would work perfectly with the ¼” machine screws to allow free movement of the rollers.

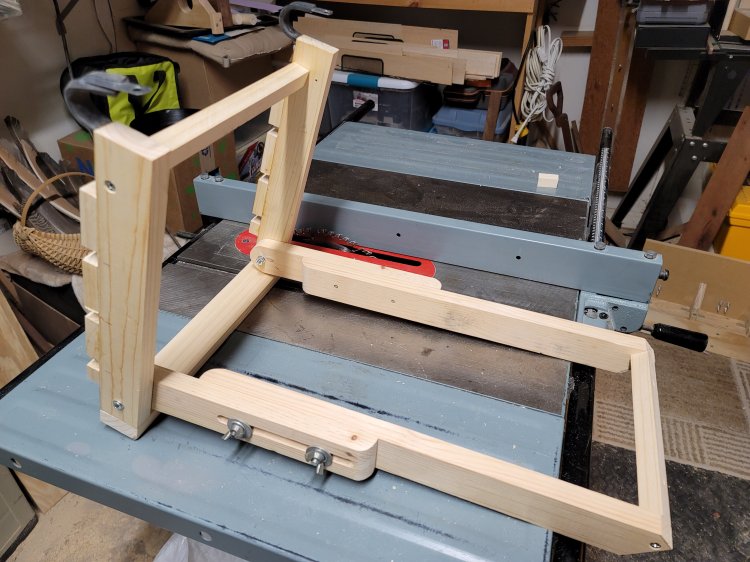
From time to time, I like to put pieces together to see if everything is matching what I see in my head. I also determined that screws alone would give me plenty of sturdiness, so there was no need to use glue for the basic assembly.
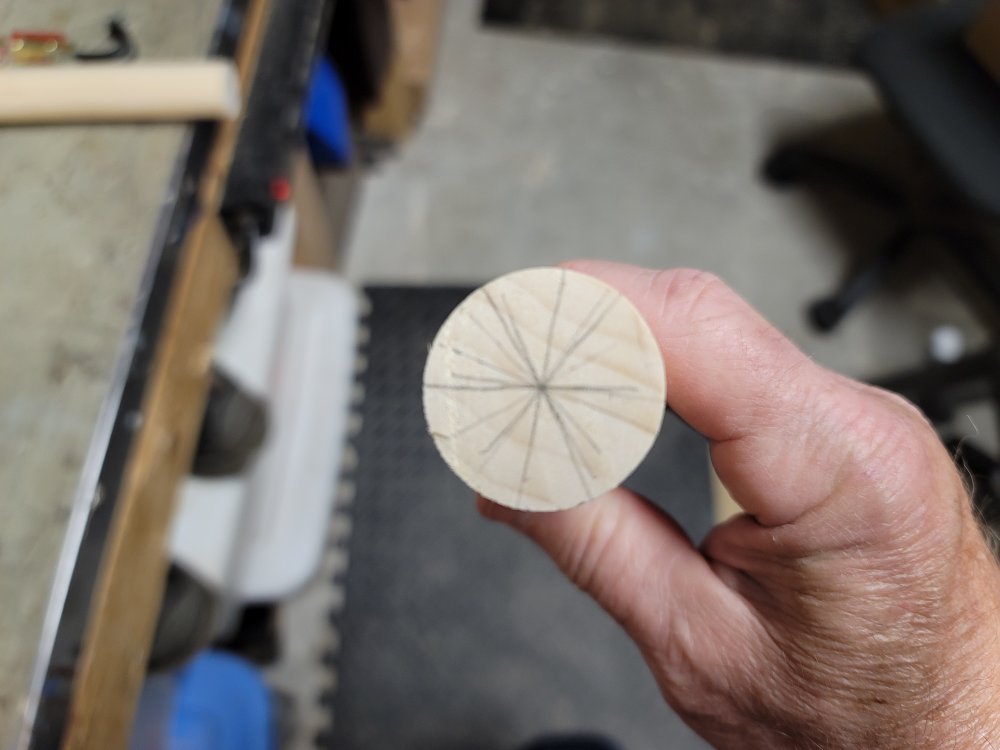
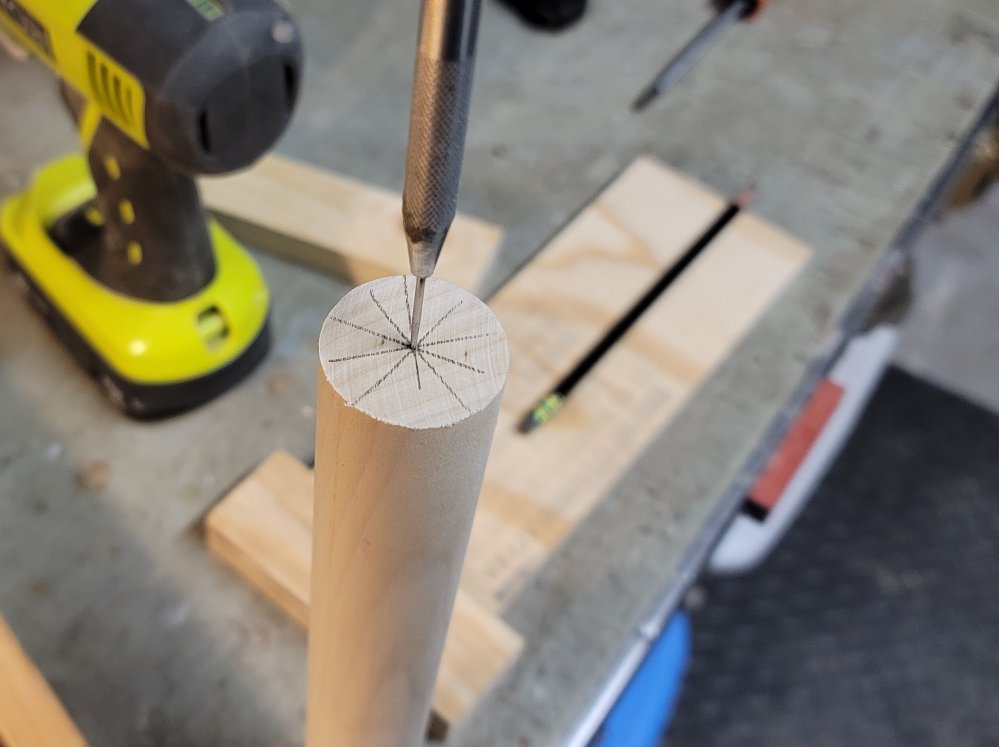
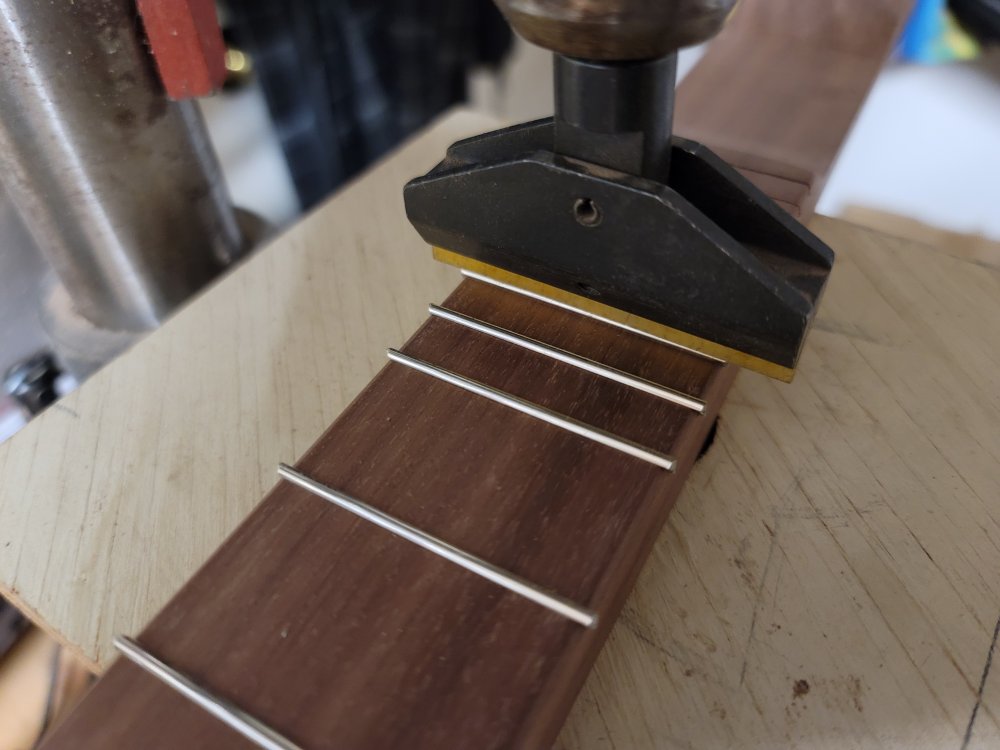
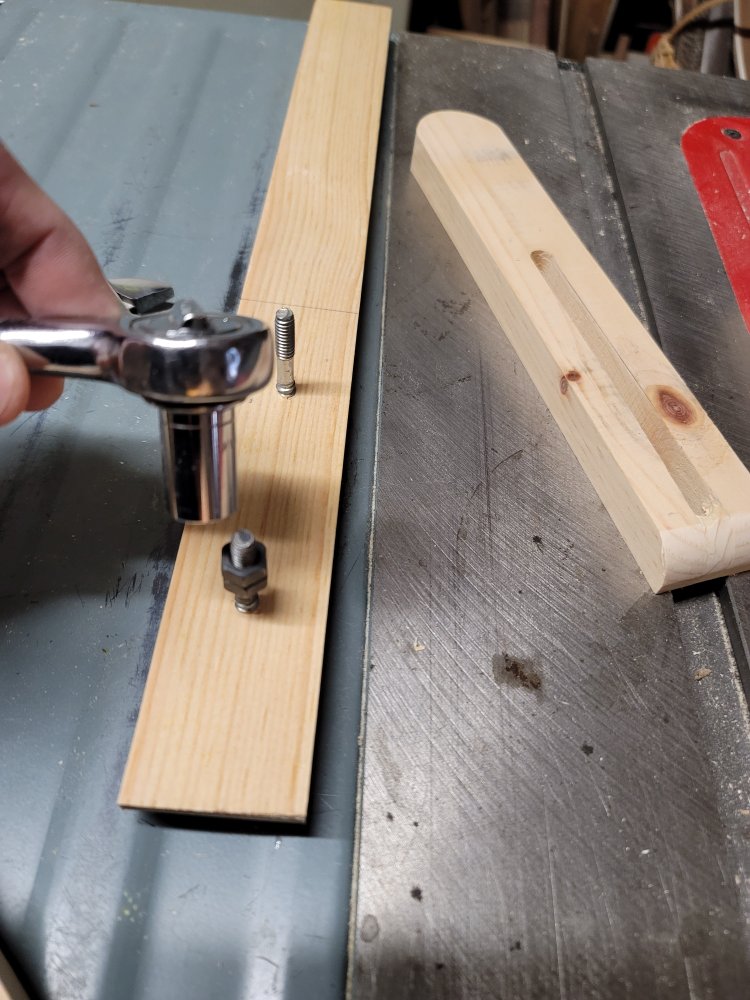
Research revealed a bunch of ways to locate the center point of a dowel. The quickest way that I found was to secure a pencil near the halfway point of the dowel and make several pencil lines across the diameter. The pencil marks will either converge at a point (as it did here) or closely surround the center point enough to pinpoint it. I also found several YouTube videos that demonstrated jigs to drill the exact center, the simplest of which involved adapting a drill press to center a hole, but my table-top press won’t bend that way. So, I
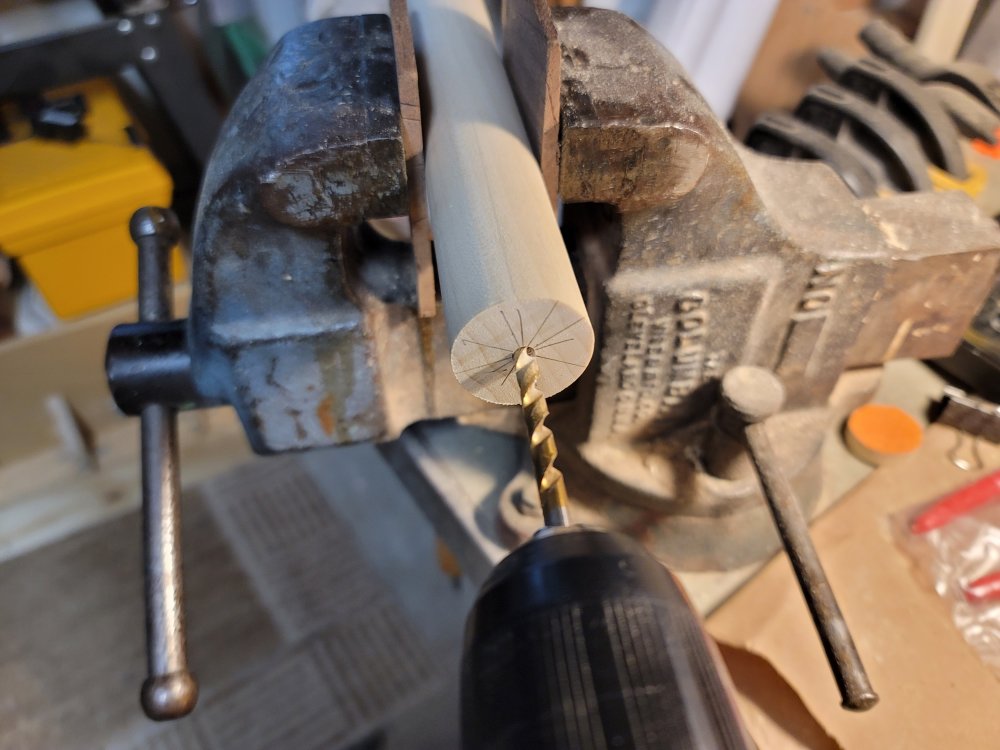
worked the centerpoint gradually, first with a hobby awl, then a small drill, and finally with the drill diameter for the machine screws I was using. I then screwed the nylon spacers into each end of the dowels, making sure that the spacers spun freely.
There are many ways to build rollers, most of them better and cleaner than what I did here. A lot of what I saw online used PVC pipe and ball-bearing wheels. Creating wooden plugs for PVC pipe using a hole saw would have ensured a perfectly centered hole. But I had a long dowel that I needed to use, so I did this. A couple of the holes were not perfectly centered, but ultimately, it didn’t matter – it would still support the lumber as it moved off the edge of the saw.
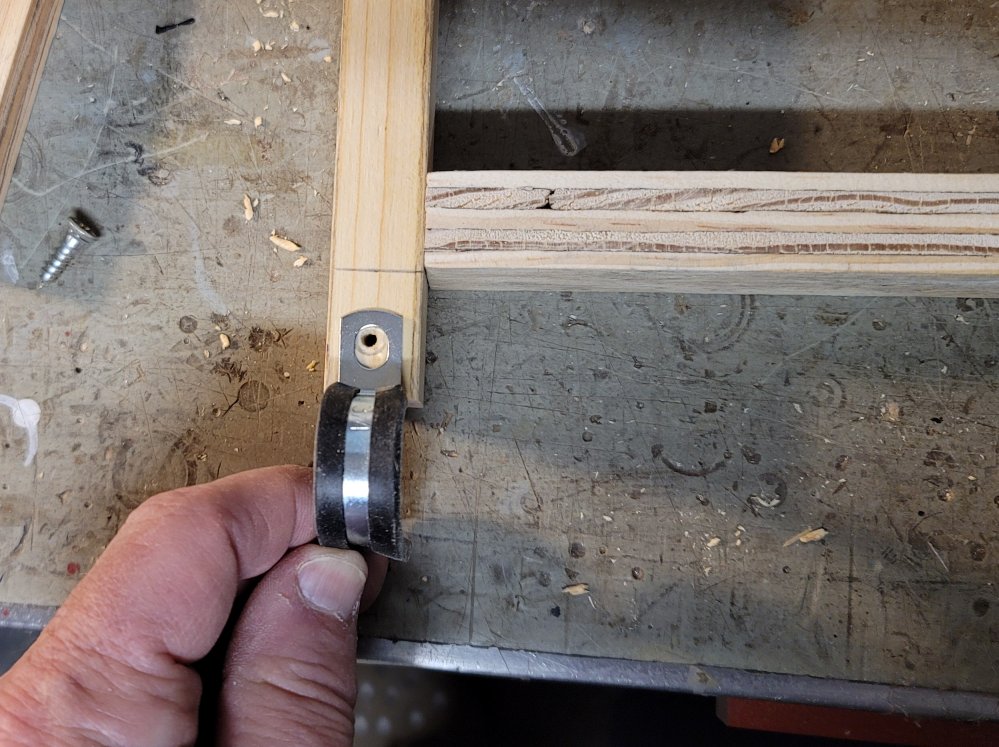
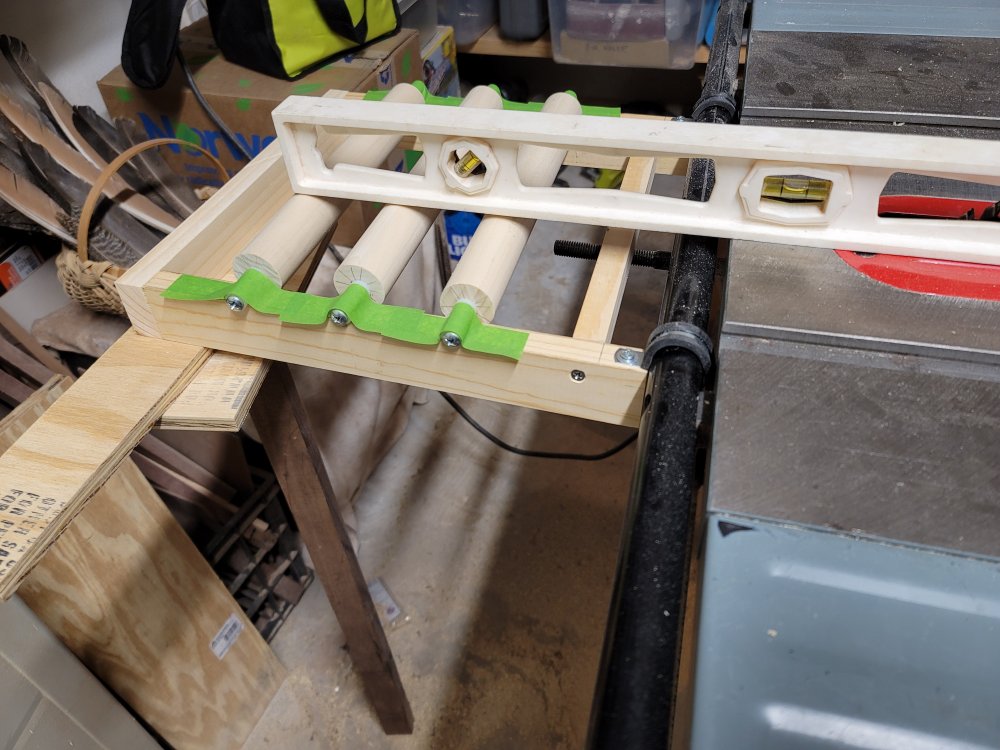
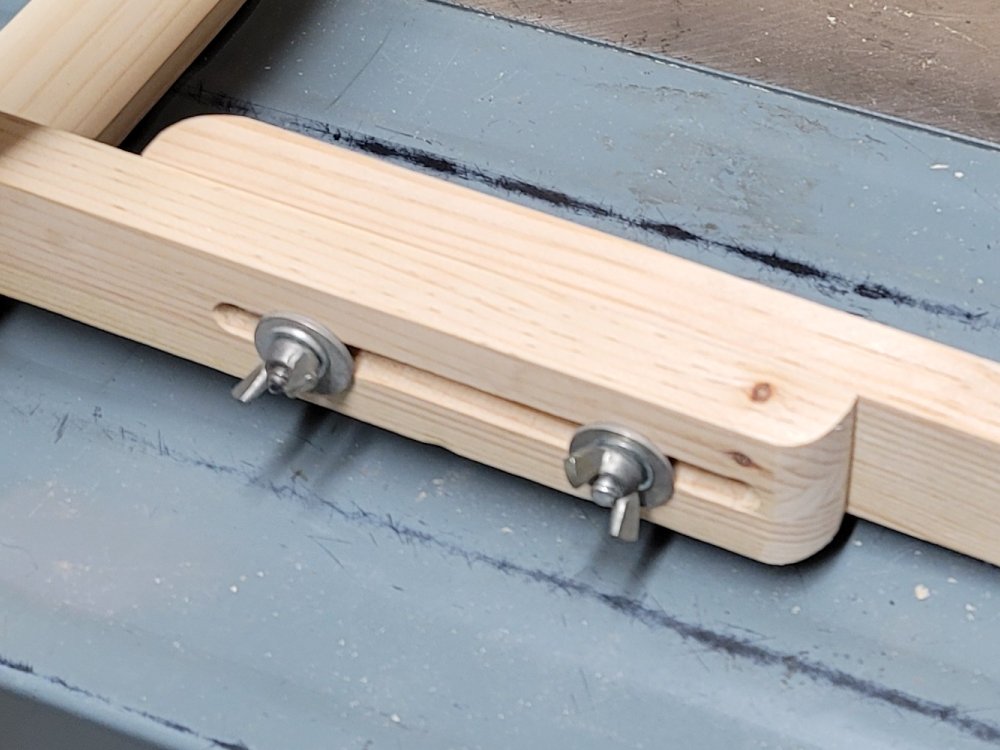
I then mounted the hanger hardware. I don’t know what these were originally designed for, but they fit perfectly on the fence bar. After marking the placement of the rollers and taping then in place, I test fit the frame onto the tablesaw, propped it up level with scrap pieces and checked the contact points of the rollers. It turned out that, for the most part, the rollers worked well sitting on top of the frame, so I cut out some scrap pieces to hold the spacers in place.
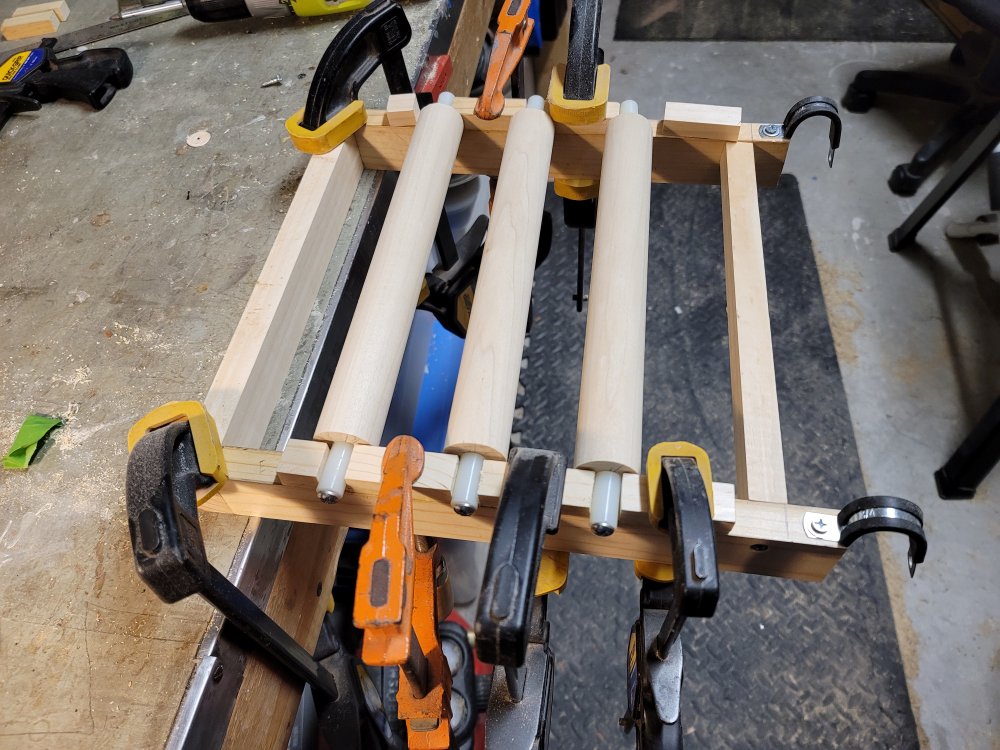
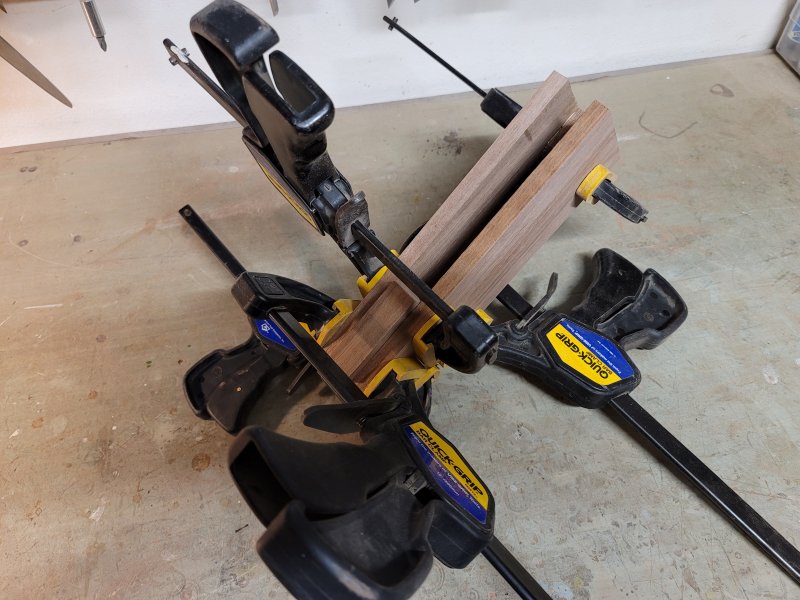
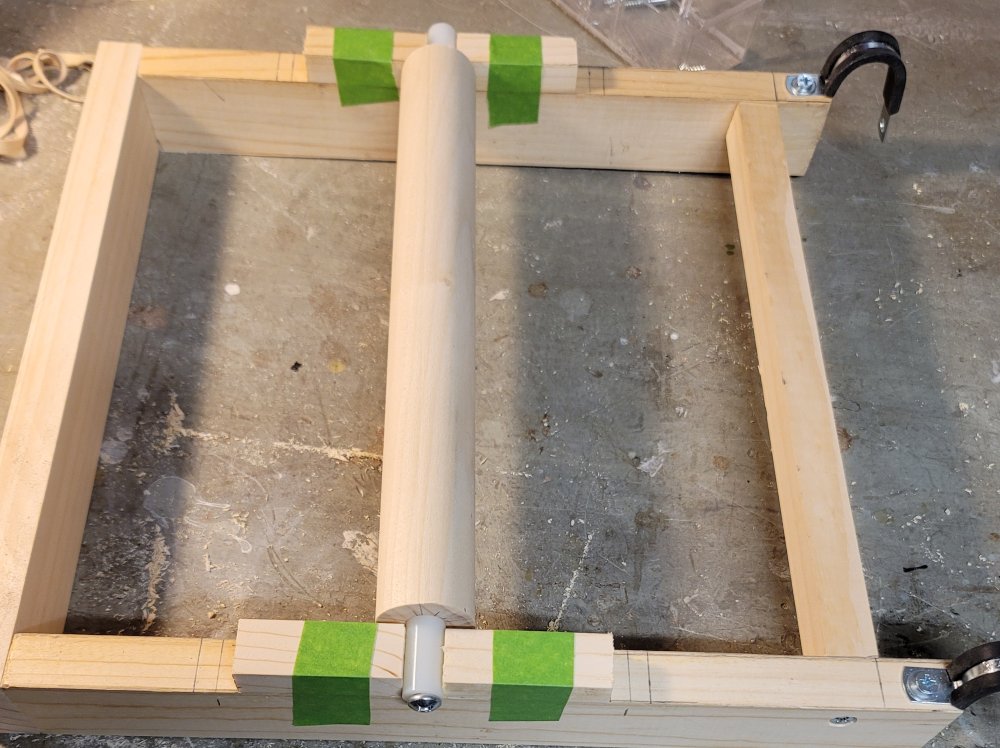
Since the rollers were designed to move freely within the spacers, I wanted them fitting snugly within the blocks. I started with the center roller and then worked my way out, securing the scrap holding blocks with glue and clamps. I found a piece of ¼” plywood that would fit perfectly onto the back of the frame to extend the surface area. That would be added later. On the right is the frame and rollers mostly complete before adding the supports.
By using supports to mount the roller assembly on the tablesaw itself, the saw’s footprint would be unchanged. I could also maintain the removability and adjustability that I originally intended. These supports would serve to level the assembly to the surface of the tablesaw. I probably could have measured the supports the exact length needed, but that would have been too much angst, since the leveling process might need minute adjustments. Plus, the scrap board that I ripped for these pieces was only 17” long and I needed 22” or so. Therefore, the hassle of installing the additional mechanism would be worth the effort. The shorter lengths would be mounted to the roller frame with the longer pieces attached to the tablesaw.
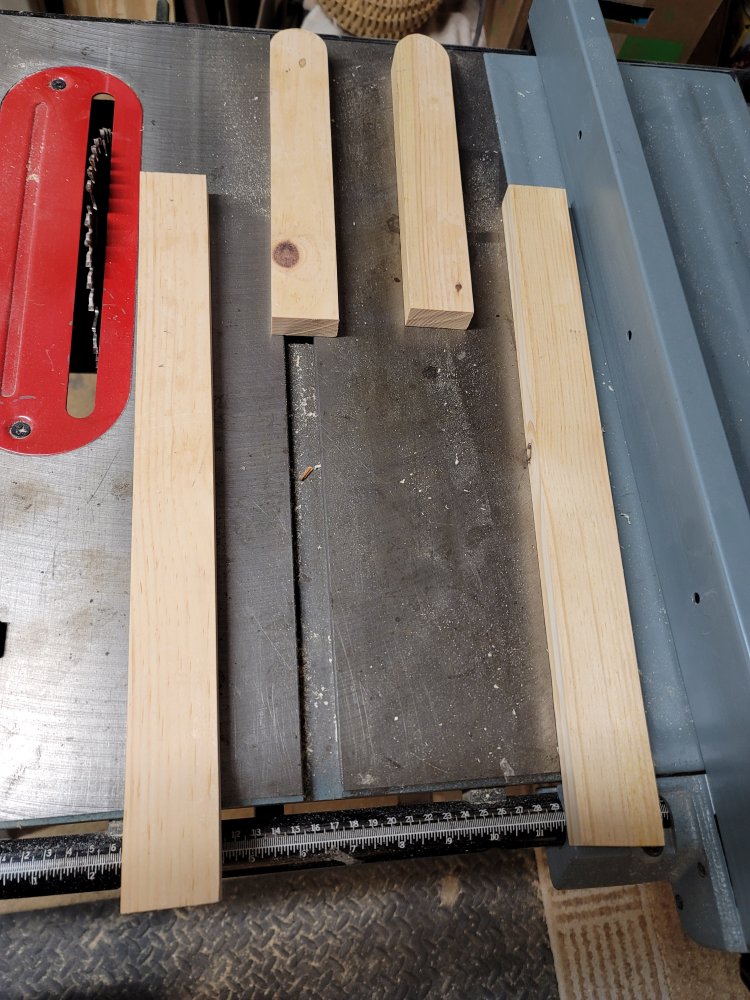

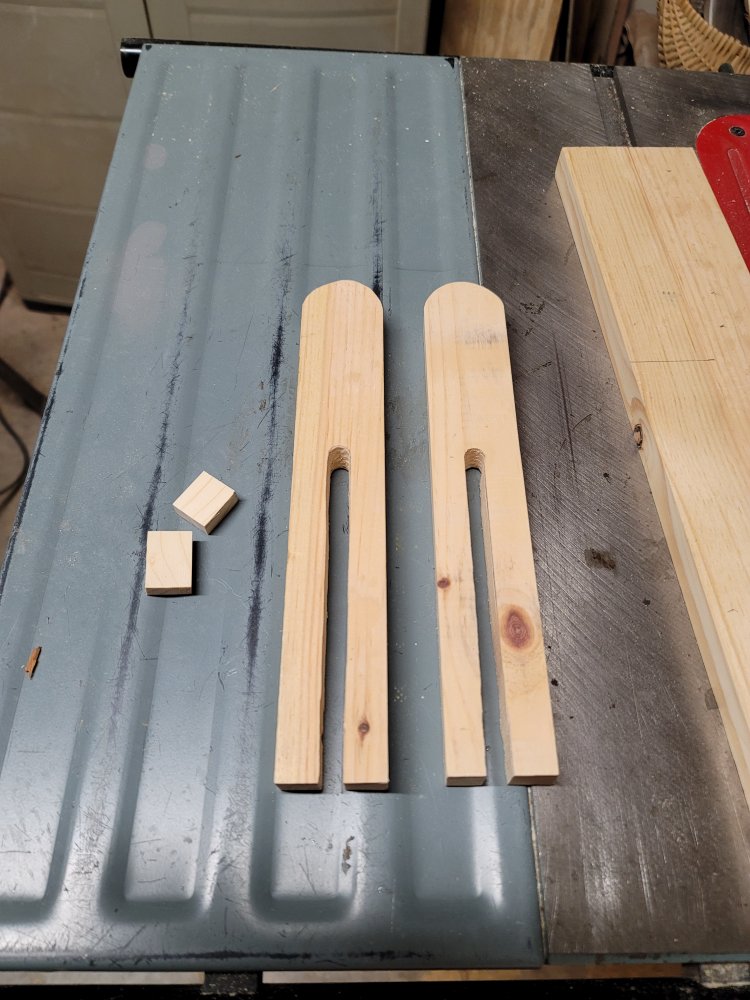
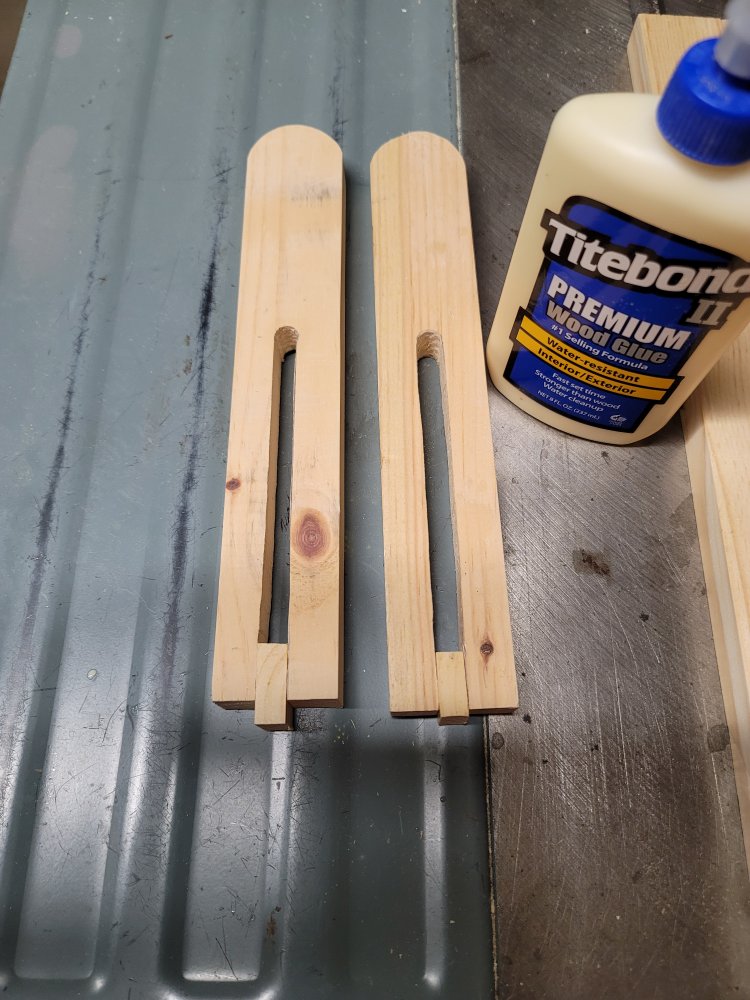
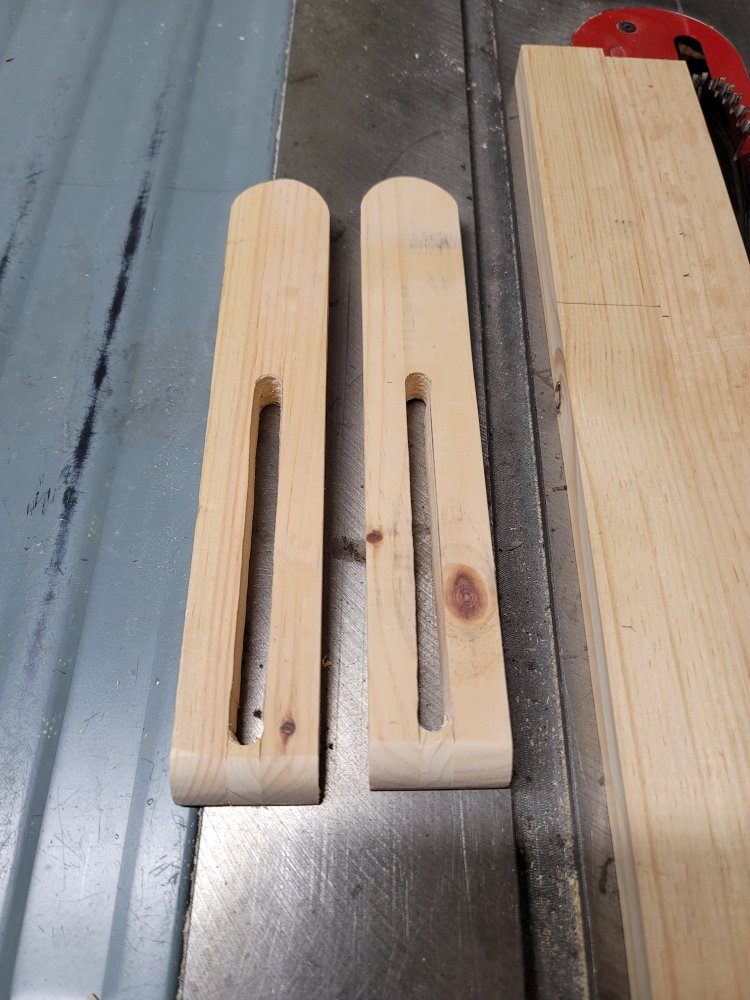
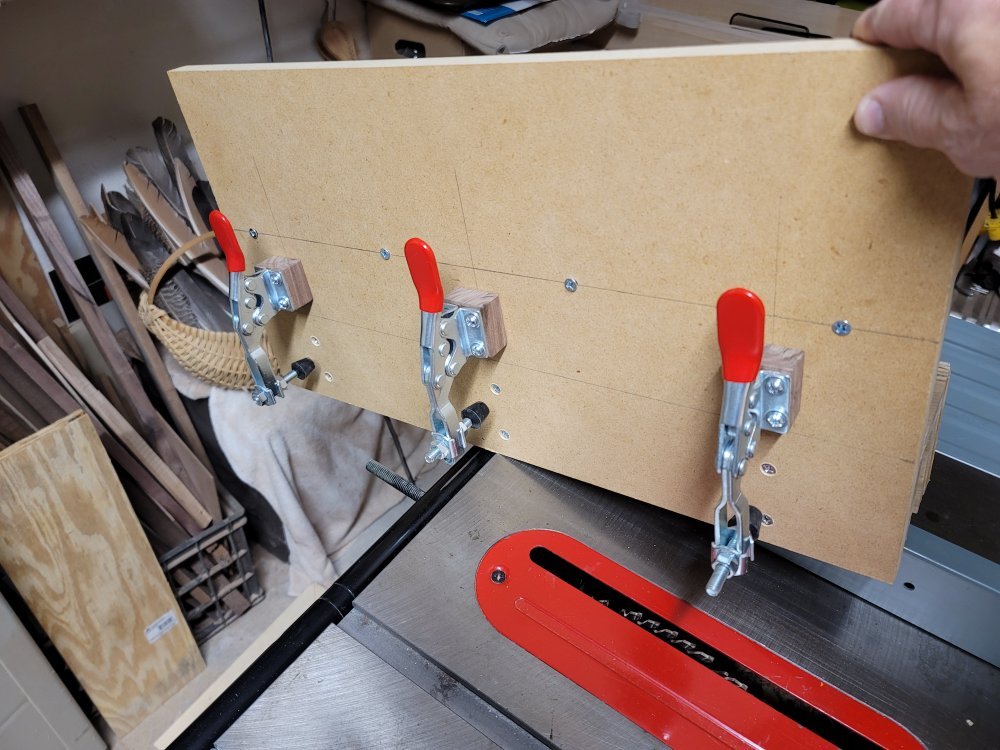
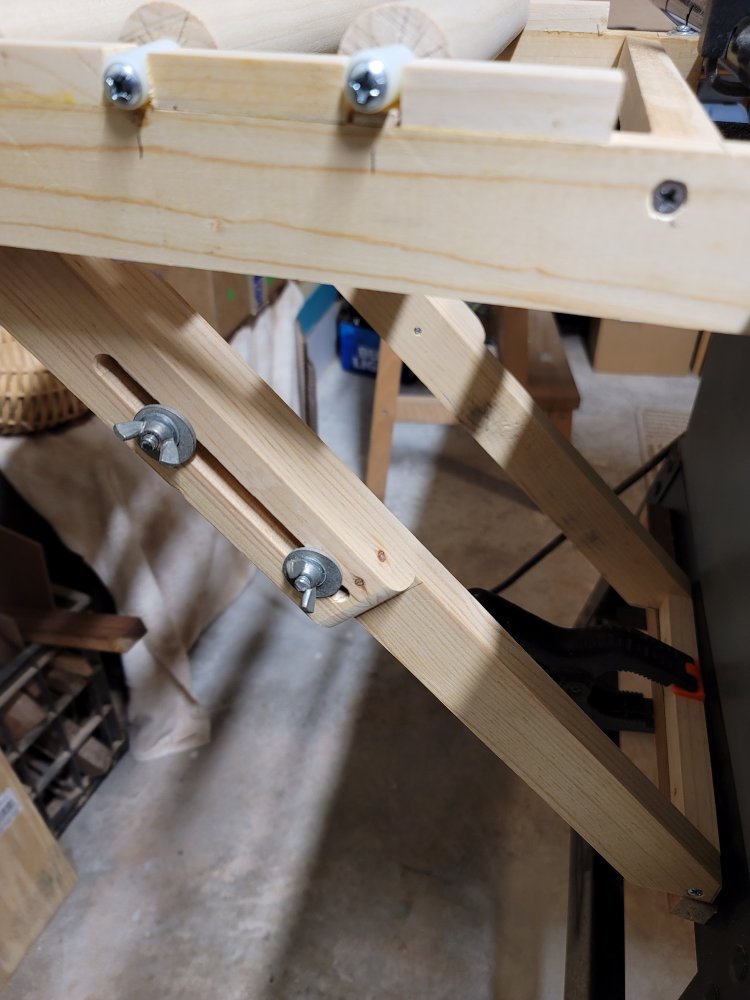
Initially, I was going to make the adjusting channel on the jig saw but realized it would be easier to cut it on the bandsaw, then plug and shape it. I figured that I needed to include 2 wingnuts to increase the strength of each support. This design should give me about 1” of adjustment distance, which should be enough. (I later determined that this could have been simplified by only using 1 bolt on each of the supports because it held very well.)

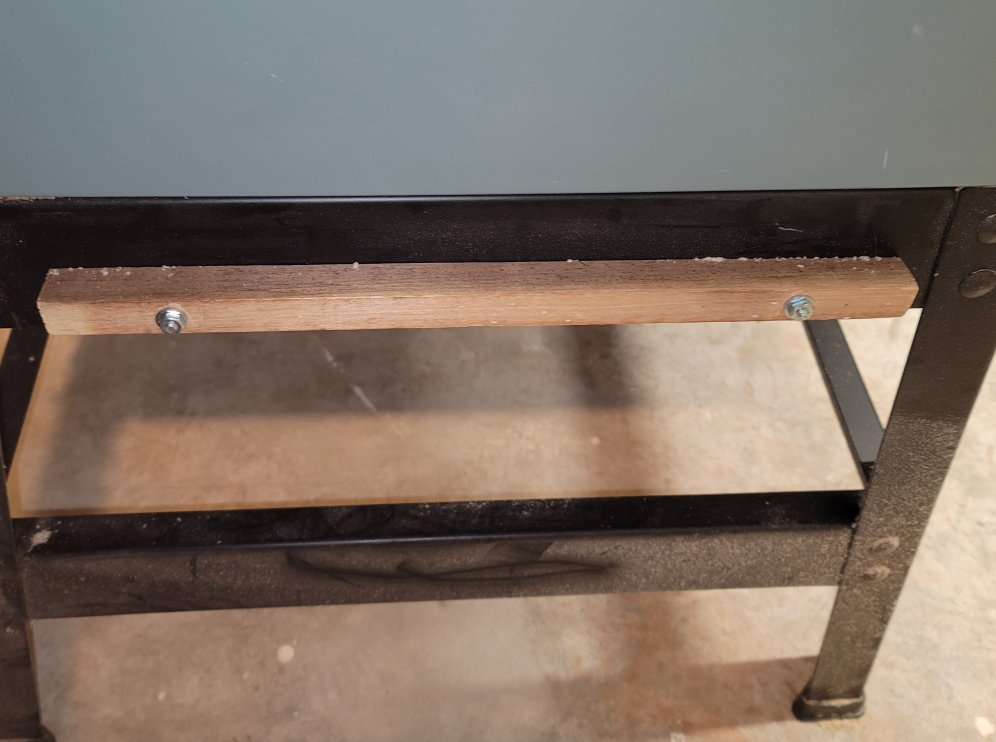
I mounted the short lengths onto the inside of the frame with bolts and nuts. Then I attached the long boards with 2 washers and a wingnut on each bolt. I cut an 14” length of 3/4” x 3/4” scrap walnut and attached it horizontally on the lower part of the back side of the tablesaw.
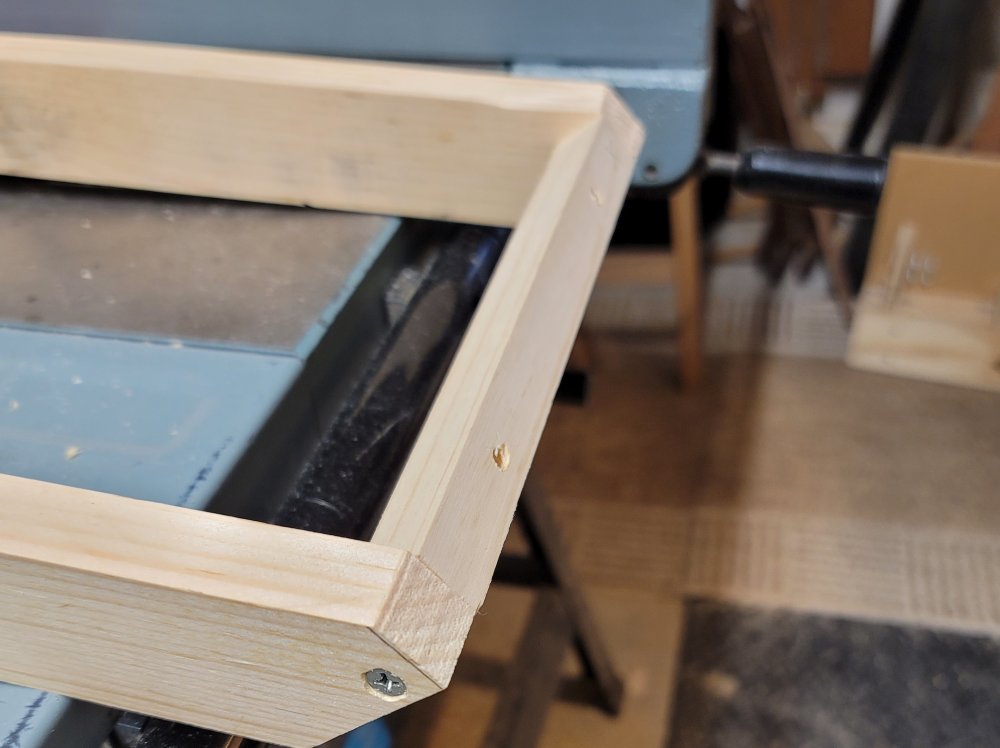
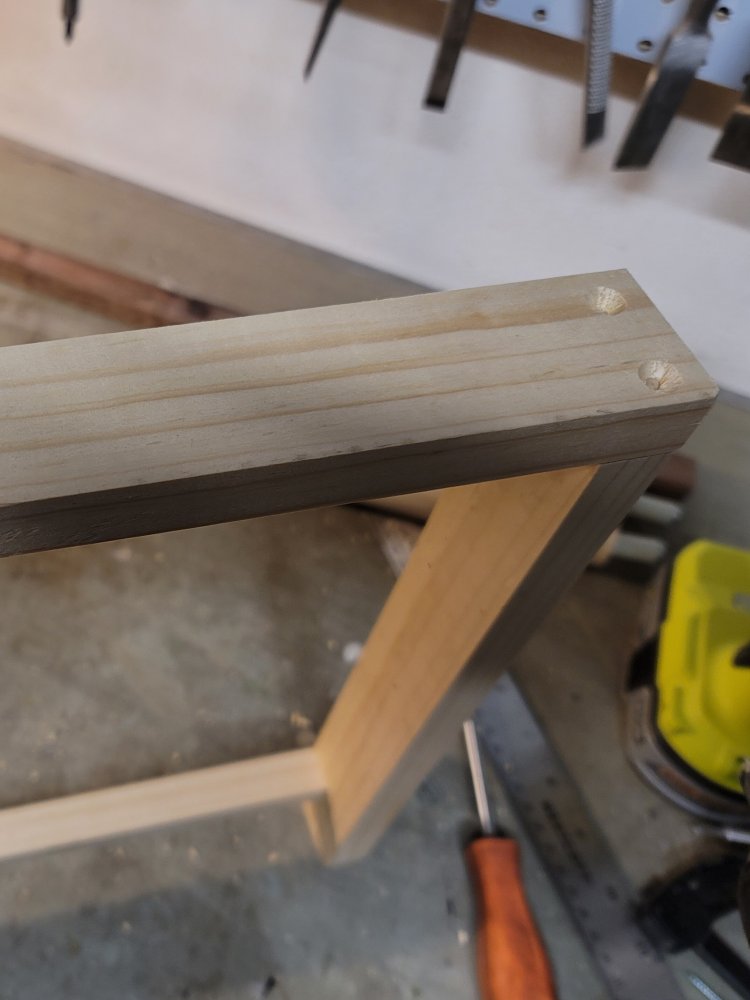
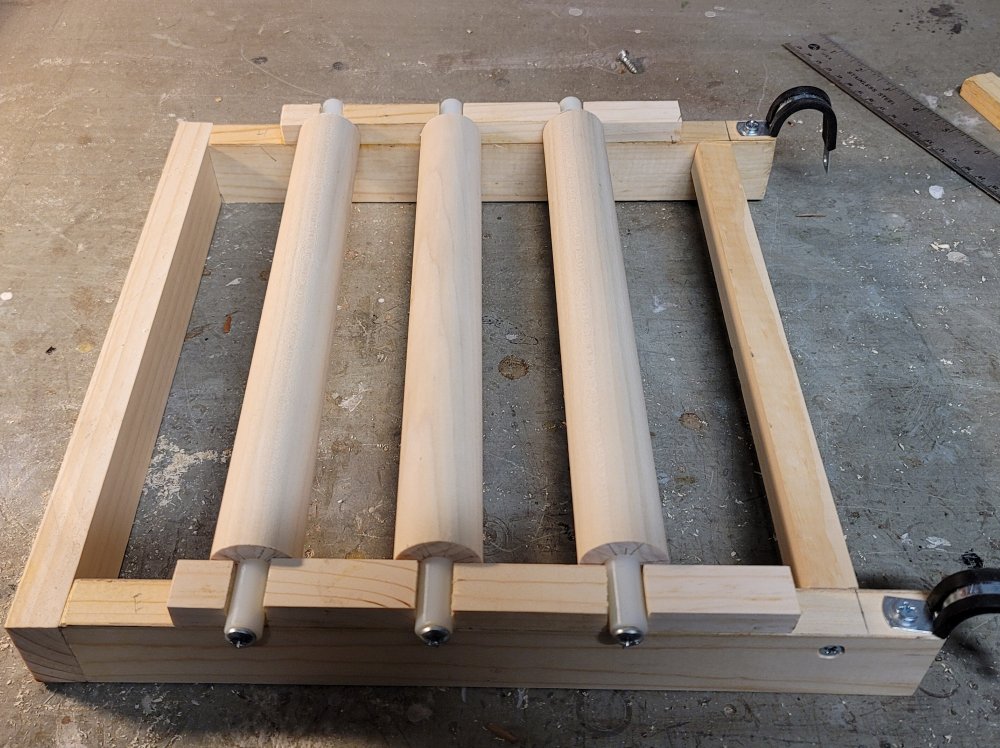
I extended the legs to meet evenly at the attached bar, marked the angles and trimmed the lower end of the legs, sandwiching a 3/4” x 3/4” piece of pine in between the supports. (The holes on this piece were for my original design to bolt it to the saw which, of course, would negate the horizontal adjustability). On the right is the completed frame without the rollers.
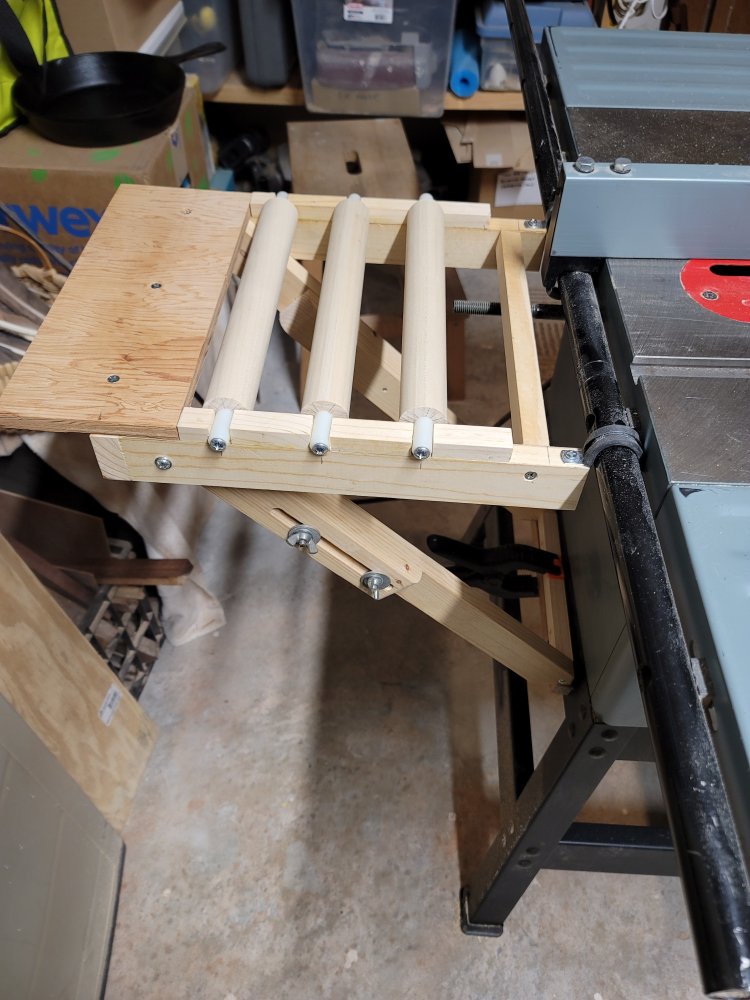
I attached the roller assembly to the tablesaw with a spring clamp. This way, It can be adjusted several inches horizontally as needed.
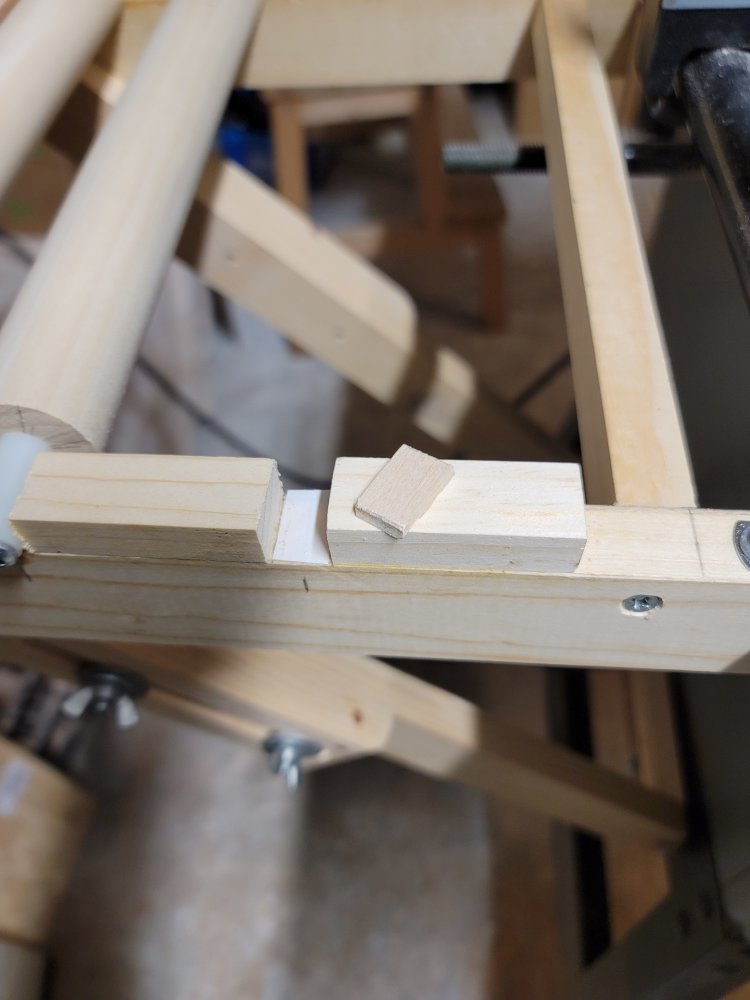
The first roller was about 1/16” too low, so I shimmed it with thin pieces of balsa wood using double-sided tape. I then added a 5” piece of plywood to extend the assembly to its final length of 15”, completing the project.