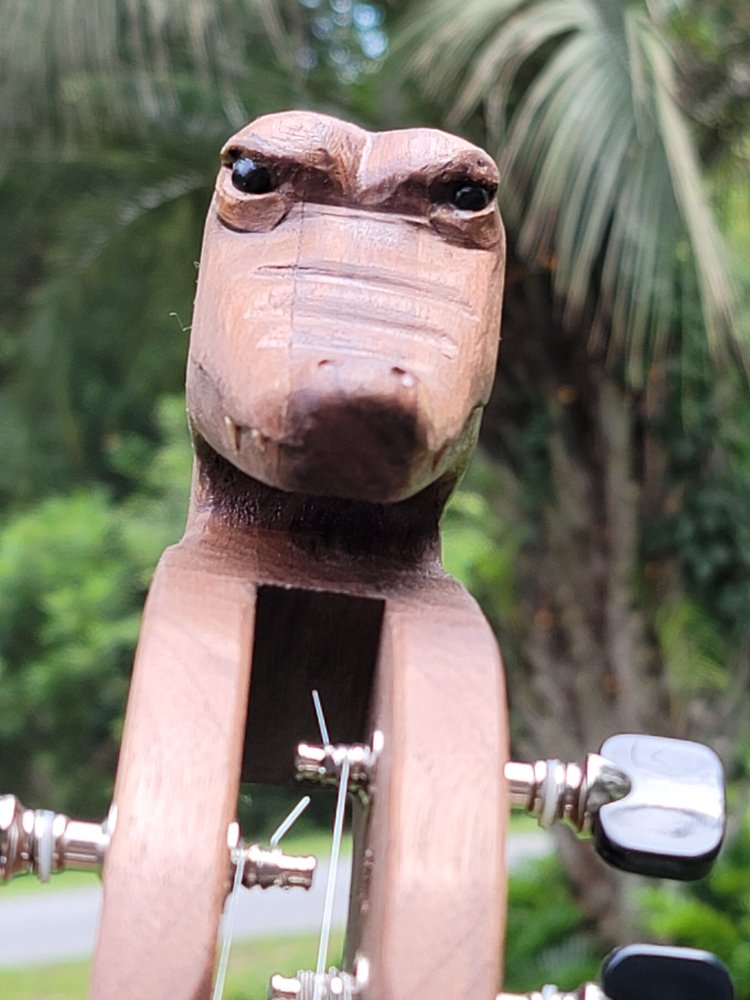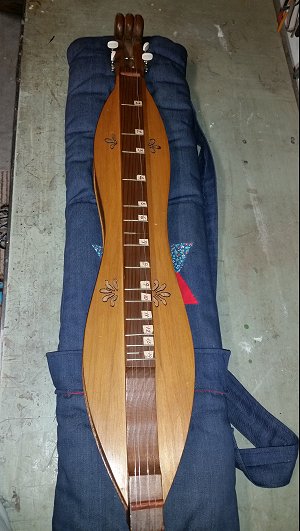
This one may prove to be a bit of a challenge. Elsie had asked if I could lower the action on a dulcimer she had been given. On closer inspection, this instrument really needed some TLC to be fully playable.
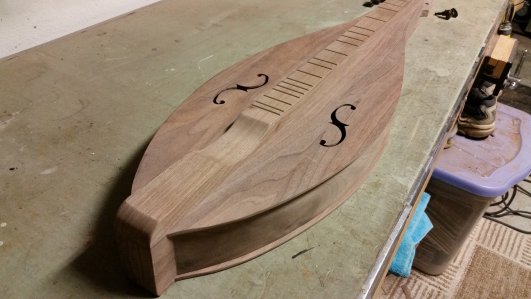
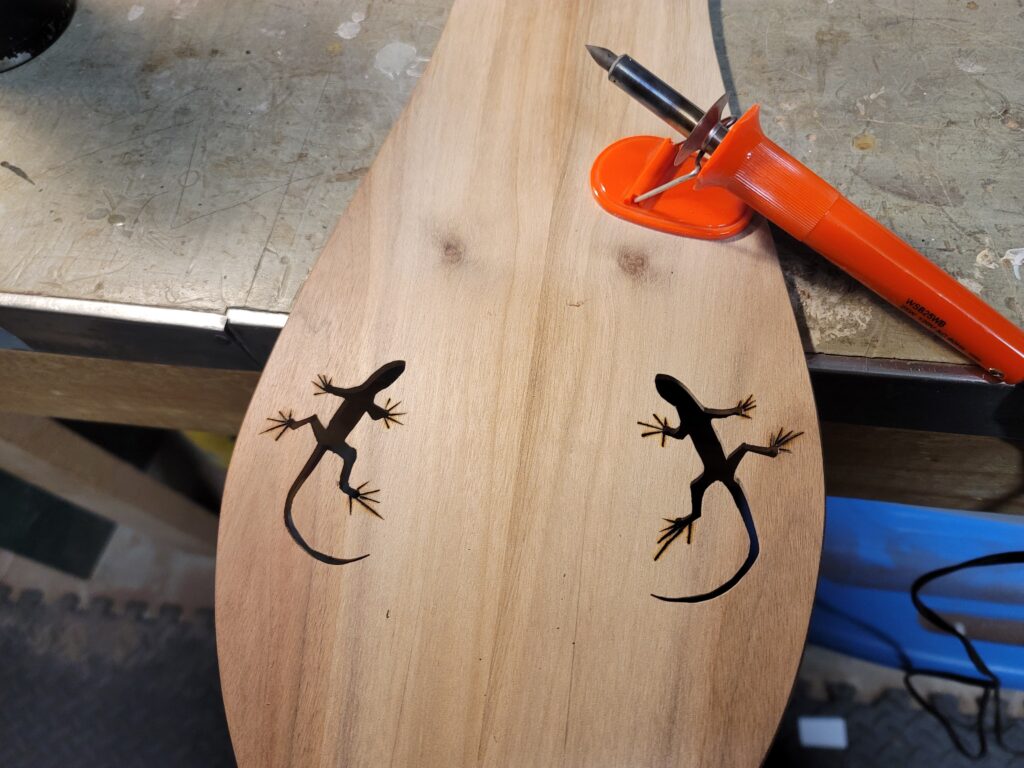
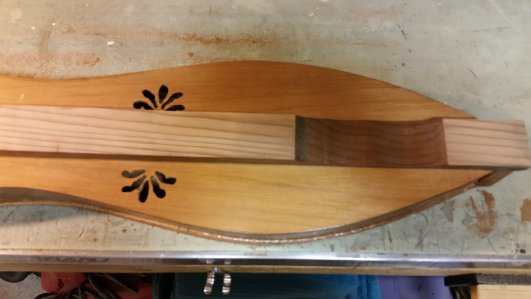
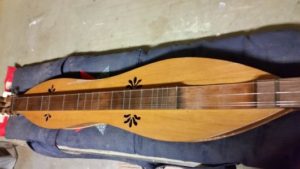
It has a really beautiful shape and a nice sound, but the fretboard was a bit of a head-scratcher.
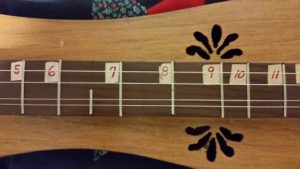
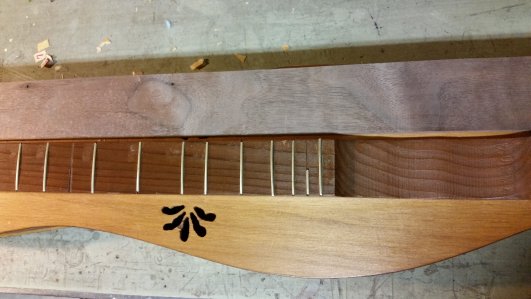
It appears that this dulcimer was designed to be played only on the melody string with a wooden noter–the traditional style (and the way I normally played for about 20 years). The seventh fret was a half fret, making it unusable for chording.
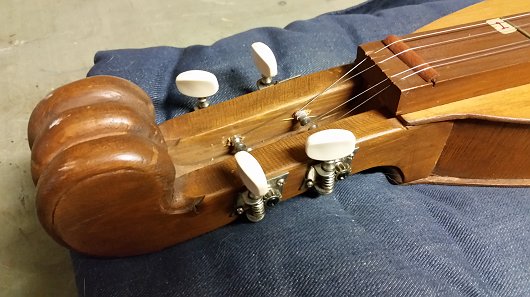
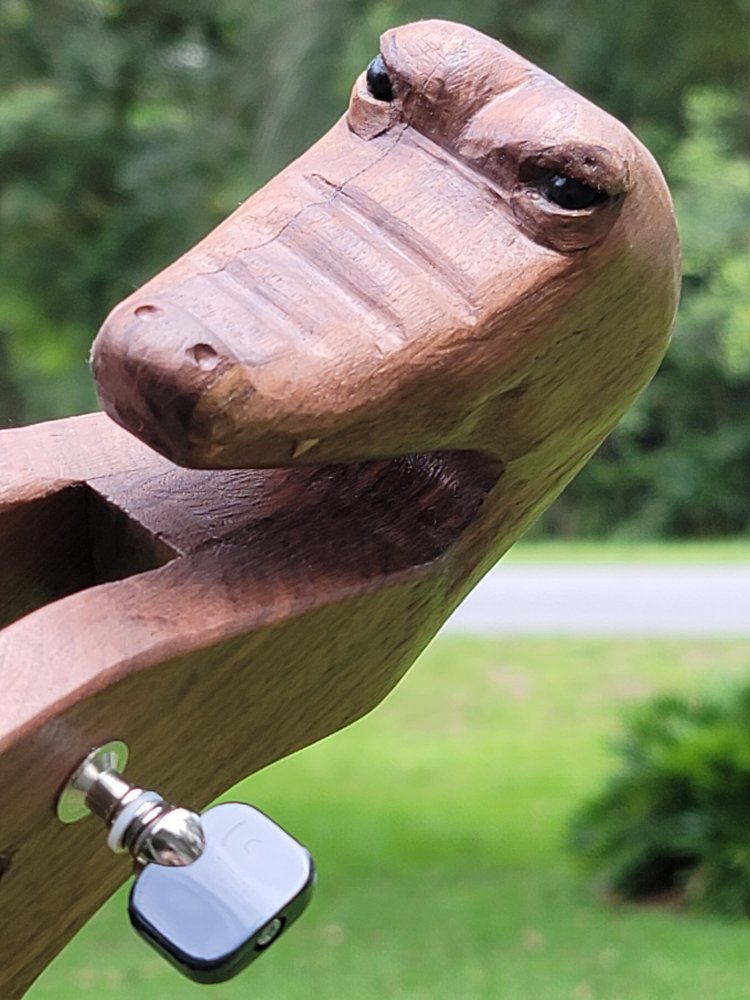
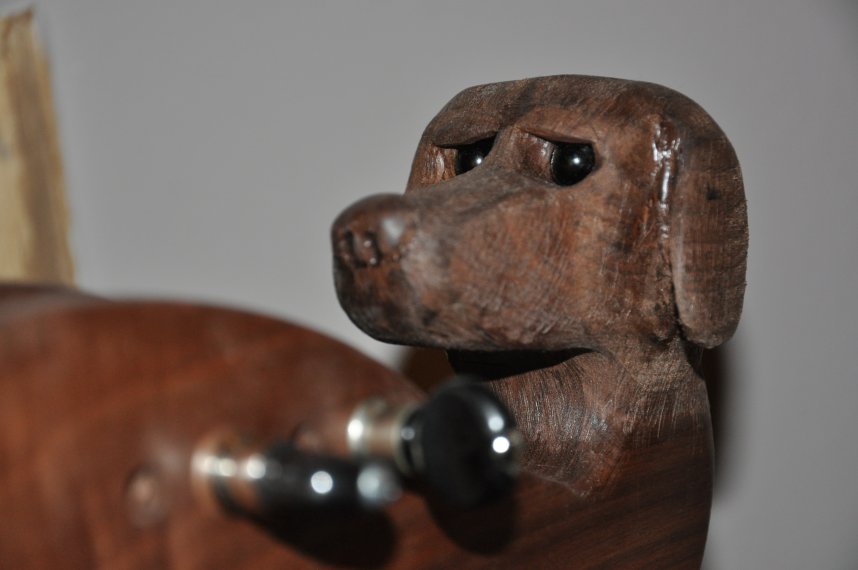
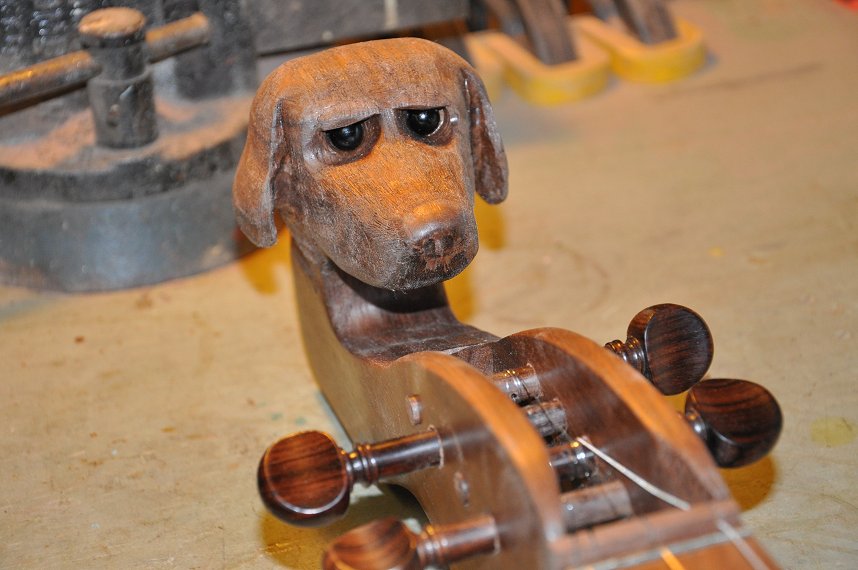
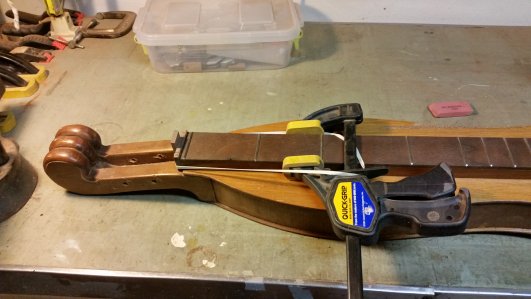
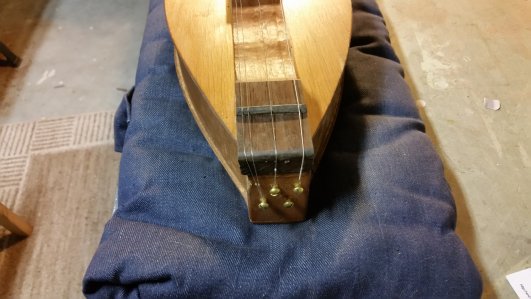
The scroll head is interesting, but the current nut is covering an old zero fret slot…
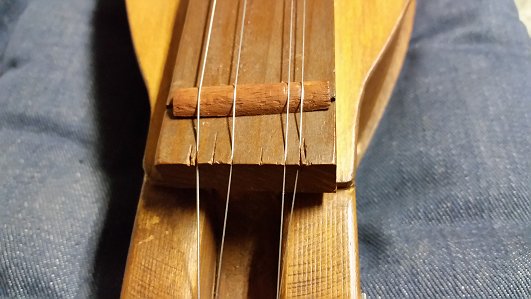
and the strings are cutting into the end of the fretboard–the same thing is happening at the tailstock as well.
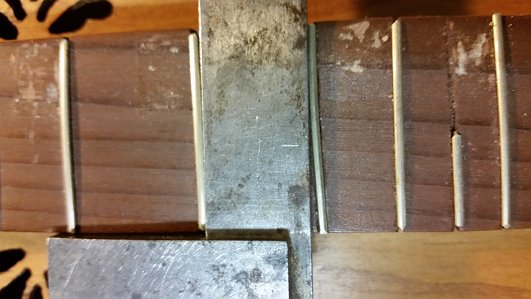
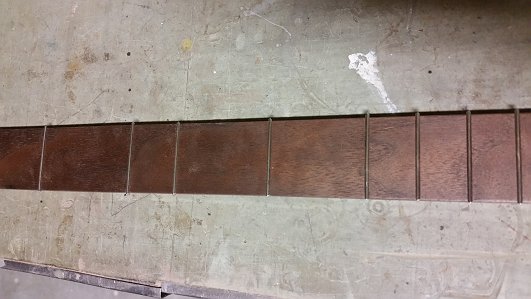
Several of the frets themselves are not square;
this is not so much of a problem if you only play on the melody string, but becomes problematic while chording.
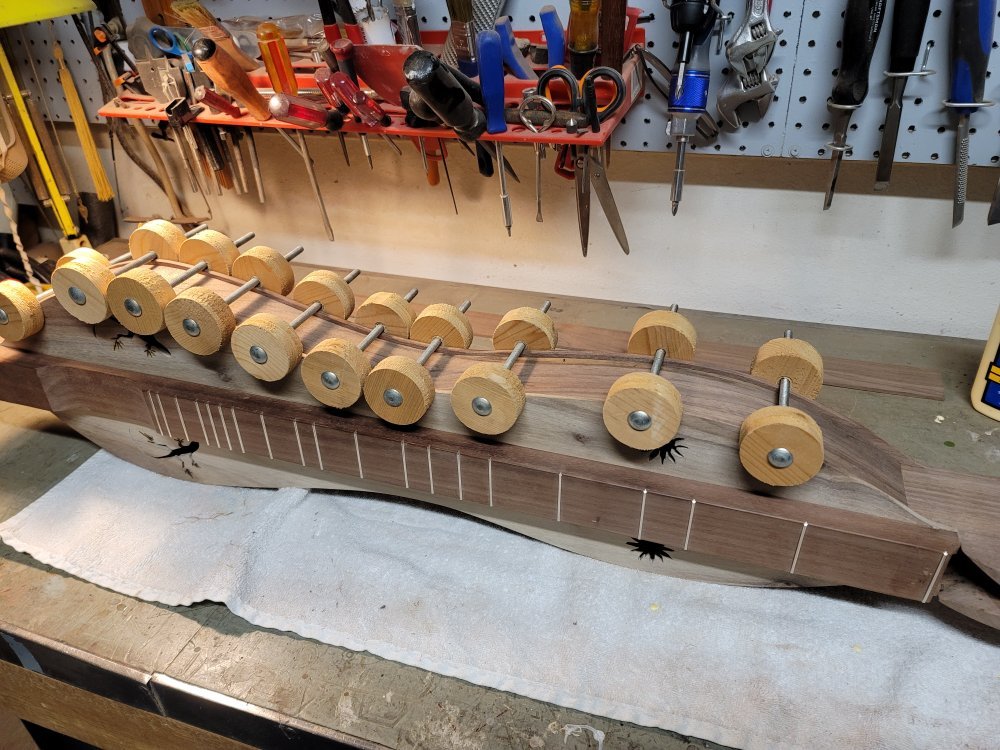
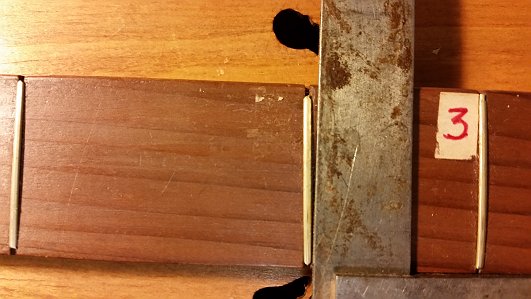
Finally, the scale is strange and the frets are somewhat misaligned. It’s technically 26.375″, but the bridge is set closer to a 28″ scale. The 2nd fret (on the left) is close to correct, but the third fret is set for a 28″ scale.
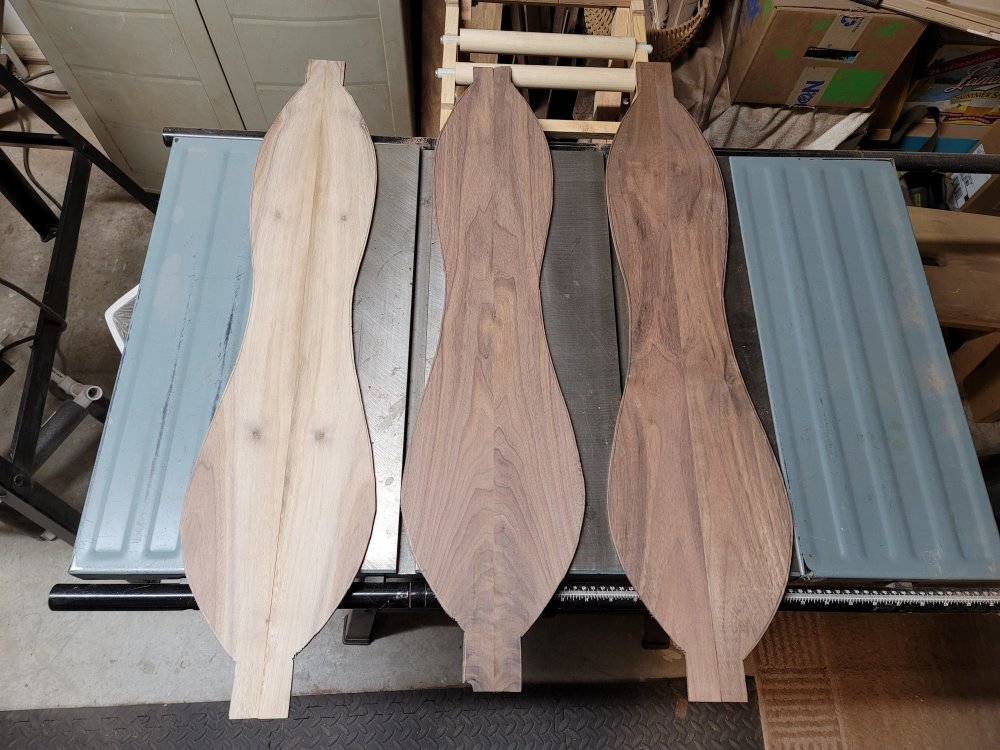
The good thing is, the fretboard is nicely flat, so my suggestion is to create a new walnut fingerboard (seen here) with a new bridge and nut.

After receiving permission to continue, I removed the frets and sanded down the fretboard, removing the previous slots and preparing it for the new fingerboard.
Meanwhile, I trimmed and sanded the new fingerboard to prepare for fret installation.
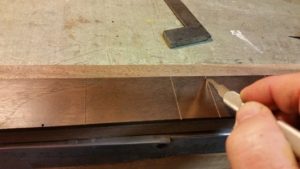
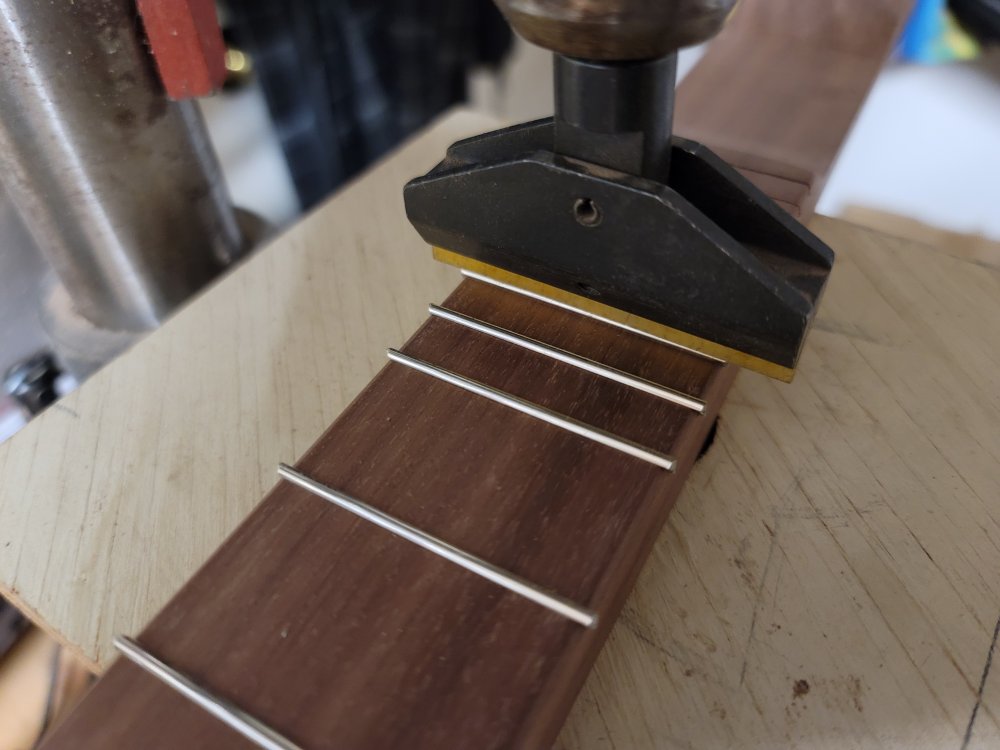
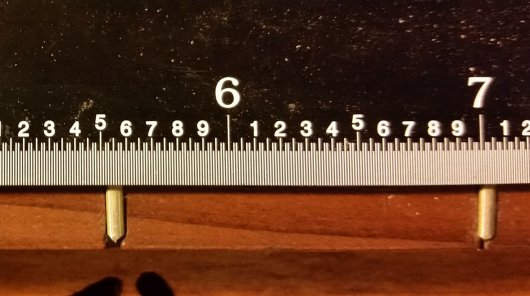
After cutting the walnut fingerboard and sanding it carefully to fit the existing fretboard, I used my 1/100 ruler to mark the fret pattern for a 28″ scale pattern. It’s a very delicate operation so I can’t rush it. I then use my Japanese fret saw to cut the frets.
Once the frets are pressed into position, I must file down the edges flush with the fingerboard.
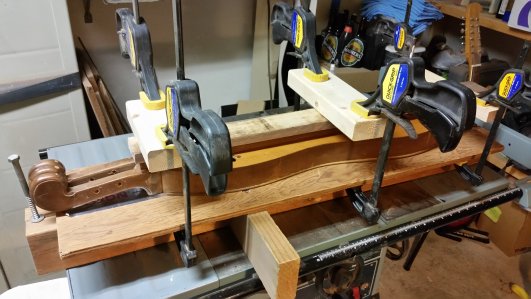
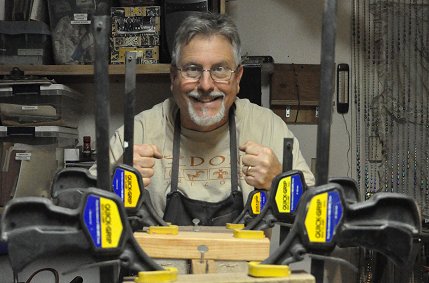
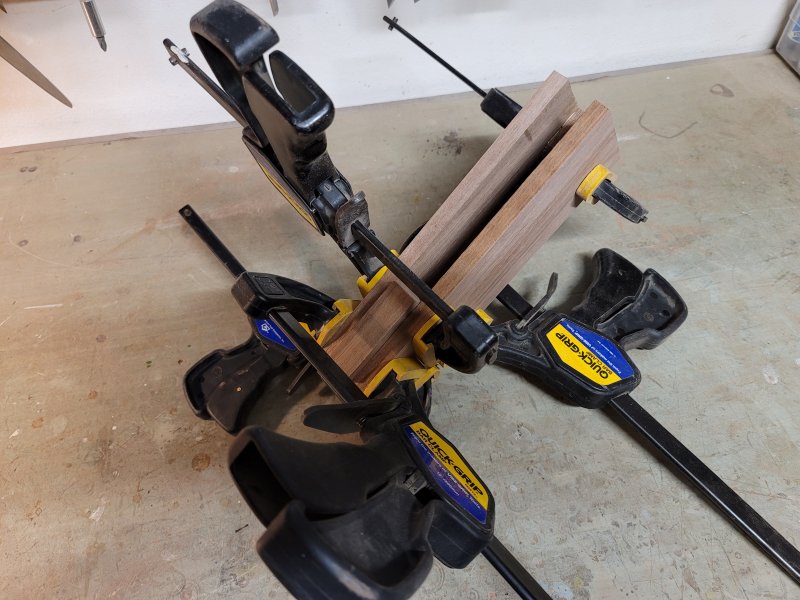
At this point, I glue the fingerboard to the fretboard using clamps and my homemade jig and let it dry.
After trimming the board and working around the strum hollow,
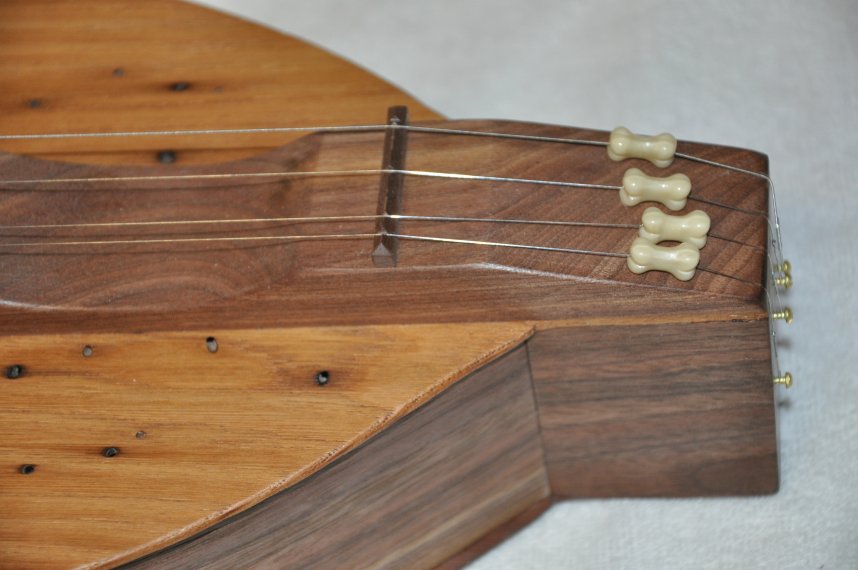
it’s time to add the string guide near the nut.
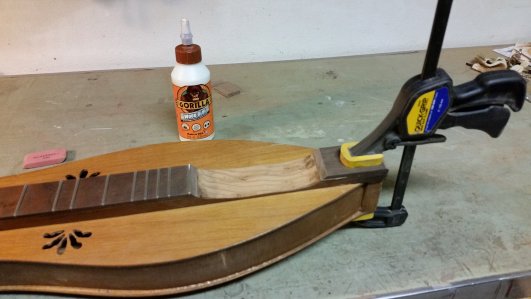
After doing some final staining and a coat of polyurethane, I’m ready to attach the strings.
I round off the end of the fretboard to prevent the strings from cutting into the wood.
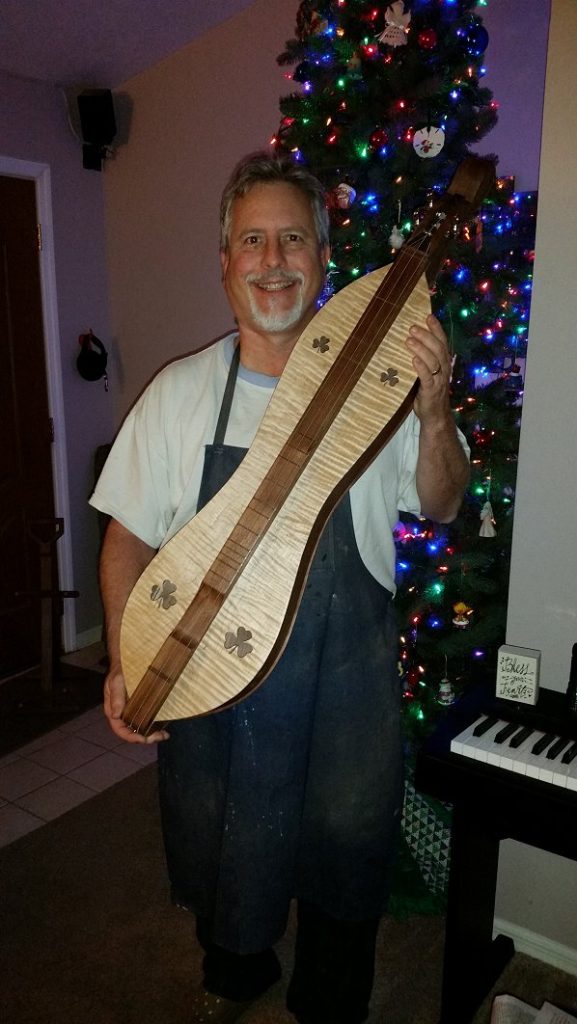
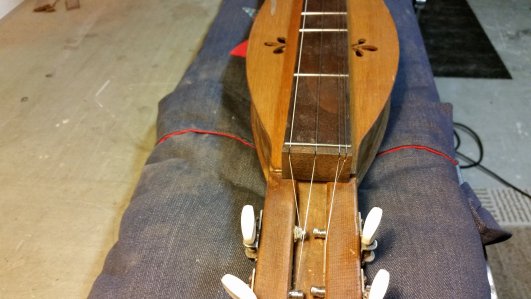
The finished dulcimer, as good as new!