I have been planning a new dulcimer for myself for about 5 years, but always seemed to have other projects that took precedence or I just chickened out on what was necessary to accomplish it. I wanted to do a carving on the peghead, and this just made me nervous. I have done two dulcimers featuring carvings: I carved a bear’s head on dulcimer #10 in 1980 (which I still have) and created a gator-head on a dulcimer that I did in the mid-eighties and traded for a 1926 Victrola.
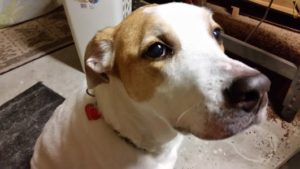
So, I decided to throw caution to the winds and create a one-of-a-kind dulcimer with a motif. My inspiration was our “pound puppy”, Jasmine– a beagle mix who has been part of the family for about 11 years.
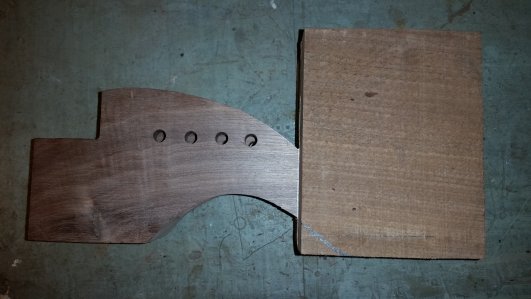
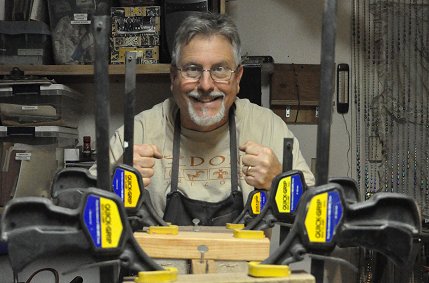
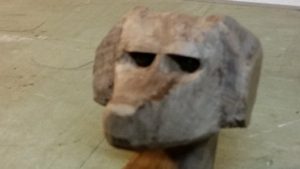
I started with the trickiest part–the peghead that I planned to carve.
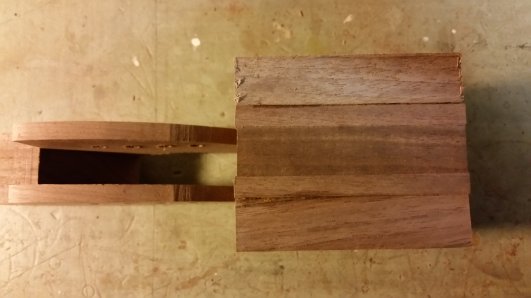
I used my template for a regular peghead and added some large blocks.

I had found a tiny toy hound dog that resembled Jasmine, and used it to create some templates.
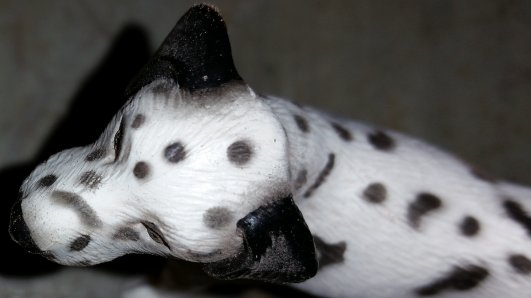
The toy held still a lot better than the dog did.
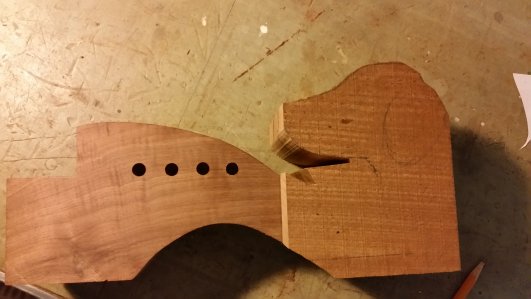
I began to cut away the parts that didn’t look like a dog.


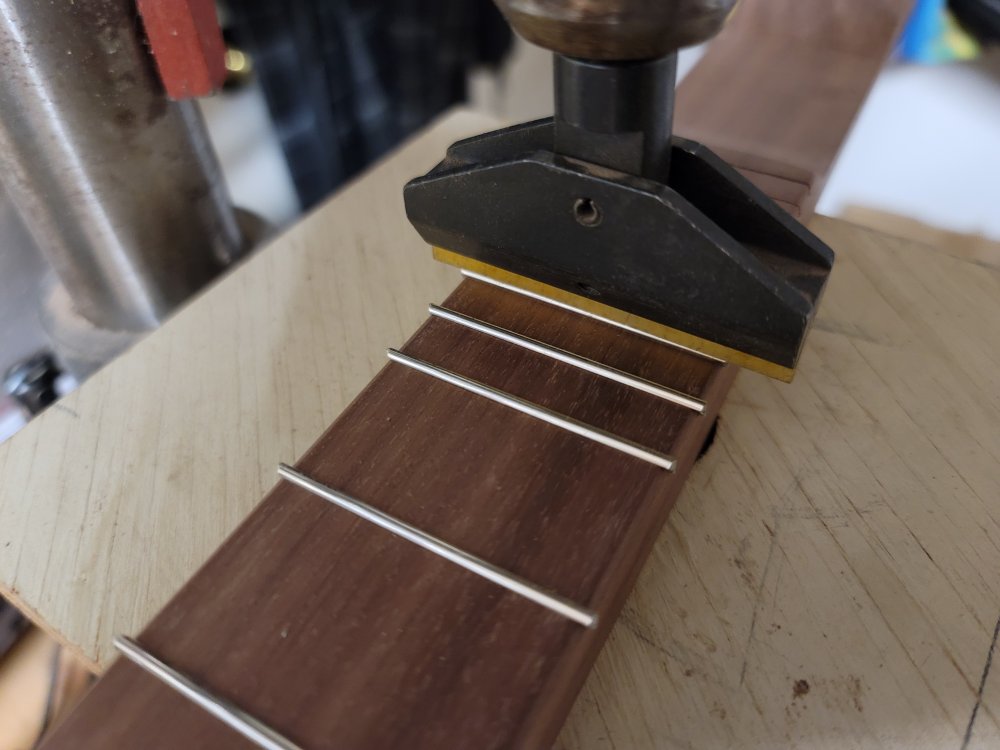
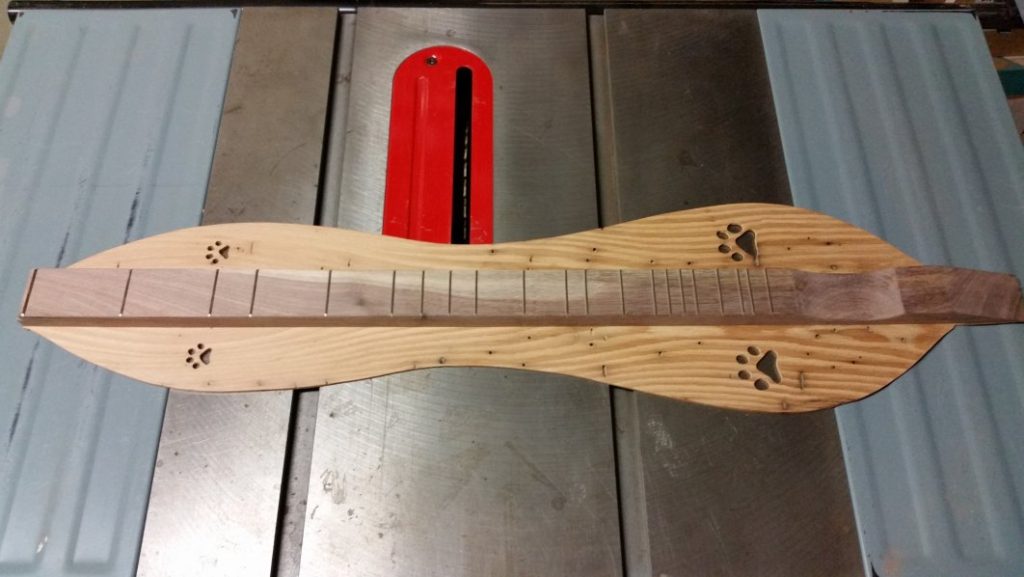
Abandoning the peghead for the time being, I switched to creating the fretboard (with my usual 28″ scale length).

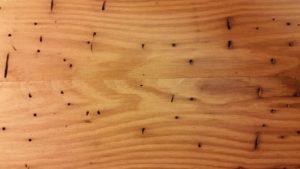
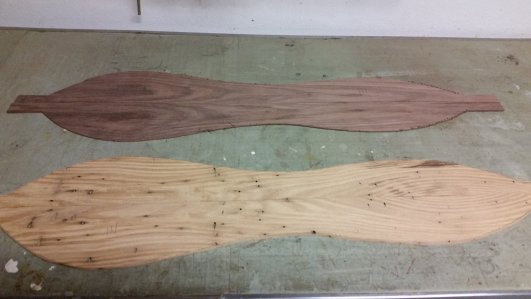
I want this instrument to be unique and reflective of my passion for the craft of lutherie. Since I work mostly in walnut, I’ve decided to use that for the back and sides (as usual). The top, however, will be my favorite type of wood: wormy chestnut.
A bit of history: All the American Chestnut trees contracted a blight back in the 1930s and never recovered. These trees were some of the largest in the old-growth forests that existed in places such as my native Smoky Mountains. During a hike back in college, I saw the carcass of a 150′ chestnut tree that must have been at least 12′ in diameter. Occasionally, these have been logged, but because there is no new growth, the lumber becomes more and more rare (and expensive).
I’m actually down to a few boards that I’ve set aside years ago.
How I acquired this stash is another story:
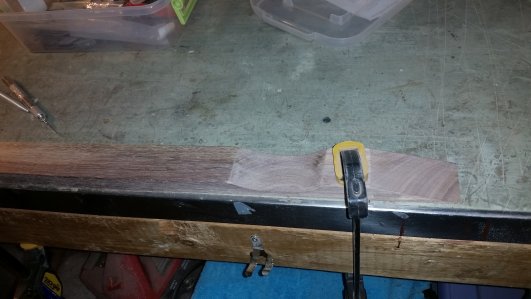
Around 1985, I was teaching 4th grade at Crystal River Primary School and waiting tables at a fine-dining restaurant called “The Prime Minister”. One evening, I had a customer — an older gentleman dining alone — who proved to be a good conversationalist and we hit it off immediately. We discovered that we shared a woodworking hobby. I told him of my dulcimer-building and we talked about the types of wood with which we had worked. After mentioning that wormy chestnut was my favorite, he looked at me kinda funny and said, “I have a warehouse in Orlando in which I have 60 board feet of wormy chestnut. Tell you what–I’ll give you the lumber if you’ll build me a dulcimer with some of it.” Of course, it was a deal I couldn’t pass up. We stayed in contact over the next several weeks (I built the dulcimer with the chestnut I had on hand) and we made the exchange at a mall in Leesburg. This is part of the last few feet of this gift.
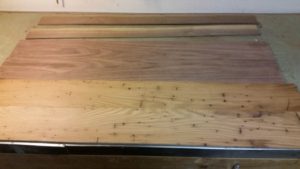
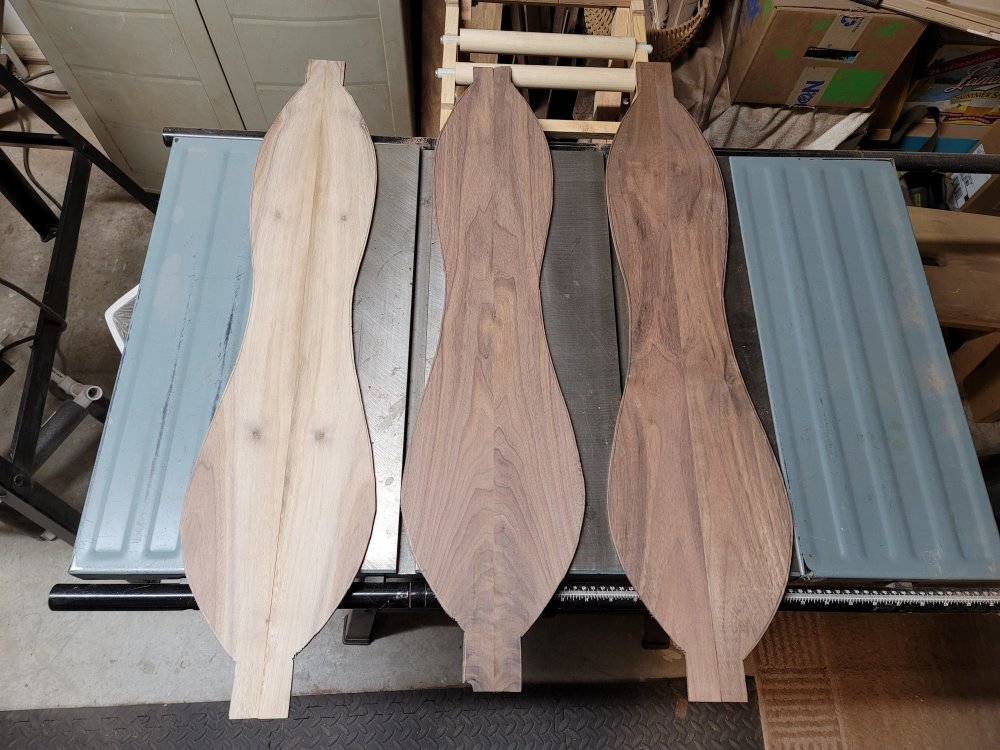
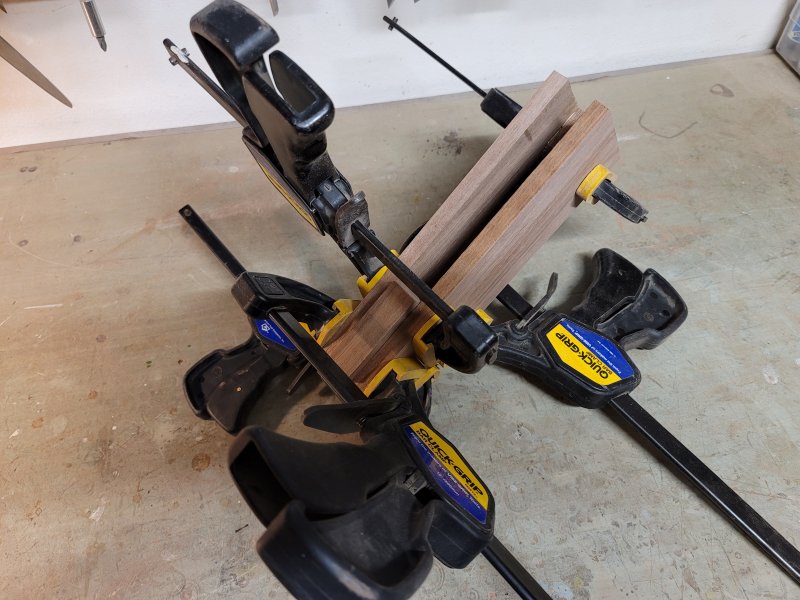
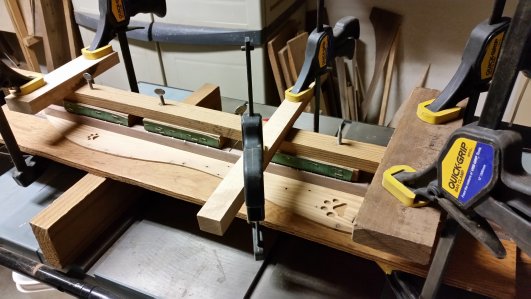
Here are the boards, resawn with the tablesaw and bandsaw, then bookmatched and glued. After cutting the sides out, I discovered that there were worm tracks in the walnut. I could flip them and use the unblemished side, but my new mantra is “embrace the imperfections” and the walnut worm tracks will complement the wormy chestnut. Maybe the mantra should be “embrace the worms”.
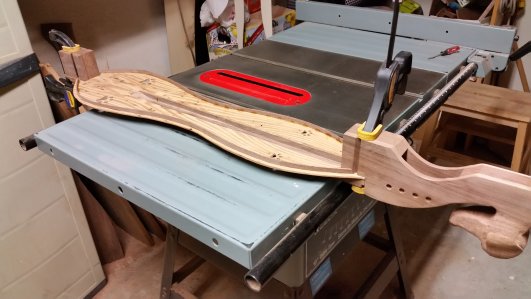
Things are beginning to take shape.
At this point, I returned to the peg head. The basic shape of my dog has been roughed out, and now I need to carve all the details. Carving makes me a little nervous. One false move and the whole piece can be ruined. The woodcarving knives that I’ve had for a long time are basically cheap junk. To work the large-scale removal, I used a multi-tool and chisels. I then purchased a new variable-speed Dremel tool and a bunch of different carving bits.
I took the peghead to a Civil War reenactment, intending to whittle beside the fire. Ha! The walnut was so hard to work with that the minuscule slivers I was able to trim were frustrating at best. I paid for that with blisters after about an hour and decided that life was too short for that. I’ll stick with the power tools, thank you very much.
I didn’t stop very often to take pictures of the head in these mid-stages.
The eyes worried me. I tried to shape the eyeballs, but they were either out-of-round or lop-sided. Eventually, I decided to make pits and find a different medium for the eyeballs.
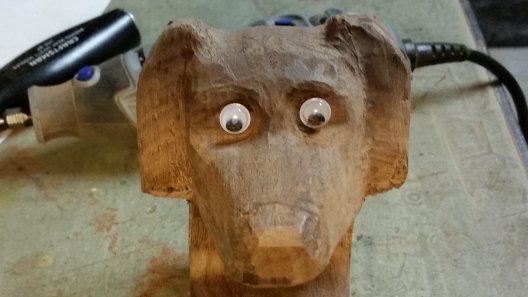
Here is an early experiment. Uh, no–this thing is going to be a bit cartoonish anyway, because I only marginally know what I’m doing. This is hysterical and wrong, but on the right track.
So I went to Michaels In Ocala and found exactly what I I thought would work.
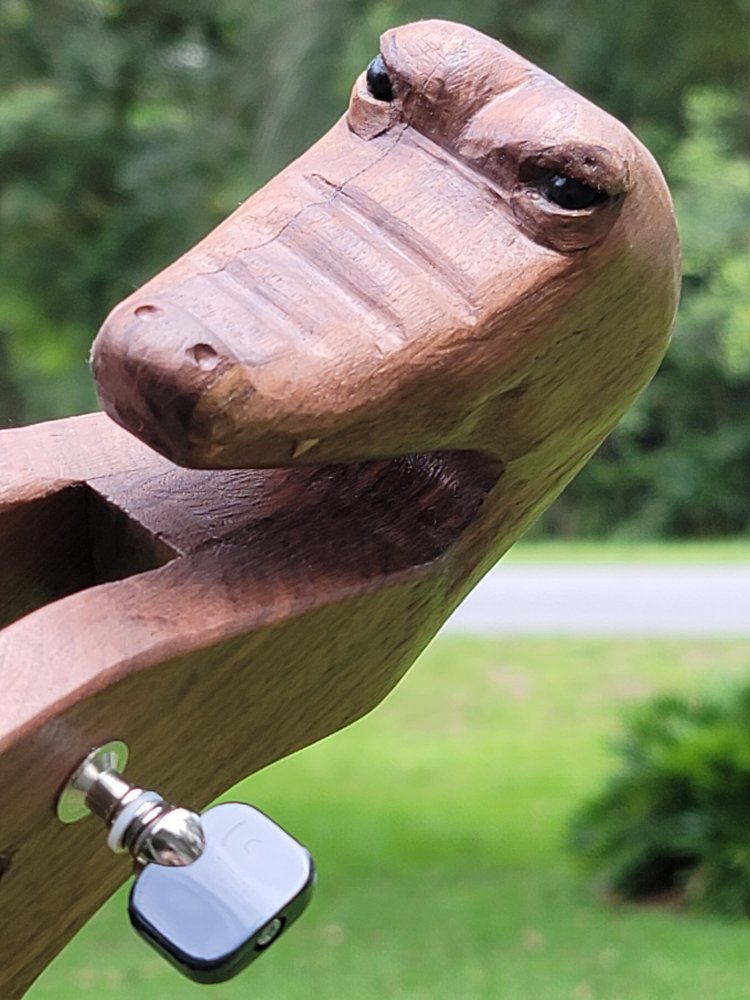
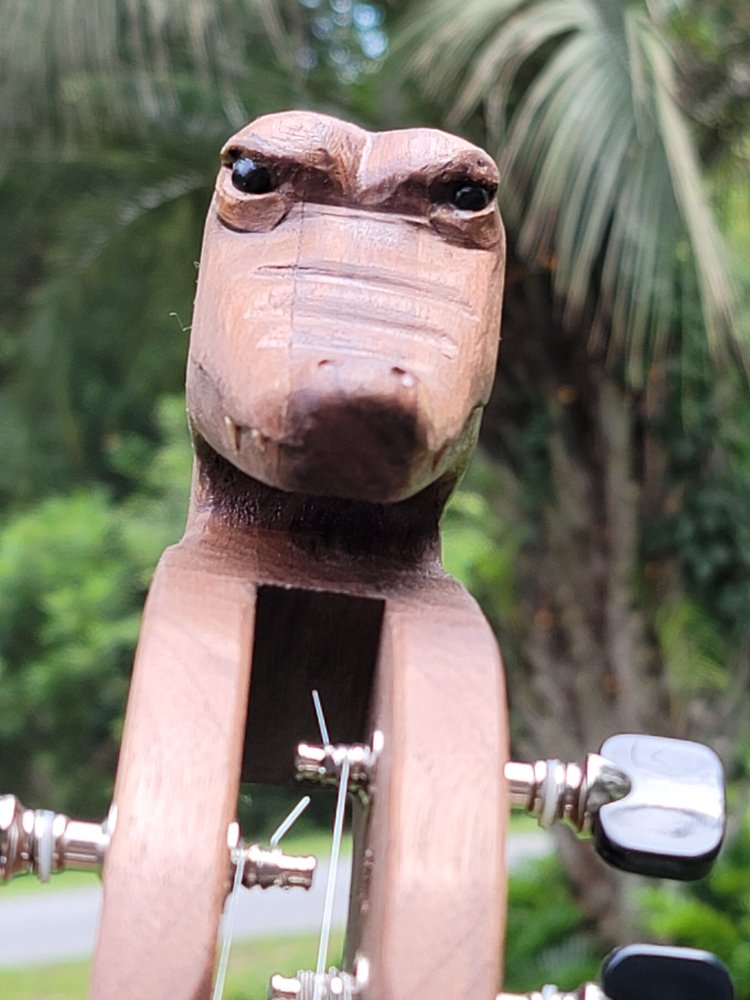
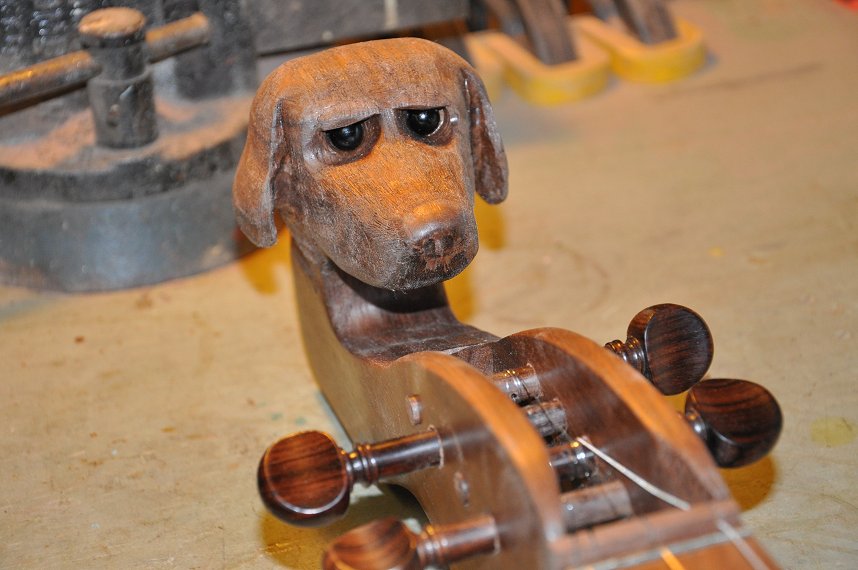
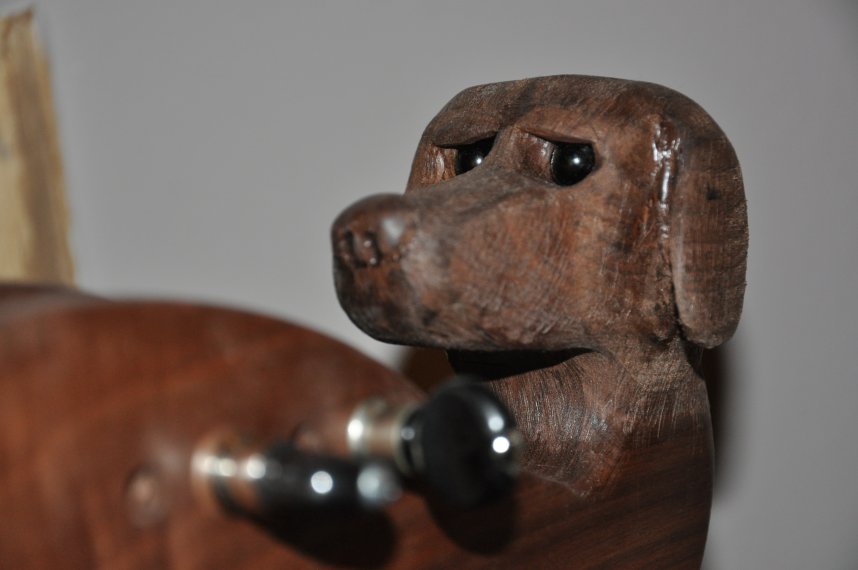
I drilled into the eye sockets and inserted a couple of half-beads, then shaped and added eyelids, and finally got the effect I was looking for. At first, though, the eyelids were straight across and looked a little brooding or judgmental. I imagined myself playing the instrument, and she’d be dogging me, saying “You should be a better player after 40 years…”
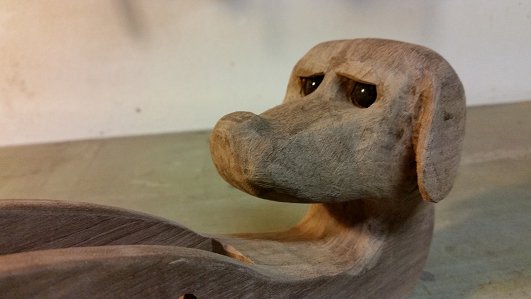
So with a little whick of an exacto blade, I gave her a slightly more quizzical look. I also shaped the ears and went to work on the nose. I used a small power rasp to simulate hair.
Whew! I think I can live with this. She still needs more work, of course.
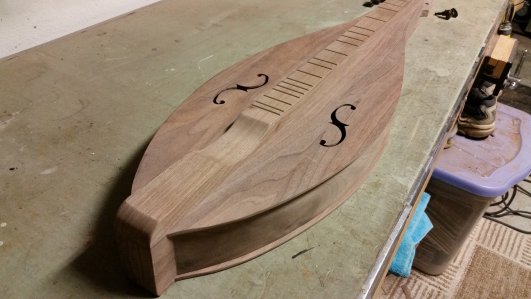
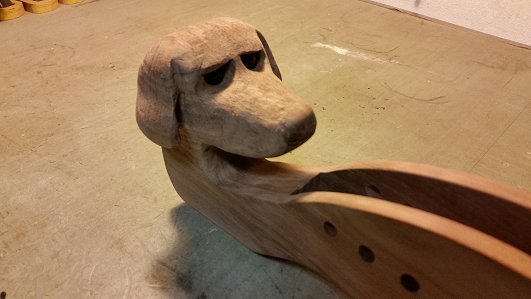
With the peghead completed, it was time to glue down the fretboard,
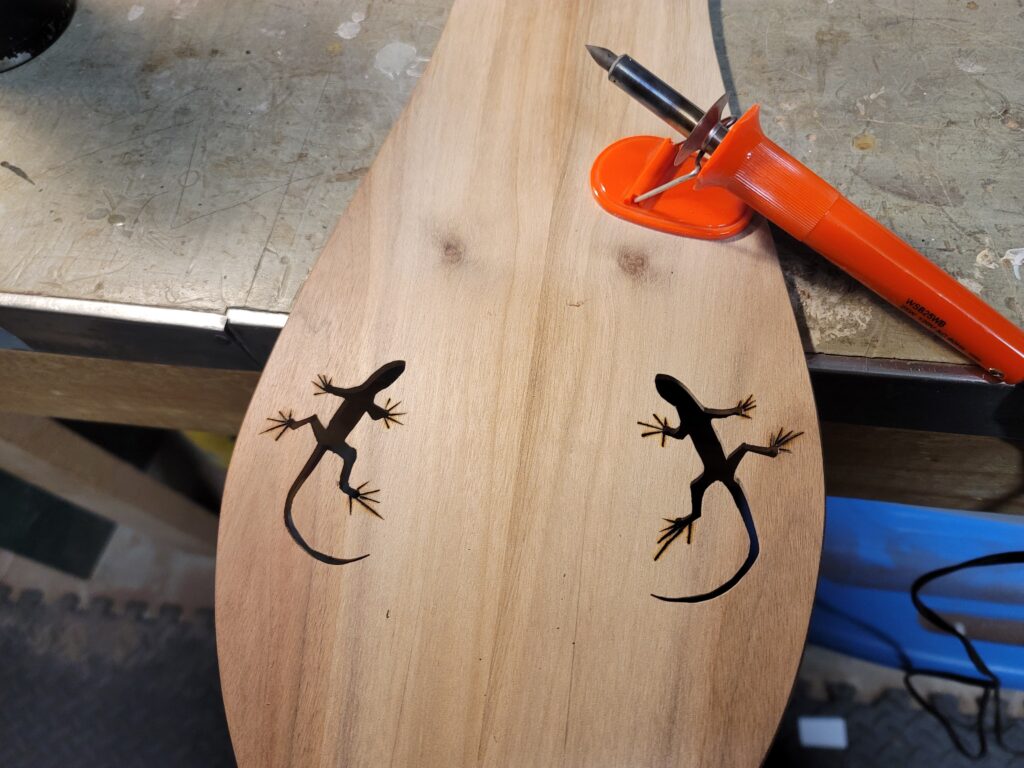
add sound holes,
and glue things together.
Thanks to careful design, everything fit together nicely.
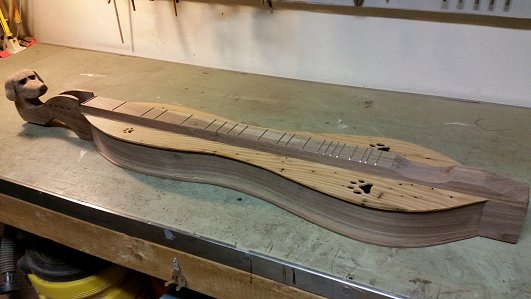
Ready for final sanding.
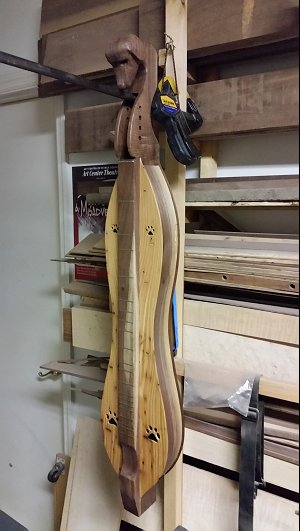
The first of 2 coats of polyurethane.
I received a new message from my man in Oregon. Jon was still tuned in:

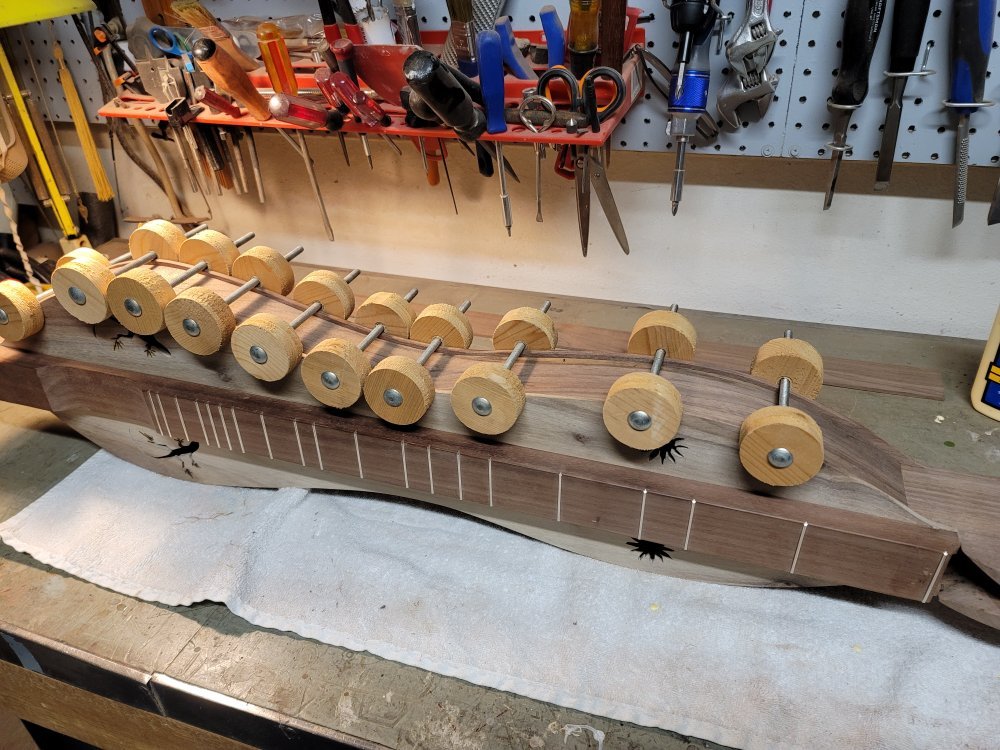
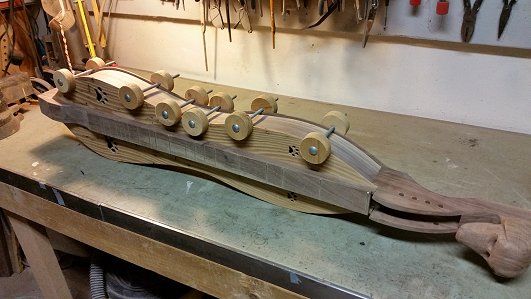
I finally worked my way to the final details of the pegs, nut, bridge, and strings. I had decided to go traditional and install violin pegs. It would really look sharp, but make it more difficult to get into exact tune.
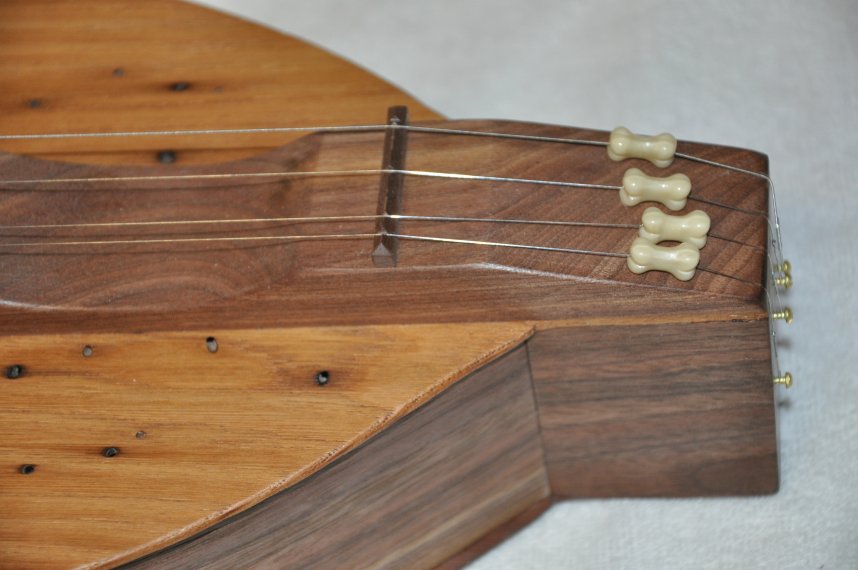
To help alleviate this, I allowed for the installation of fine tuning beads at the tail-end of the instrument. Sliding these up and down just a little will pinpoint the pitch. I had seen these on another dulcimer, but this is the first time I have included them in one of my constructions.
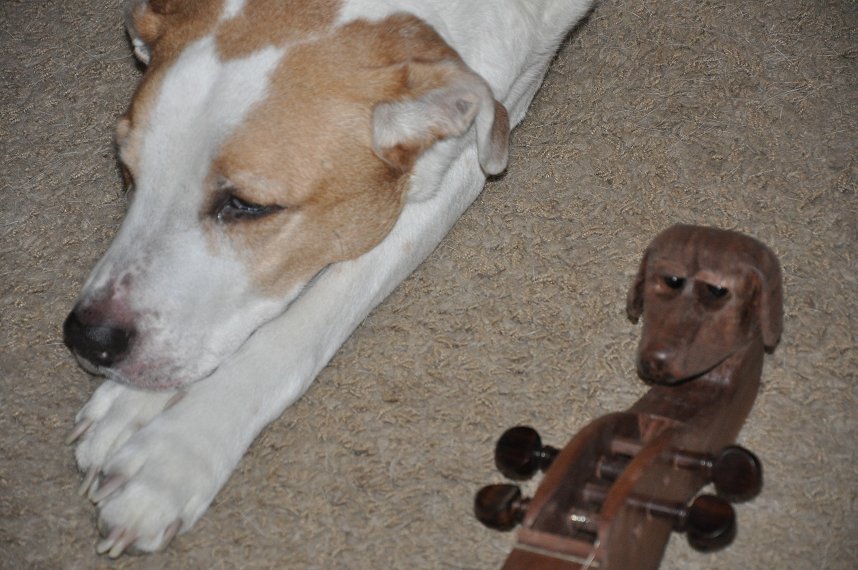
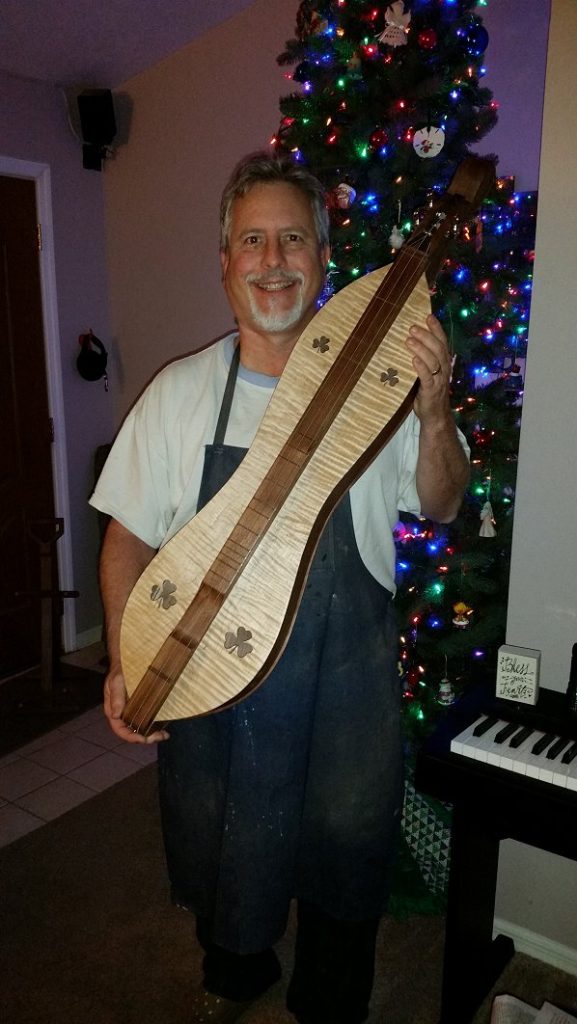
I tracked down Jasmine, the inspiration for this dulcimer, and introduced her to the new addition to the family.

Unfortunately, the reamer that I used to install the pegs was not the right size. I thought I could sneak up on it, but the force from the strings wouldn’t allow one of the pegs to keep it tight and in tune. Three of them seemed to work fine, but I really like a 4-stringed instrument.
I rummaged around and dug out some old metal friction pegs that needed some polishing and a bit of finagling to install, but finally managed the task.
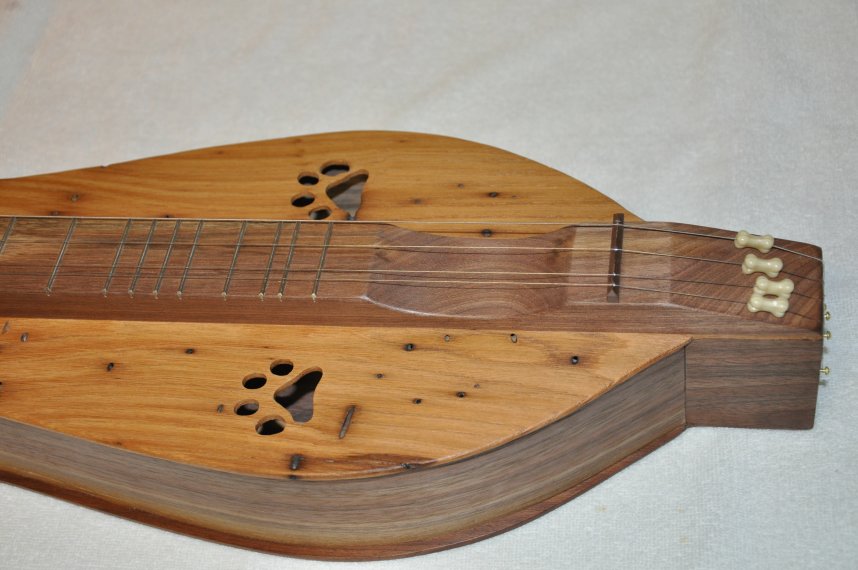
The strum hollow with the fine tuners.
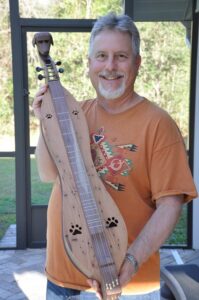
Dulcimer #47 is in the books–I have a new instrument to lug around with me. Hmmm…now I need a better carrying case. New project!