Toggle search form
Search for:
Toggle navigation
Nature Coast Dulcimer Works
Home
Contact
Customize Your Dulcimer
Shapes
Sound Holes
Documentary
For Sale
Past Projects
Repair Work – March, 2016
Jean’s Machine – April, 2016
Lynn’s Dulcimer –June, 2016
A Dulci-mess — November, 2016
Back to Bass-ics — November/December, 2016
This One’s For Me — January/February, 2017
The Lucky Diamond Dulcimer — July, 2018
Holiday Strings — December, 2018
A Florida-Flavored #50 — June/July, 2021
Maryville College Roots — December, 2021
Tim’s Story
What’s On the Bench?
Woodworking
Building a Tablesaw Resawing Jig
Building an Outfeed Platform
Creating a Dulcimer Side-Bending Jig
Sep
07
2023
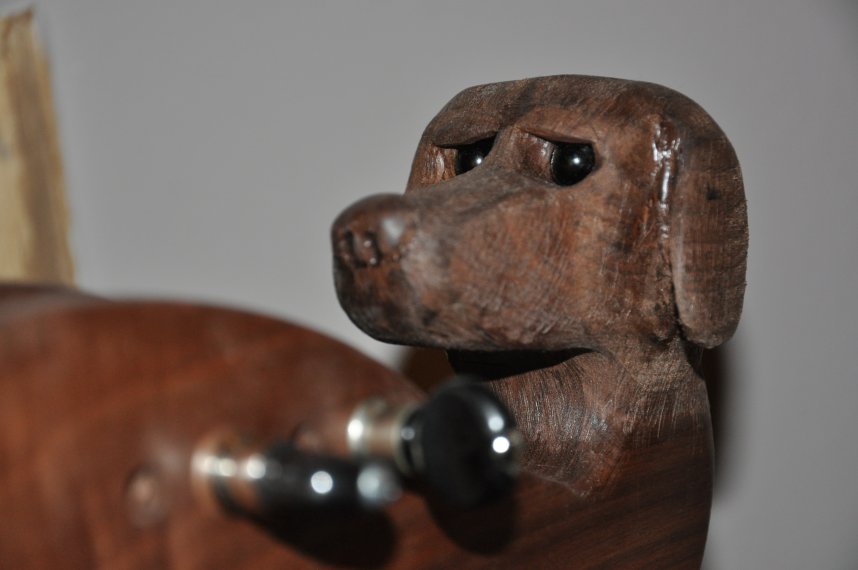
Awaiting the Next Dulcimer Project…
By
Tim Stuart
in
Construction
Maybe yours?
Search for:
Recent Posts
Awaiting the Next Dulcimer Project…
September 7, 2023
Archives
September 2023
Meta
Log in
Entries feed
Comments feed
WordPress.org