A year ago, I decided to design a bass dulcimer, just for grins and giggles. I designed it to be 10″ at its widest point and a full 2″ deep. It was made from walnut with a sycamore top. I was really please with the look and the sound of it. I didn’t have it long, however. Johanna, one of my colleagues in the Nature Coast Dulcimer Players saw it at one of our weekly meetings and purchased it the next week.
Well, just as I was completing the previous re-fret project, I received an email from a gentleman named Jon in Oregon. Jon had been in contact with Johanna, and decided he wanted a bass as well. After we established a dialog, he ordered a bass with shamrock sound holes.
This one will be made with walnut for the back and sides, and a beautiful quilted maple for the sound board.
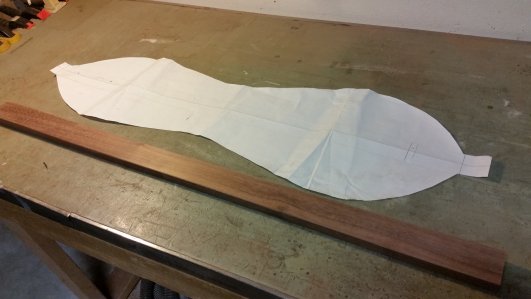
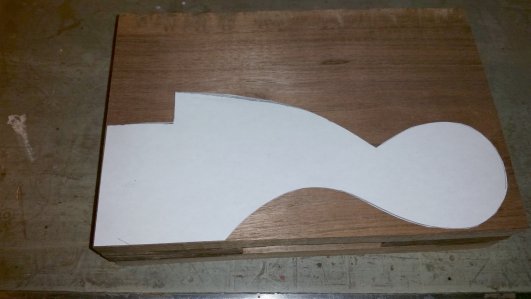
I pulled out the pattern from the previous bass and put it back in service.
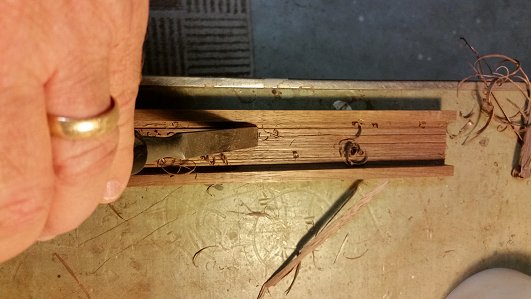
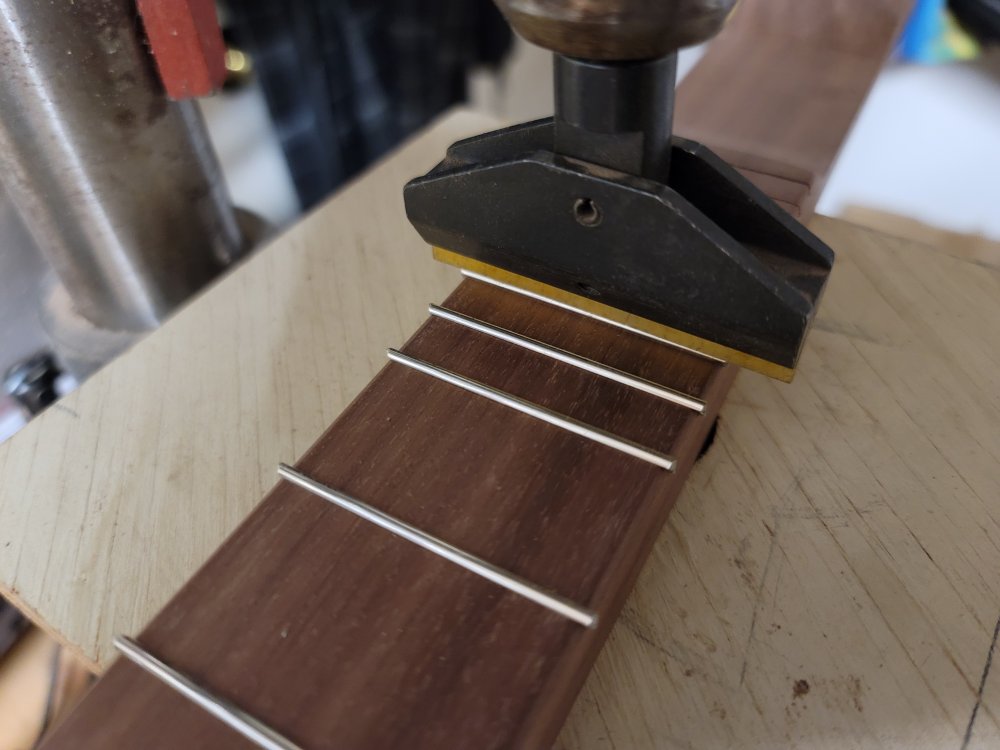
Here, I cut and prepare the fretboard. All my fretboards are carefully hollowed out to maximize the sound. It’s a long one with a scale length of 30″. As a matter of fact, everything will be a little oversized with this instrument to give it the depth of sound that we want.
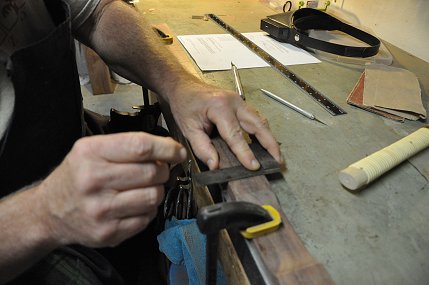
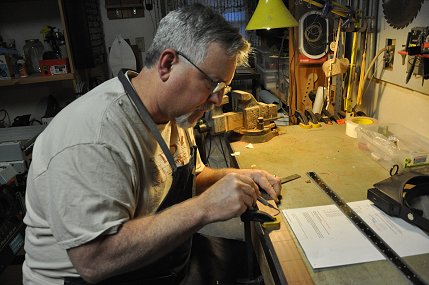
Here, I once again begin installing the frets.
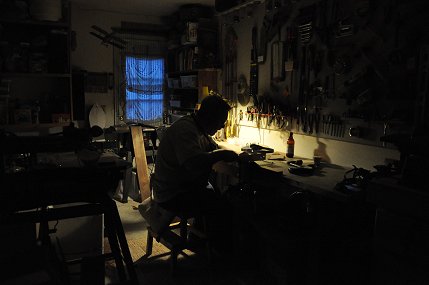
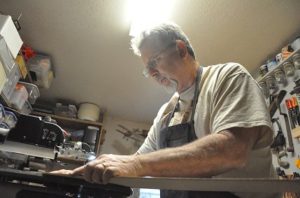
And then, something unexpected happened. At the high school where I was the Library/Media Specialist, I was approached by one of our English teachers, Kat Anthony, who wanted to create a photo documentary of the construction of a dulcimer for a class at the University of Florida. She has also agreed to take some shots for me to share in this blog. Kat is an excellent photographer, so all the artsy shots or any picture in which I appear will obviously not be from me.

It was about this time, Jon added a comment:

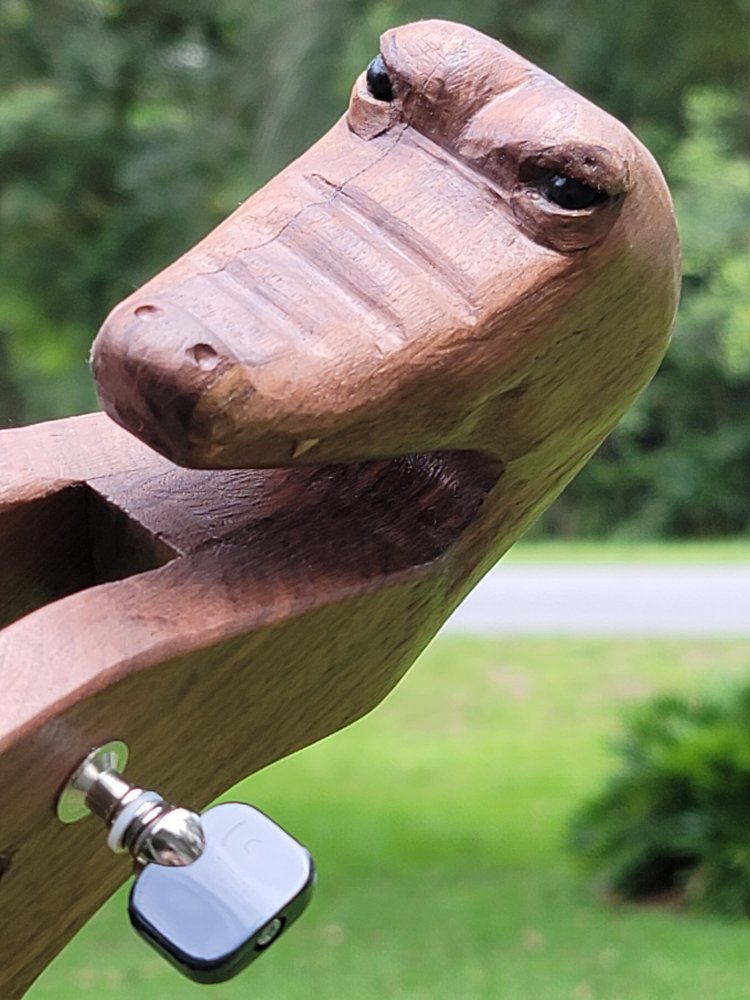
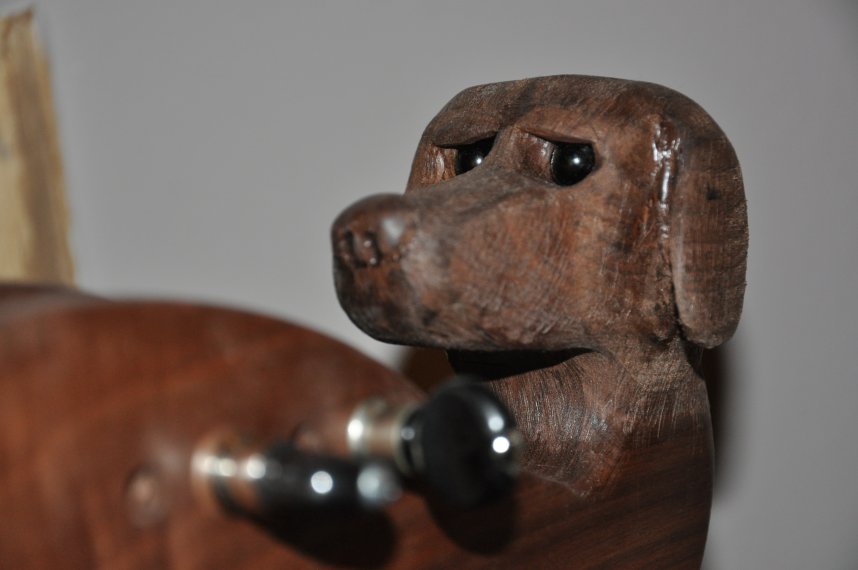
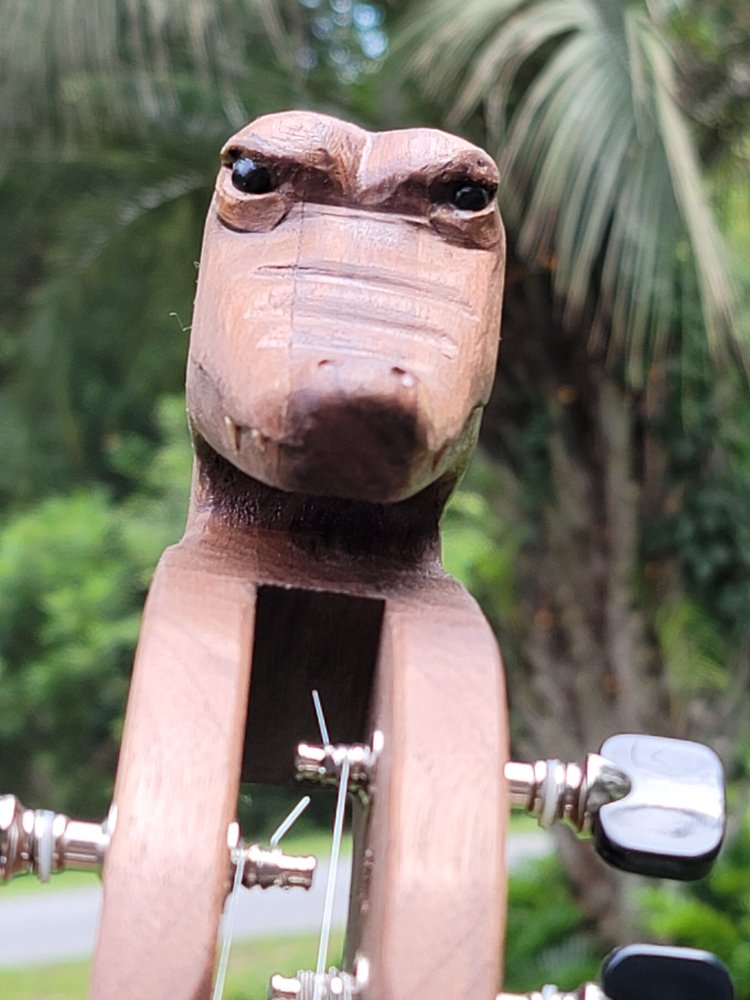
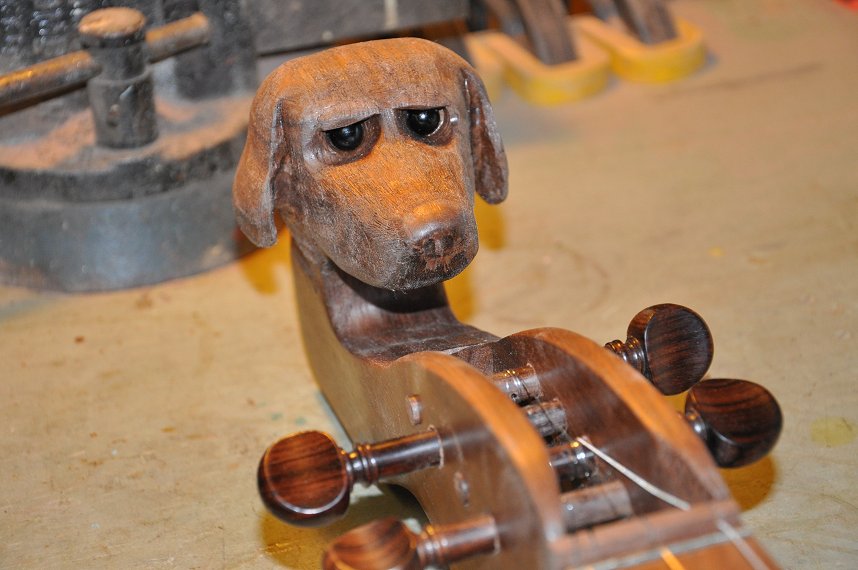
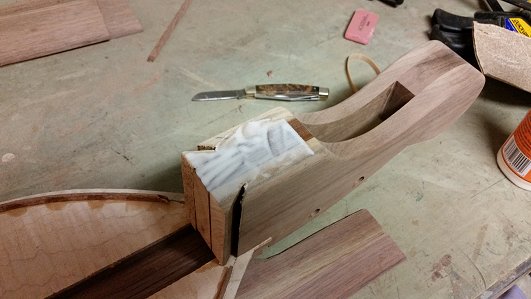
I sandwiched pieces of walnut into a block and laid out the pattern for the peg head.
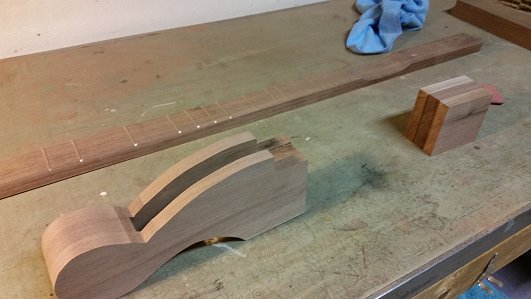
I have always liked the graceful lines of my traditional peg head but needed to do a little modifying to accommodate the extra wide sides and the tuning machines.

It’s getting there…
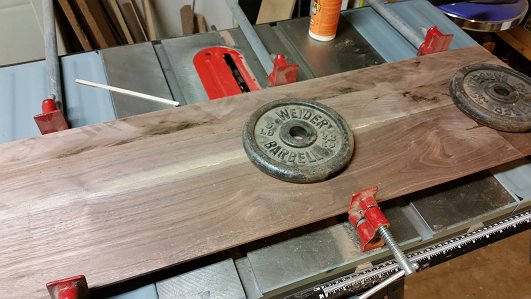
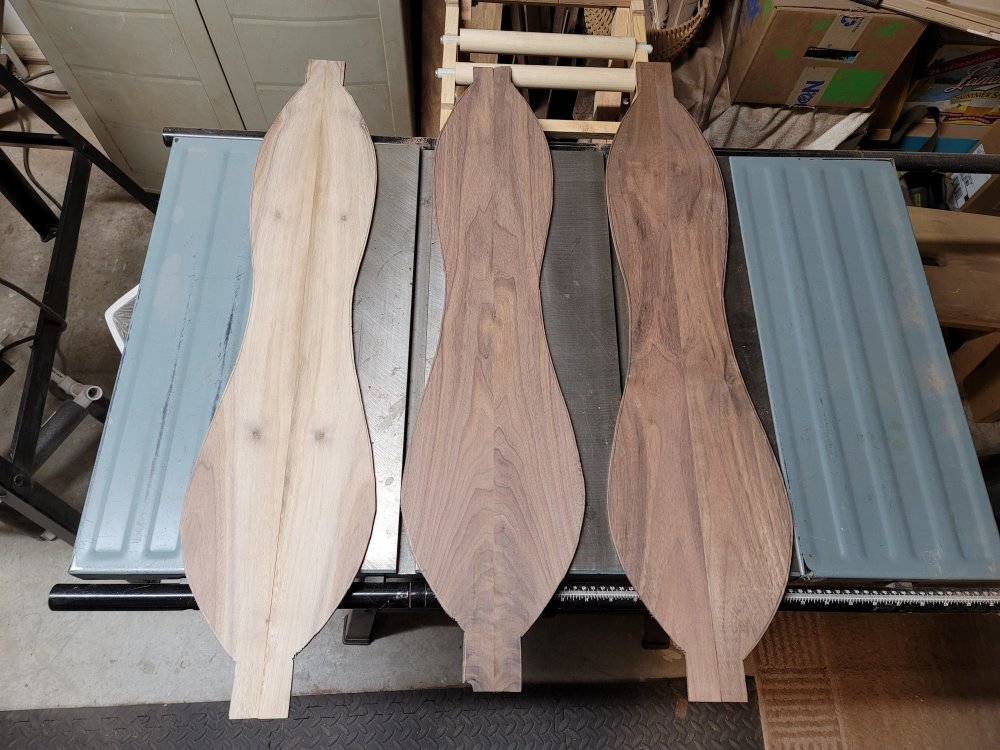
Next, I re-sawed a 5″ walnut board by taking slices of it–first on the table saw, and then on the band saw. By doing this, I can create a thin, wide, book-matched piece for the back. Book-matching creates some interesting mirror-imaged grain patterns.
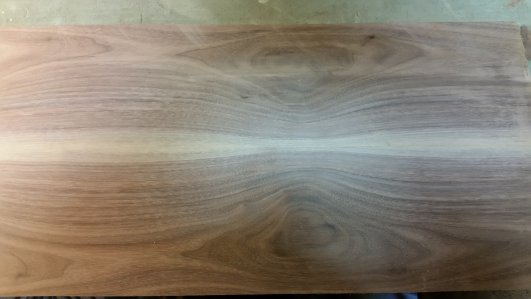
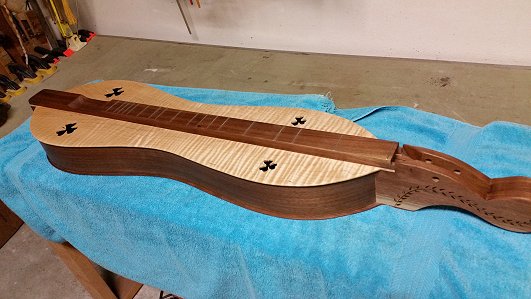
This plank had a little stripe of the walnut heartwood, and so I made the aesthetic choice to send that stripe up the middle of the back of the instrument. After sanding the back, a really wild pattern emerged.
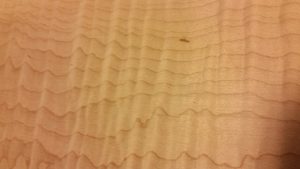
Then, when I sanded down the quilted maple top, a really extraordinary 3-dimensional grain pattern presented itself. This small picture really doesn’t give it justice, but it looks like little mountain ranges–and this piece is sanded down really smoothly. When I put the polyurethane on this, it may just blow my mind.
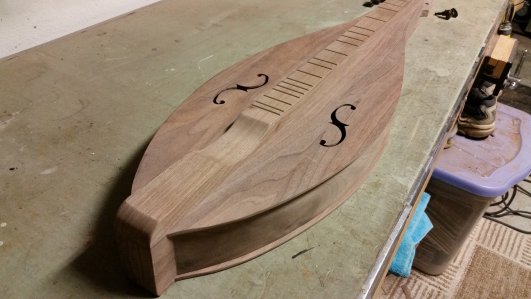
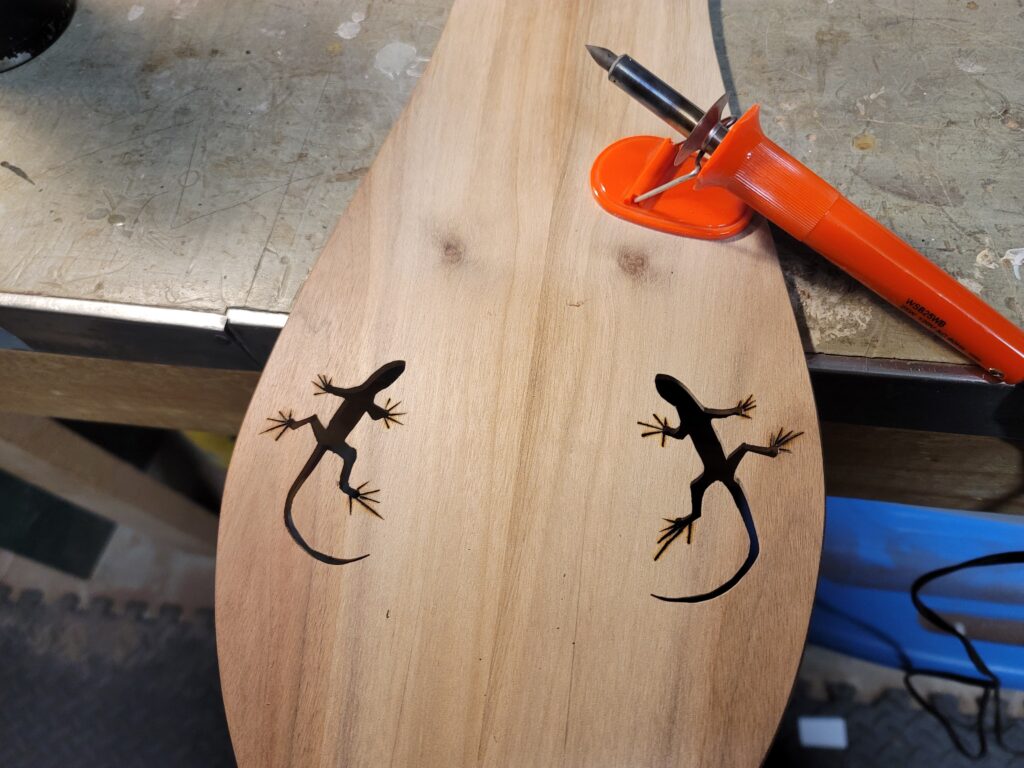
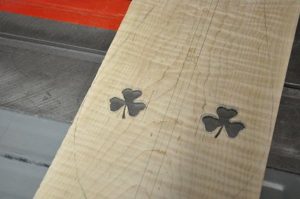
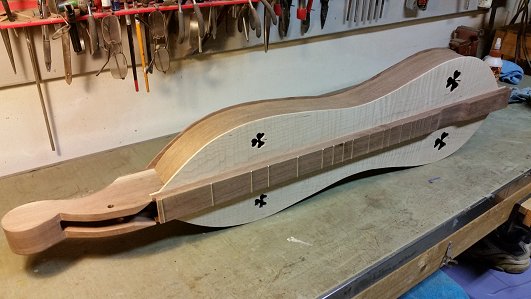
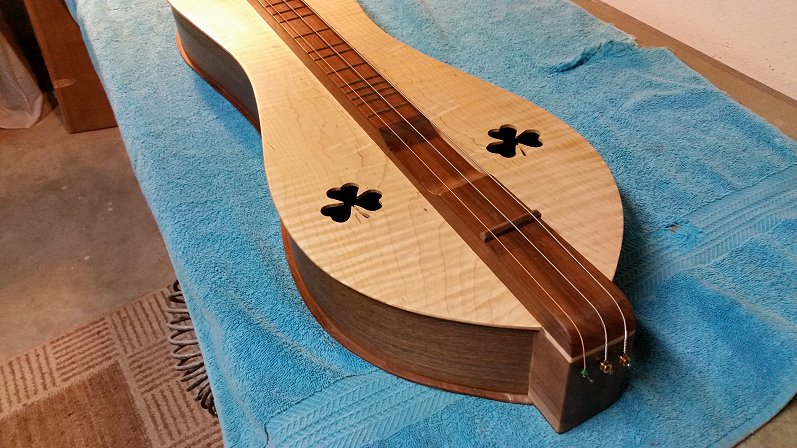
Jon has requested shamrocks for the sound holes. I found several different designs to use, but we agreed on a three-leaf shamrock, with the larger ones near the strum hollow and identical (but smaller) ones near the nut.
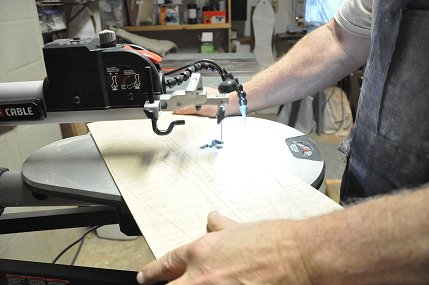
These are especially nice because they are simple and elegant–and the leaves look like little hearts. After deciding on the exact dimensions that worked best with the dulcimer shape, I carefully measured and marked the position of each of the sound holes, drilling holes into each pattern to accommodate the scroll saw blade.
I was really disappointed when my Hitachi scroll saw refused to start a few weeks ago. Rather than doinking around with heavy-duty repairs, I replaced it with a Porter-Cable machine that had good reviews. These sound holes were the initiation for the new scroll saw.
When the sound holes were cut, shaped, and sanded, I cut the top into the shape of the dulcimer and glued down the fretboard using a jig I made a million years ago.
And then Jon chimed in again:

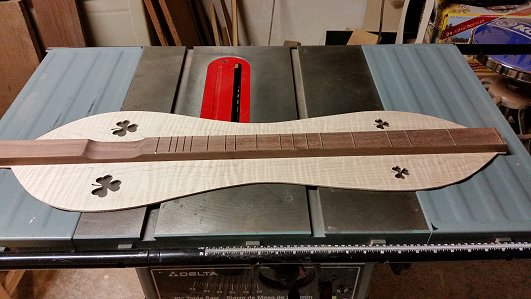
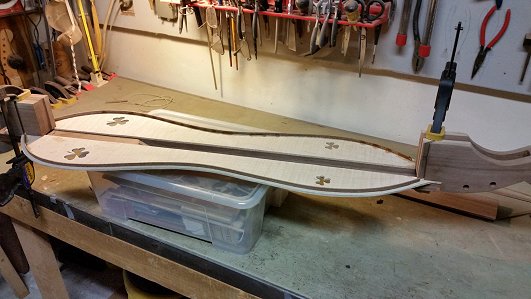
Things are really taking shape now. Removed the top and fretboard from the gluing jig and used it to trace the shape onto the bookmatched back piece.
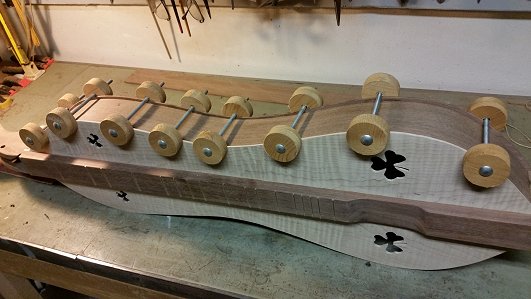
After insuring that they are the same size, I test fit the pieces so far.
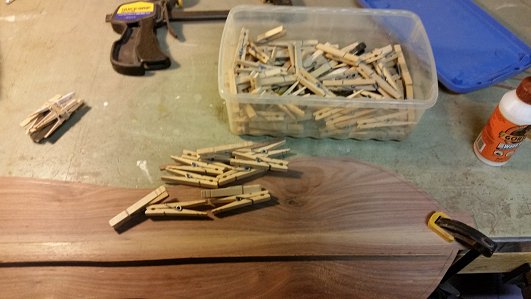
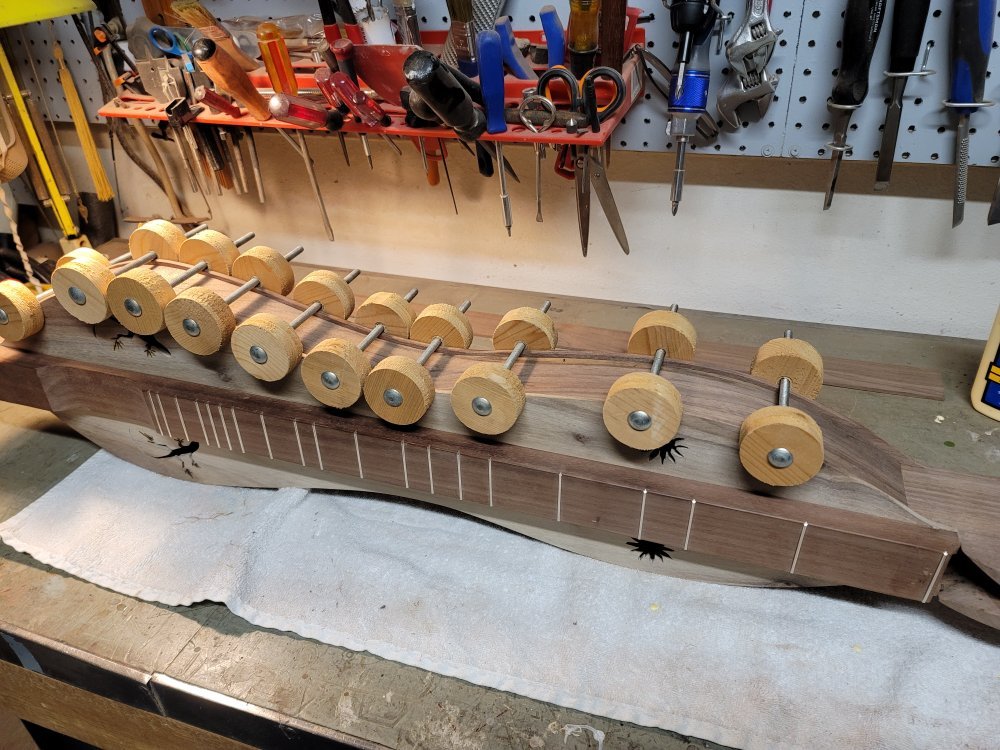
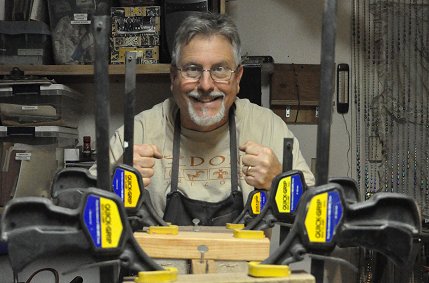
Next, I need to install the strips which will secure the sides. I have always liked the artistic effect made by the clothespins.

This also reminds me of the pictures from the old Foxfire book that was my construction guide 40 years ago.
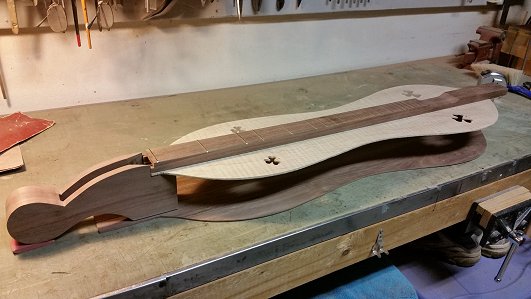
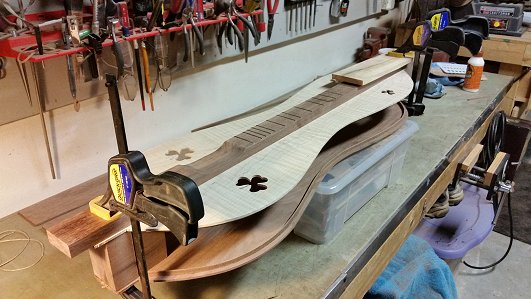
Finally reached the point where the shaping and prep work is finished; the assembly and detail work begins.
First, the peg head and tail stock is glued to the top, then prepped for the back.
The back is clamped into place and the sides are sanded down thinly.
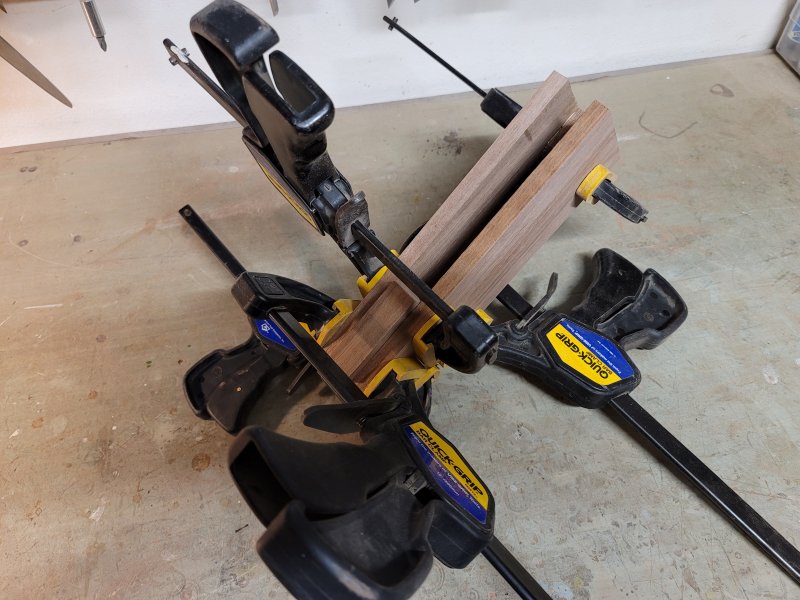
The sides are steamed to make them pliable, then glued to the strips and held in place by special clamps.
All parts of the instrument are hand trimmed and carefully sanded down.
Two coats of polyurethane are hand-rubbed onto the dulcimer. Almost there…
Once again, I hear from Jon, from Oregon:

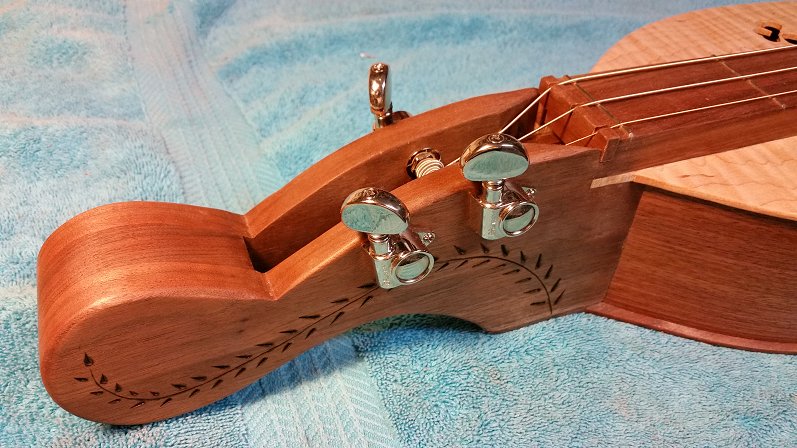
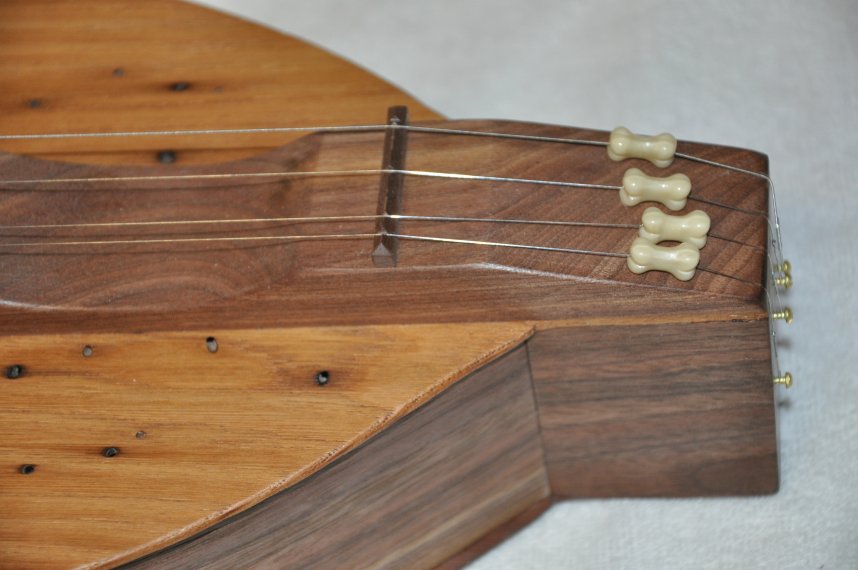
After a coat of paste wax and installing the tuning machines, I attach the acoustic bass strings,
and carefully locate the bridge in the optimum place.

On the evening of Friday, December 2nd, I joined the Naturecoast Dulcimer Players on the front porch of an historic house in nearby Floral City and played 2 hours of Christmas music for the passers-by. I had several arrangements of the music for the bass dulcimer, so I was able to put her through her paces. Richness and depth of the tone of this instrument is very impressive, if I say so myself.
Jon was getting excited by now:

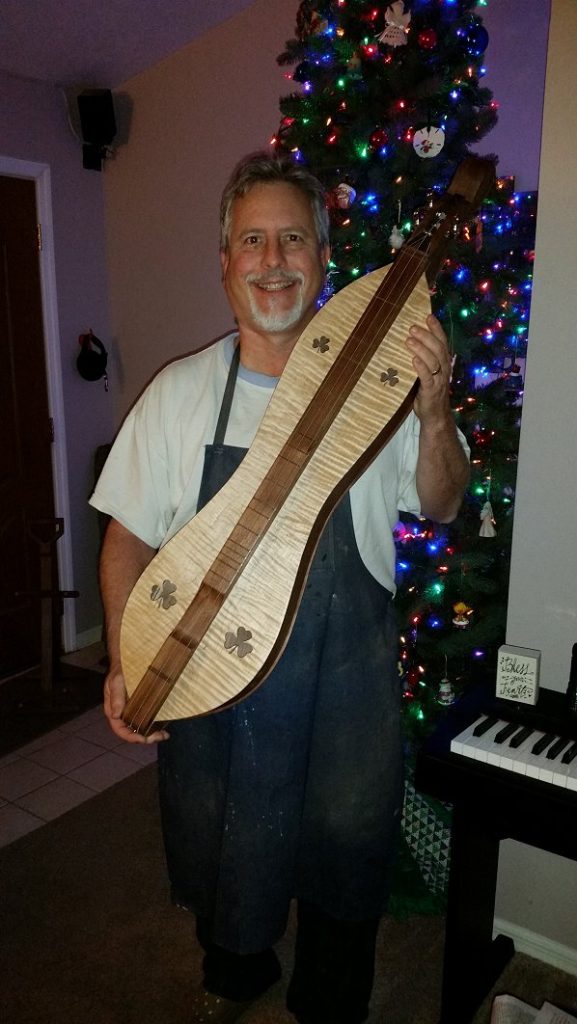
This is being posted after the dust has cleared from the Christmas Celebrations. I am happy to report that the bass arrived unscathed to Central Oregon on December 21 – one week after she was shipped.
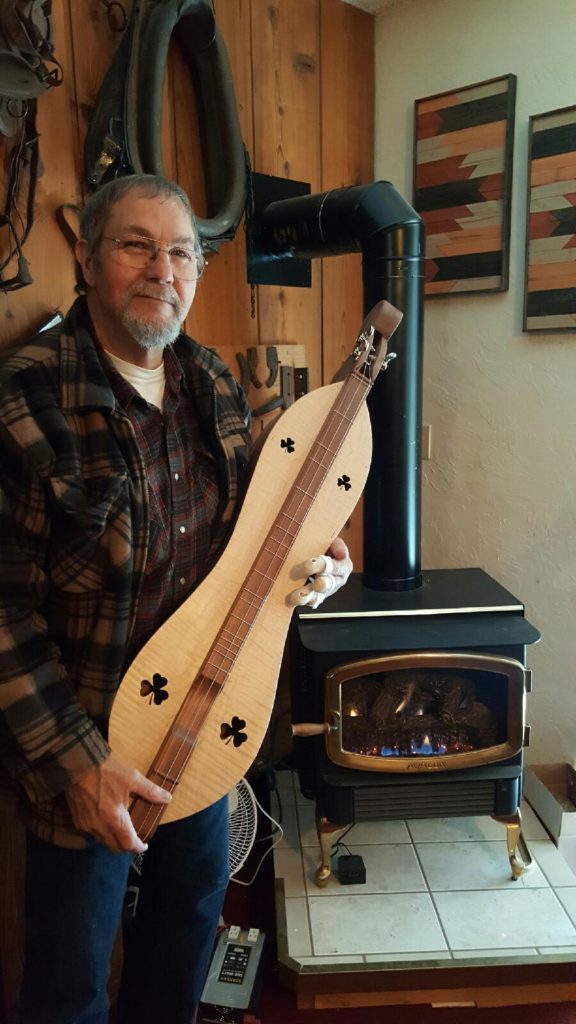
This is Jon, the proud owner and co-designer of dulcimer #46 (I’m not sure if he’s named her yet). Jon is an accomplished musician and woodworker, who unfortunately had a run-in with his table saw last month and came out the worst for it. Here’s hoping for a rapid healing process.
Congratulations on your new baby!