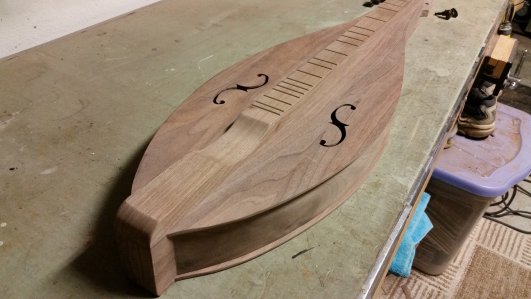
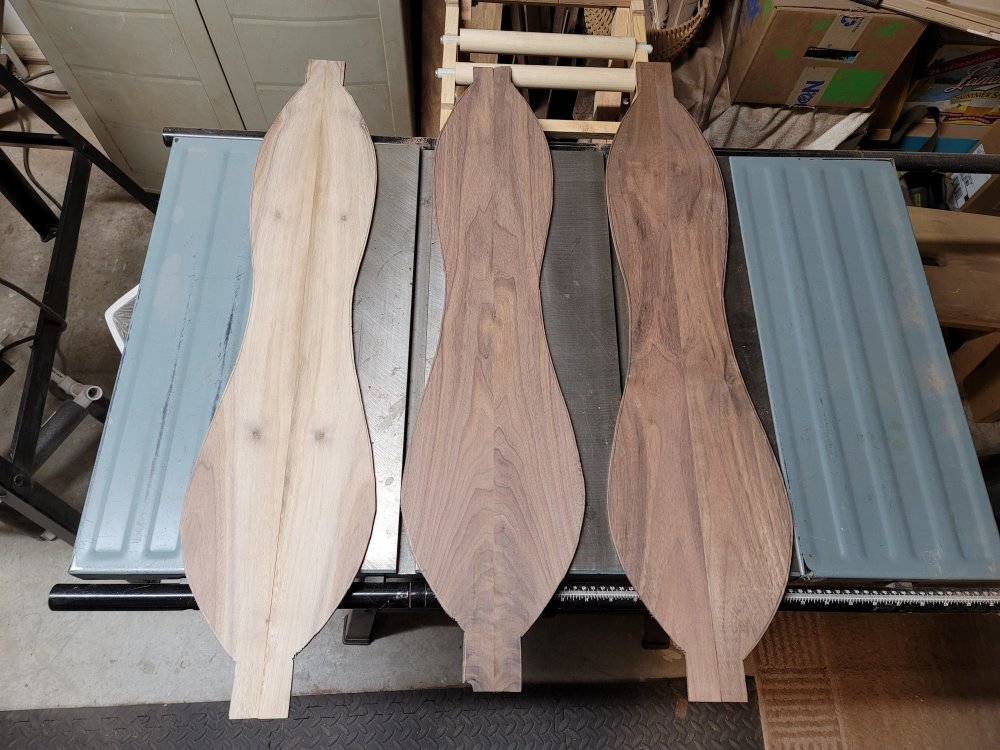
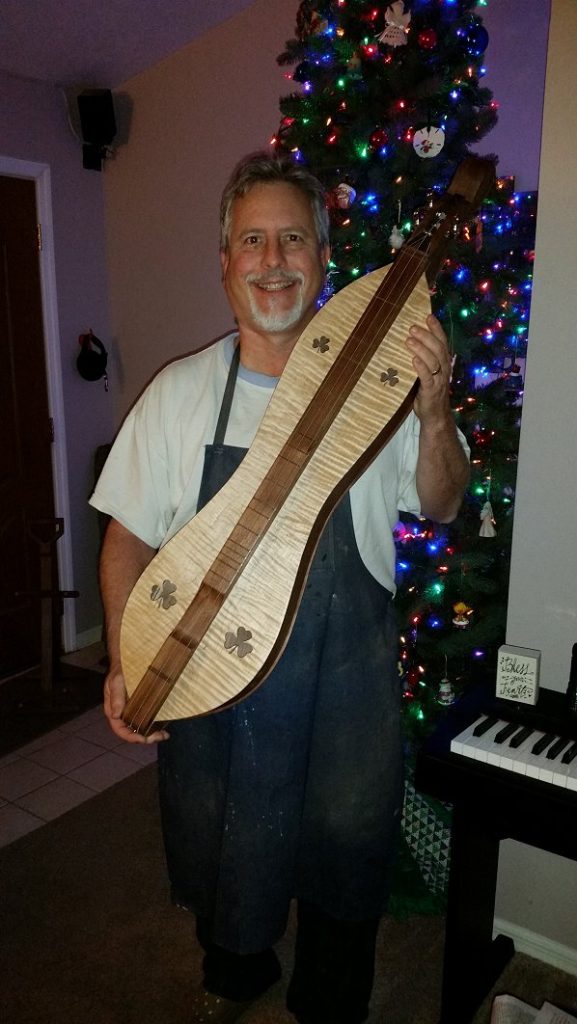
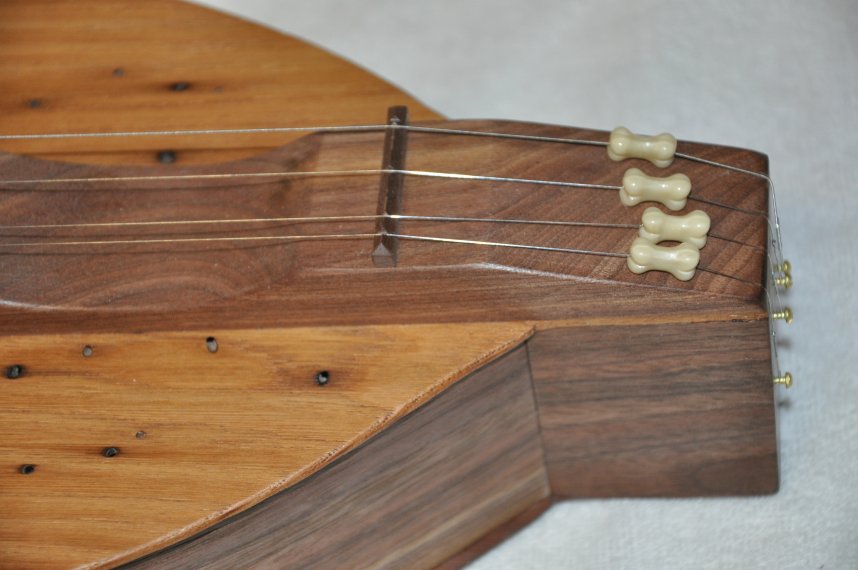
A dulcimer — or for that matter, any musical instrument — will be mostly constructed with very thin wood. To achieve these “slices”, it is necessary to turn the board on its edge and maintain an exact 90 degree angle to the saw’s surface. Making a couple of identical slices also has the benefit of bookmatching the sound board and instrument back — creating a mirror image of the wood grain by opening the thin boards and gluing the edges together.
Many sources mention using a bandsaw exclusively for this operation and that seems to make perfect sense. However, since I typically need to resaw 4″ wide boards that are almost three feet long, I feel that may put undue stress on my bandsaw, shortening the life of the blade. I prefer to start the process on my tablesaw, leaving a thin strip of wood that can be easily finished off on the bandsaw. I then use a planer and sander to coax the double-wide board to the correct thinness.
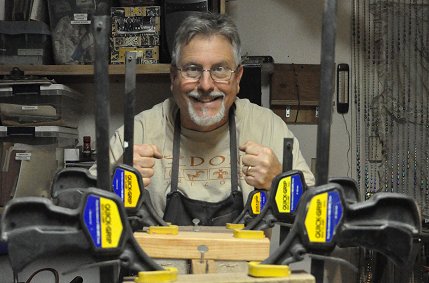
With 49 dulcimers under my belt, I have been able to achieve this with only the tablesaw fence and a push stick, but I have always approached it with trepidation. I wanted a jig to help with the process. I had my chance when I was commissioned to build a dulcimer in June of 2021, so I researched, modified, and constructed my jig while waiting on a shipment of hardware.
I can usually find something online that will work for a project or will inspire modification for my use, and this time was no exception. I found a couple of snapshots of a jig at a woodworking forum called Lumberjocks by a member with the username of DocSavage45.
I liked the simplicity of this design and knew I could modify it to work with my saw.
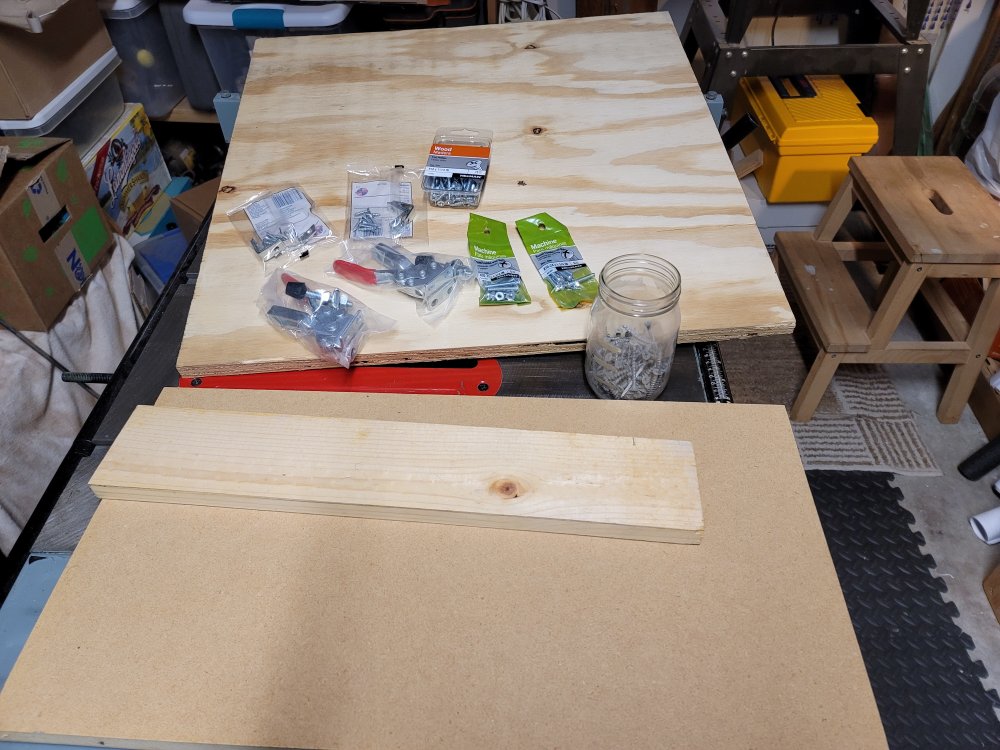

I scrounged around the shop and was able to track down some scrap MDF and some pine boards, along with assorted screws, bolts, washers and stuff. I felt like I needed a piece of 3/4″ plywood and some hardware pieces from Lowes to round out my materials list. (The 2′ x 2′ piece of plywood was $22…Woof!)
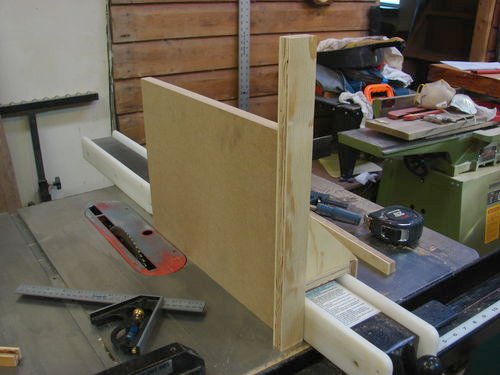
I started by cutting the plywood to the height of my fence, allowing for the bolts on the top of the fence. I just matched the length of the scrap MDF — about 22″ long.
I then cut and fit the top over the fence, leaving a millimeter or so on either side of the fence to allow it to move freely. I made the decision to use only screws and bolts with this project, rather than have the permanence of glue. I insured that everything was square to the tablesaw top before attaching the top.
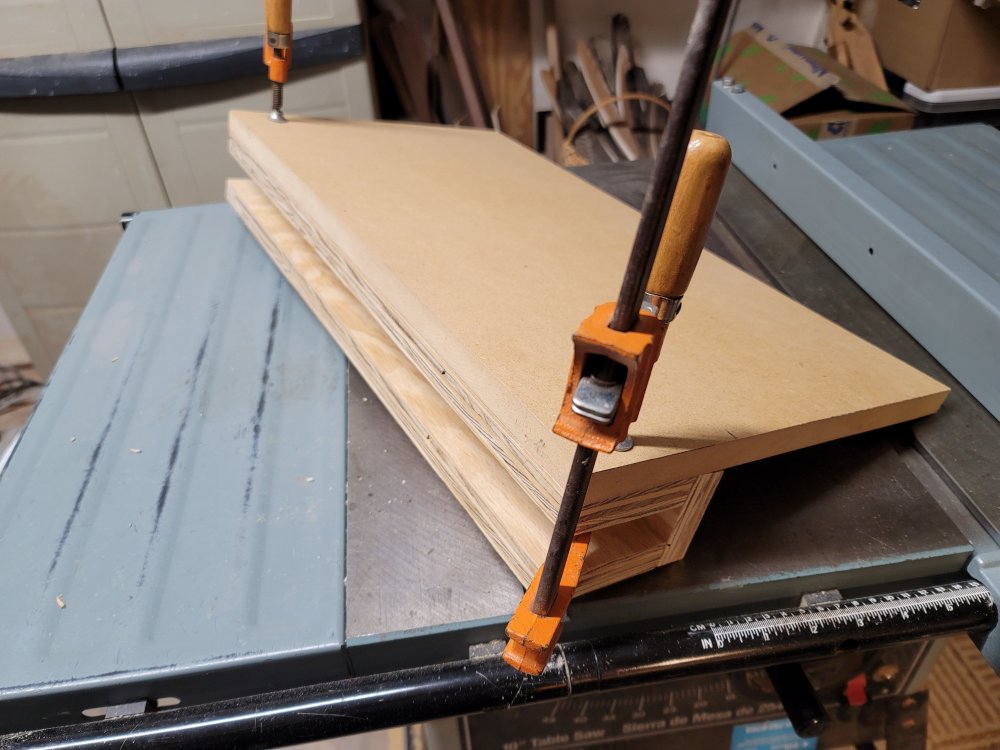
The MDF board seemed to retain it’s straightness, so I clamped it to the left side of the fence guide and secured it with countersunk wood screws.
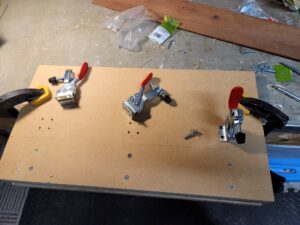
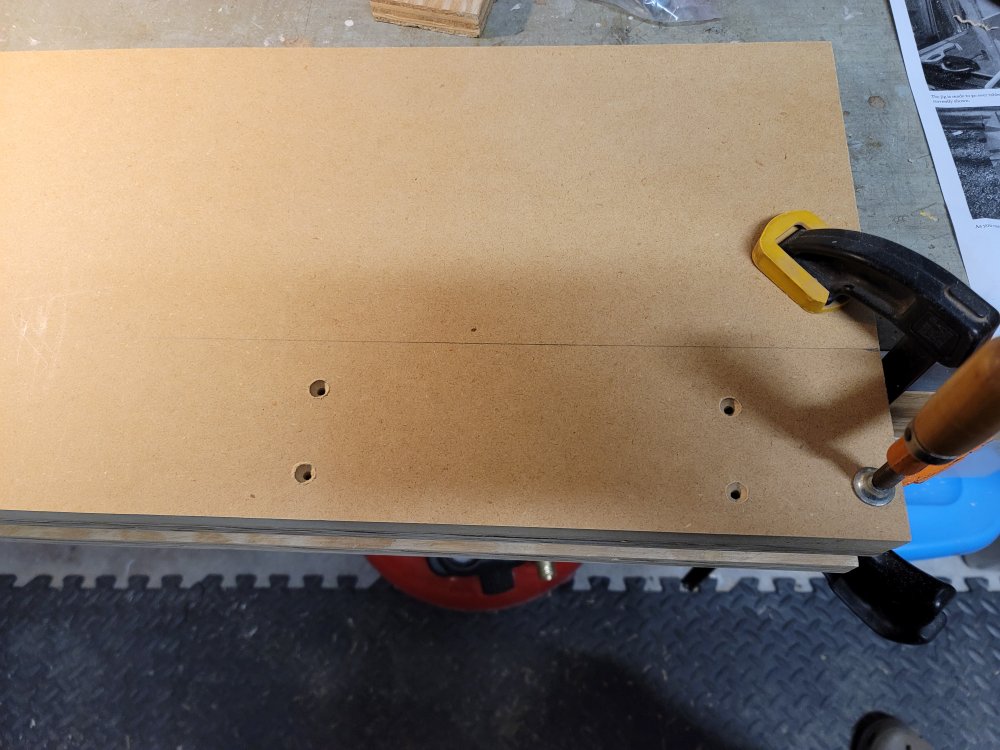
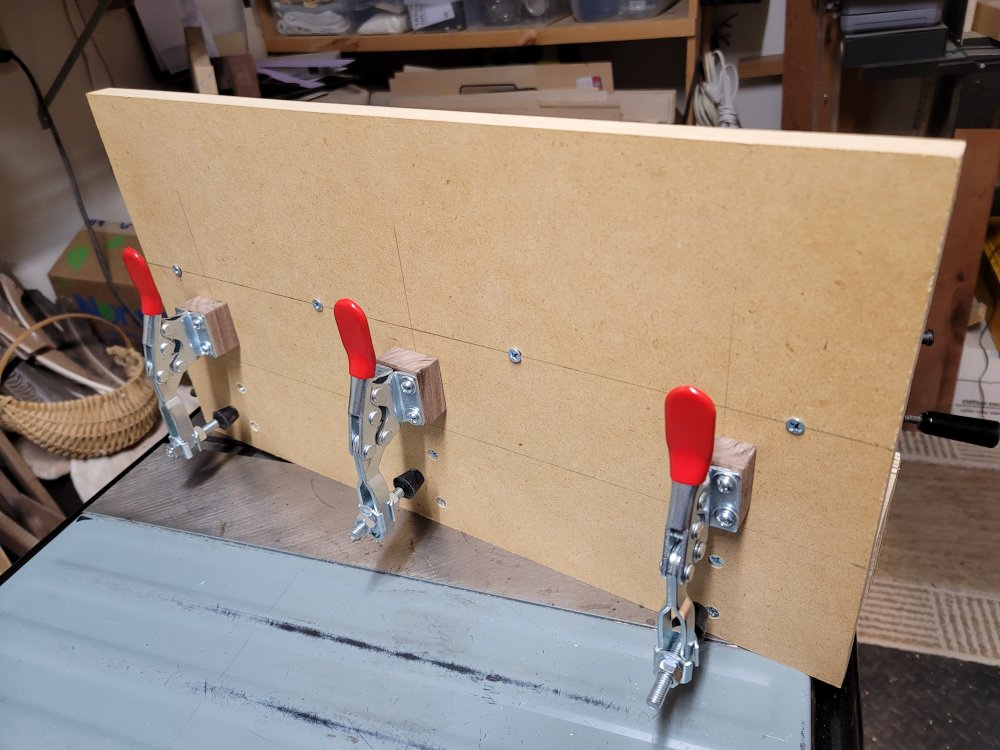
I had ordered a set of four toggle clamps from Home Depot back in January for some future project. Even though I’ve never actually worked with them (I had first seen them holding scenery backstage at the local playhouse), I felt these were just what I needed for this project. I would only need three, so I can mount the fourth one as a bench hold-down for planing and sanding. Since I will mostly be resawing 4″ boards, I measured the mounting holes at 5″ from the bottom. There is enough height on the MDF panel to add mounting holes farther up if I need to resaw wider boards at a later time.
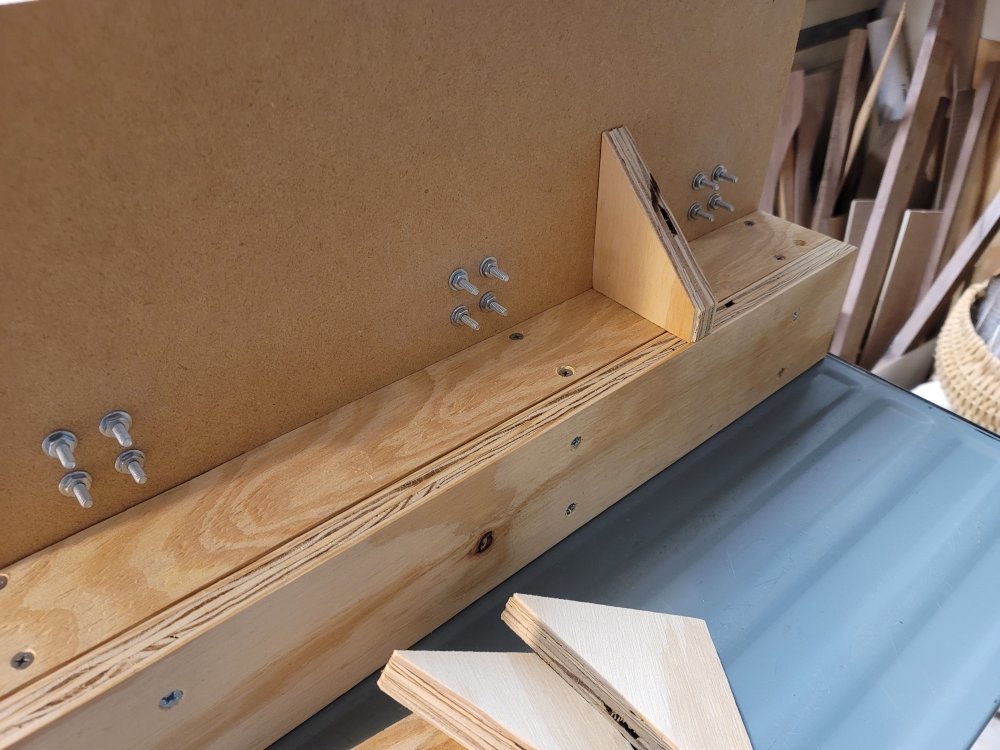
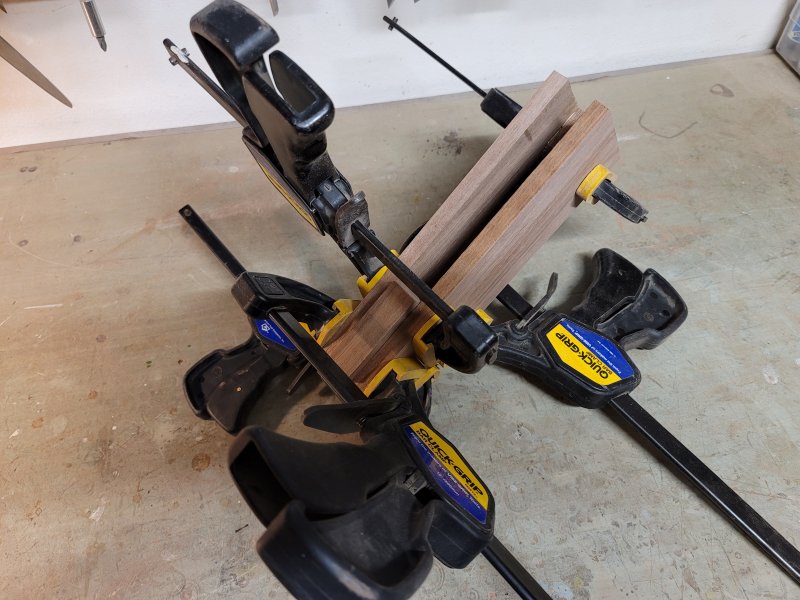
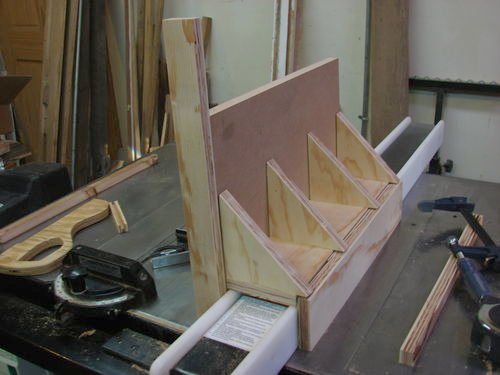
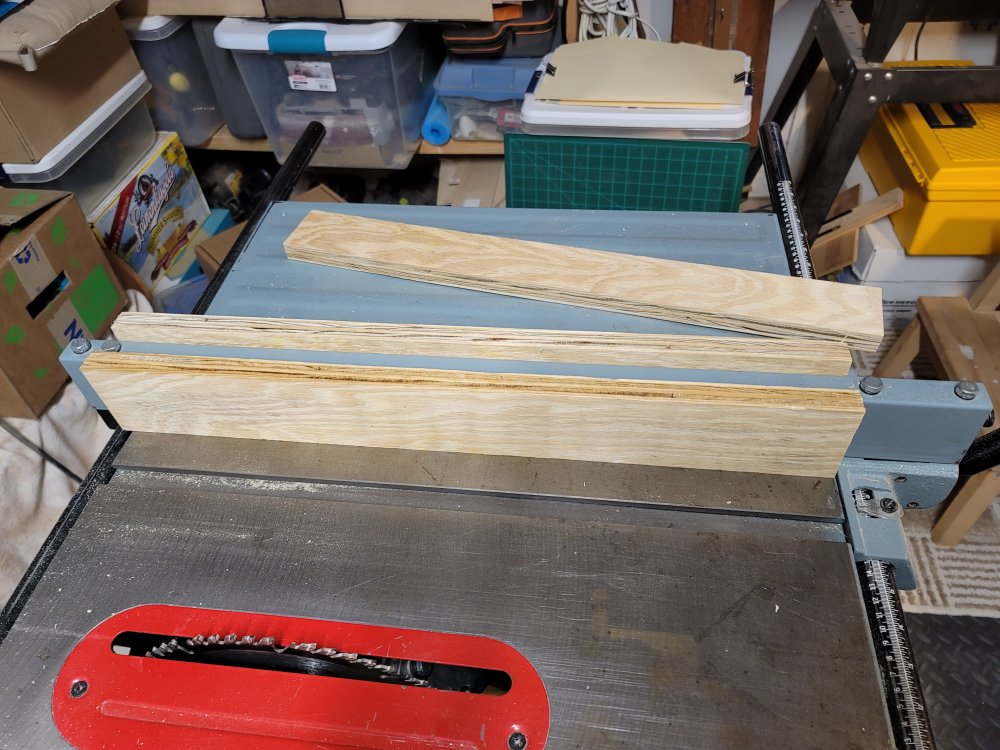
Because most of the boards I’ll be using will be at least 3/4″ thick, I realized that I needed a spacer block to raise each clamp above the board. I used some scrap walnut to serve as the spacers. When checked, the MDF panel was within a millimeter of being square. The triangular braces should make it true for the length of the panel. Since my fence is thinner than the one in my sample, if I made the braces the same size as the top of the fence, the other side would not go very high on the panel, so I increased the size by 3/4 ” and trimmed the part that stuck out over the back.

I have a tendency to over-engineer most things I construct, and that is certainly true here. However, I wanted to make sure everything was rock solid. With the braces securely attached to the base and perfectly square, it was a simple matter of screwing into the upright braces to ensure that the board being resawn remains square to the work surface all along the cut. The toggle clamps hold the board firmly in place as it’s being cut. Since the cut will be away from the fence, there should be less stress on the wood and consequently no chance to bind the blade. Several passes on each side with the blade being raised a little each time should also limit the stress on the blade. After making the cuts on one side, I will flip it directly end over end and re-attach it to the jig with the clamps. To ensure a secure fit, I place a thin piece of wood (the same thickness as the sawblade) into the channel I cut before applying the clamps. Once I have resawn as much as I feel comfortable with on the tablesaw, I will finish the job with the bandsaw.