Dulcimer #51 was inspired by a contact from my college days. Bill lived down the hall from me in Dorm 1 (now Gamble Hall) and sent me a message on Facebook saying he wanted a custom-made dulcimer. I had to warn him that this may take awhile — I had just come out of retirement to return to an elementary classroom, so my time was going to be constrained. I had also begun to construct a jig to bend the dulcimer sides and I needed to finish that before I could reconfigure my shop for dulcimer-mode. He said that would be fine, and I appreciate his patience. This one will be an anniversary instrument since it was exactly 45 years ago, this month, that I took the “Building the Appalachian Dulcimer” class during the 3-week Interim period at Maryville College.
I finished the side-bending jig and have posted the process in the “Woodworking” section.
I have finally begun construction of the dulcimer in earnest. The jigs I have built will help me speed up the process, so that will help counteract my scarcity of time.
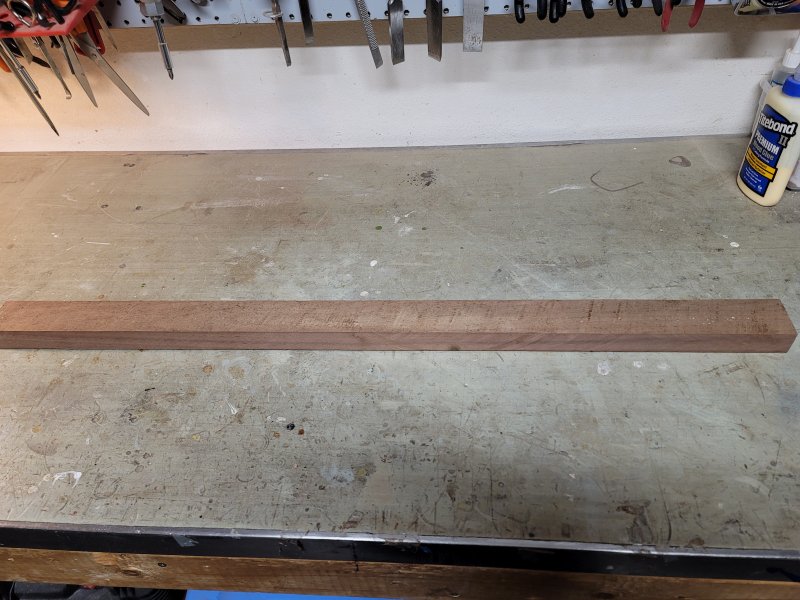

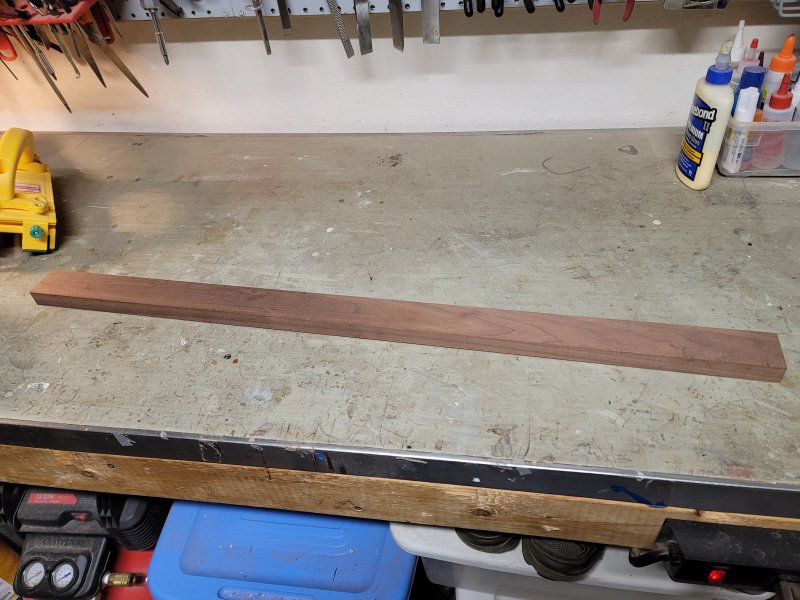
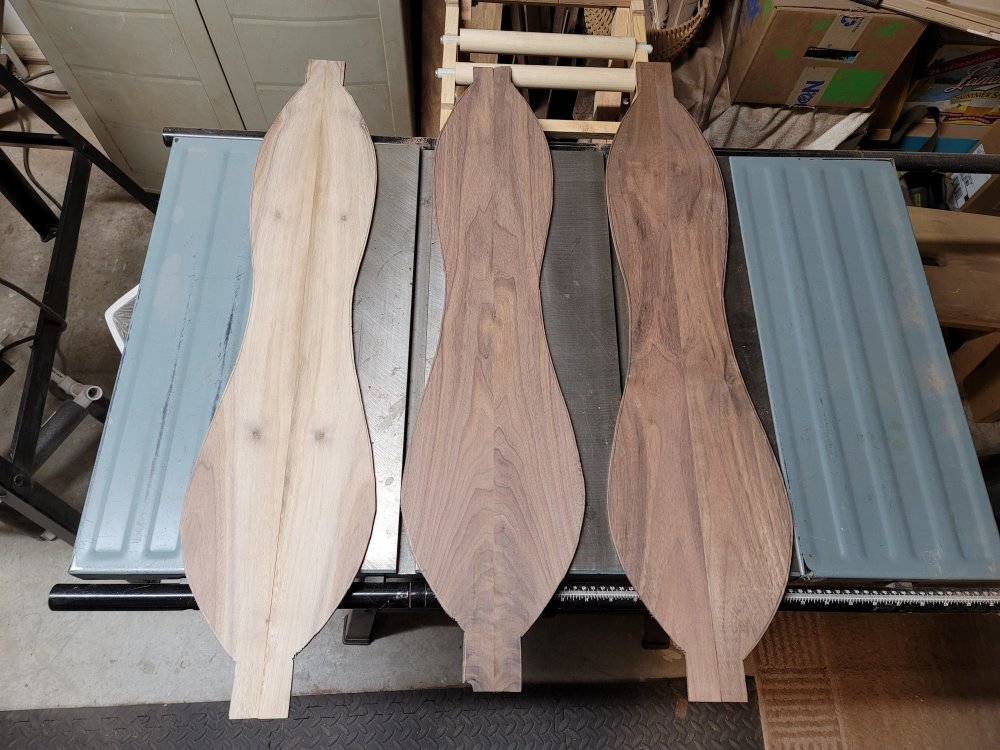
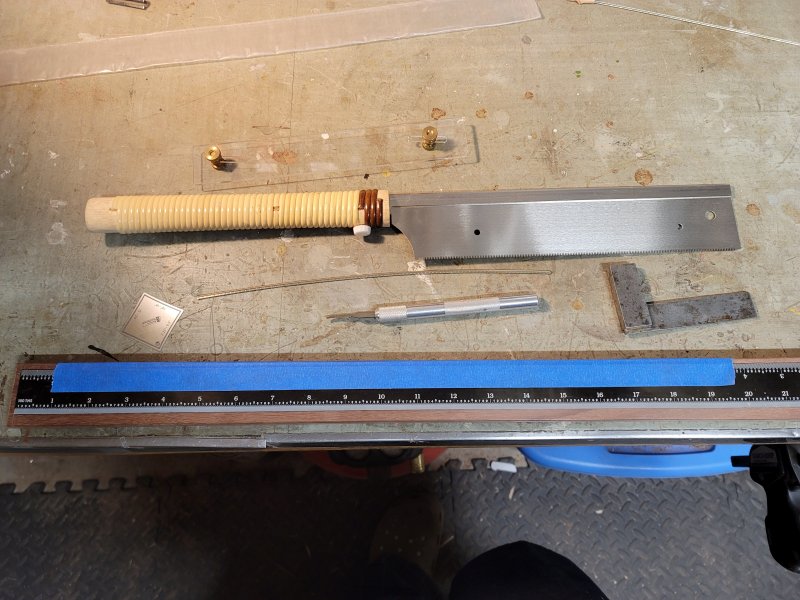
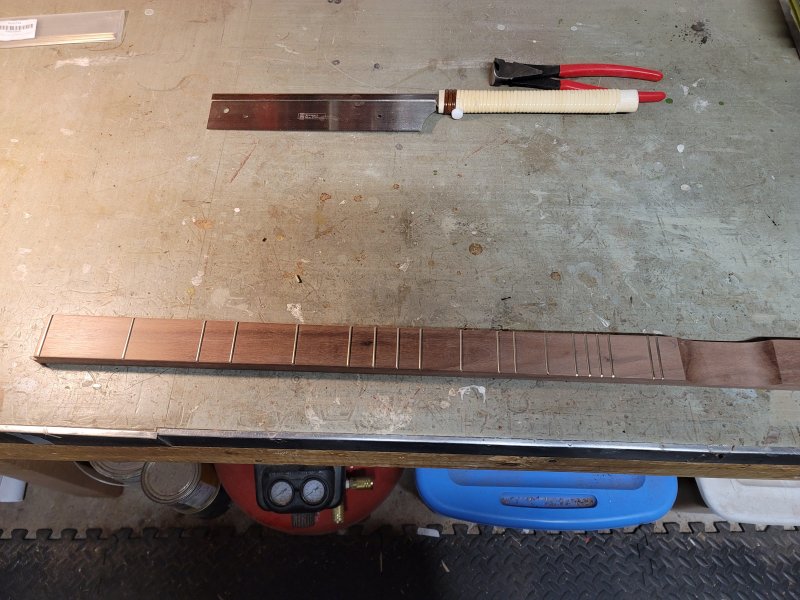
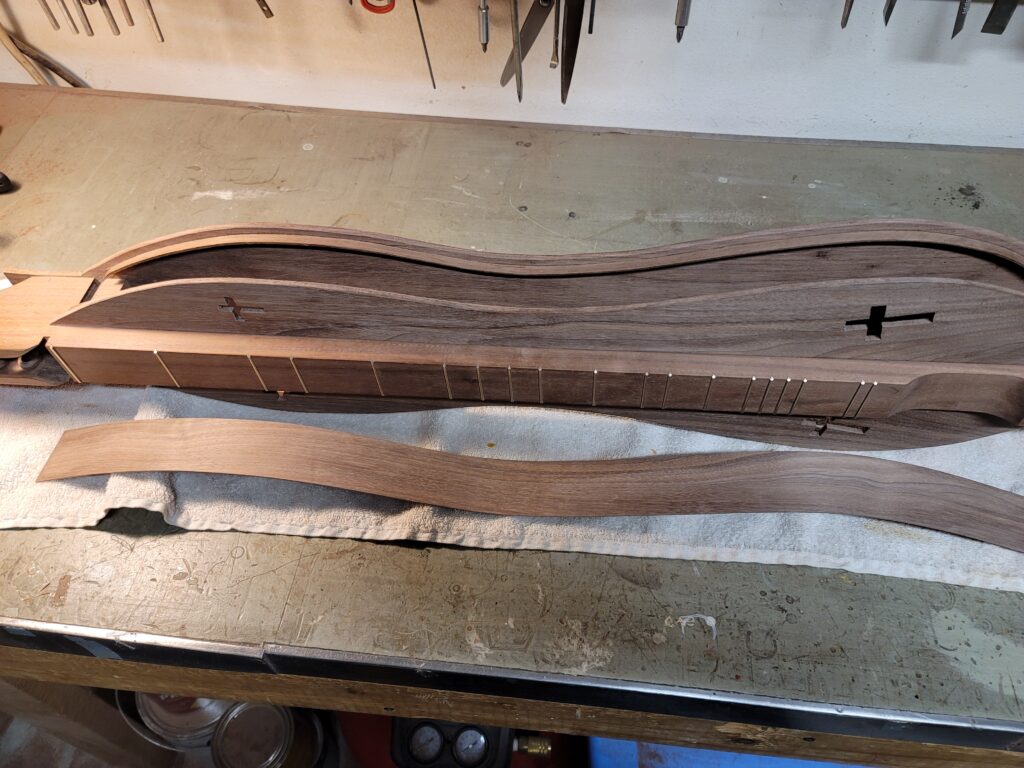
The heart of a dulcimer is the fretboard. It must be perfectly straight and flat, and all the frets must be perfectly placed. That is where I start. I had a rough-cut blank hanging around (actually 2) so I employed a planer-jointer and a bench sander to bring it down to size.
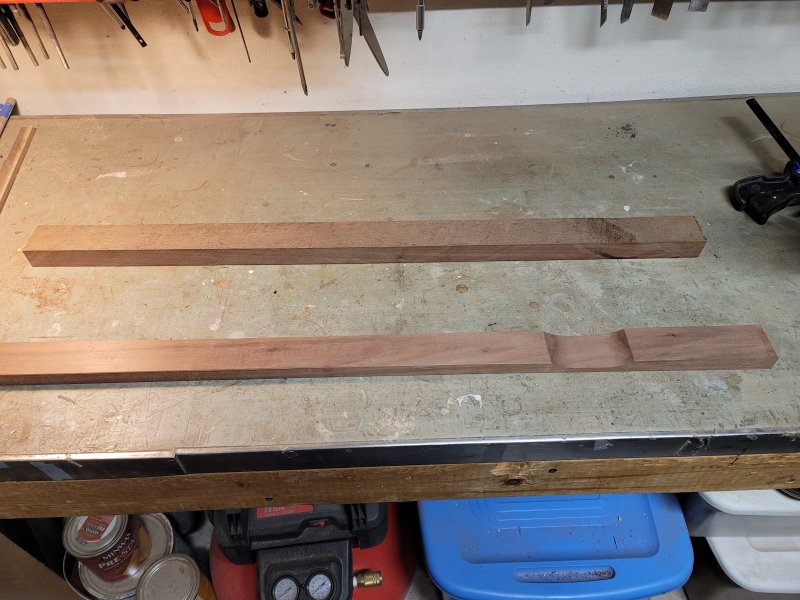
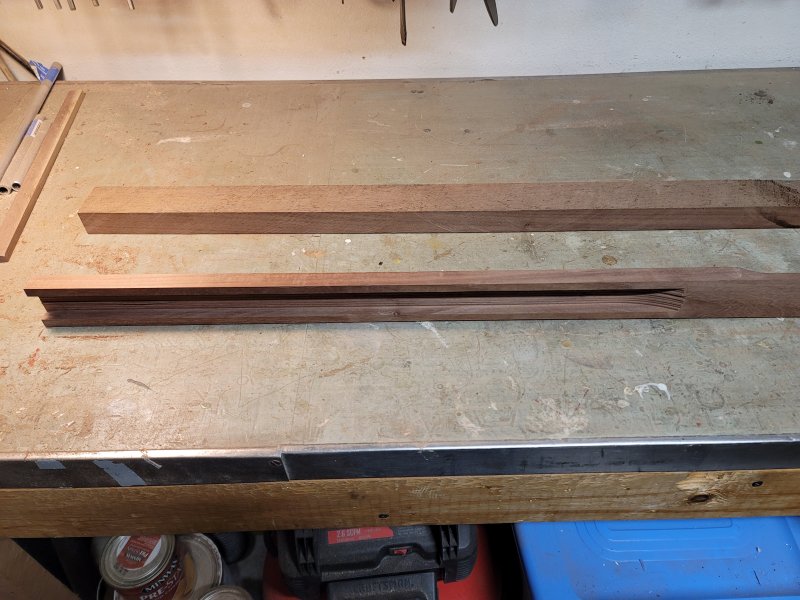
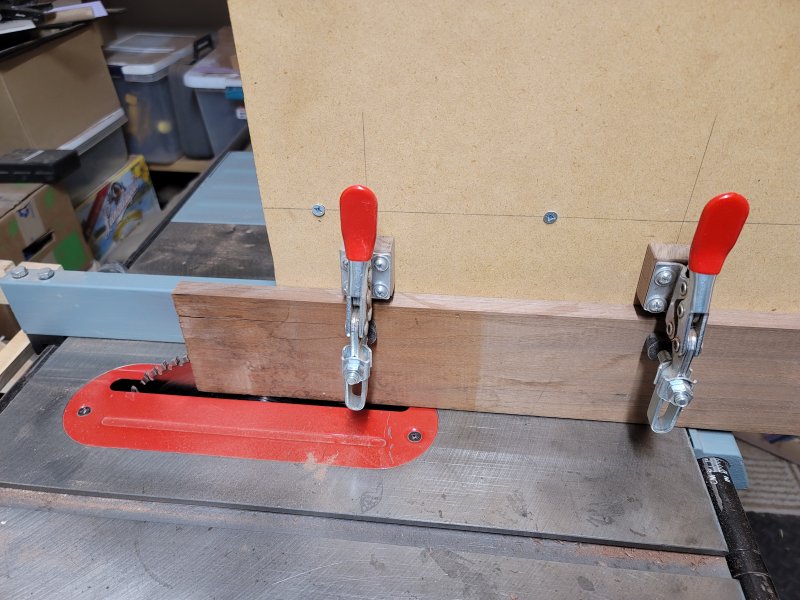
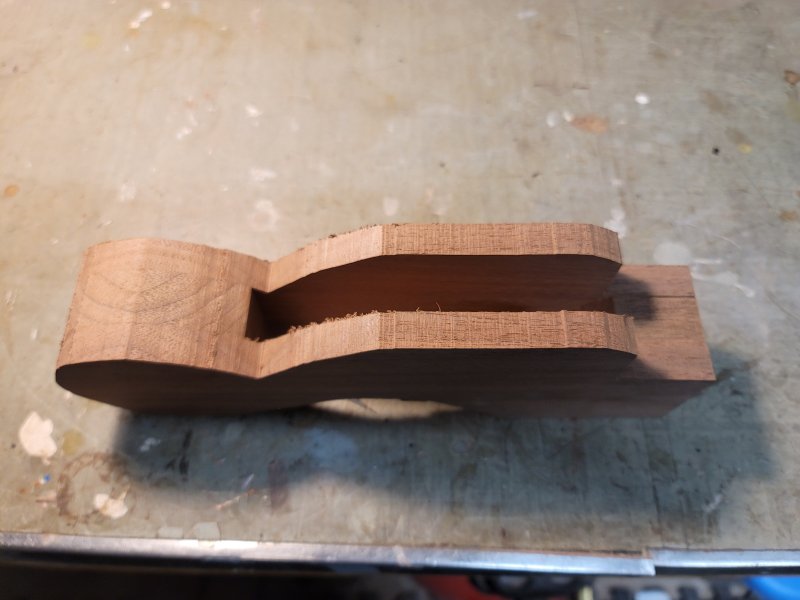
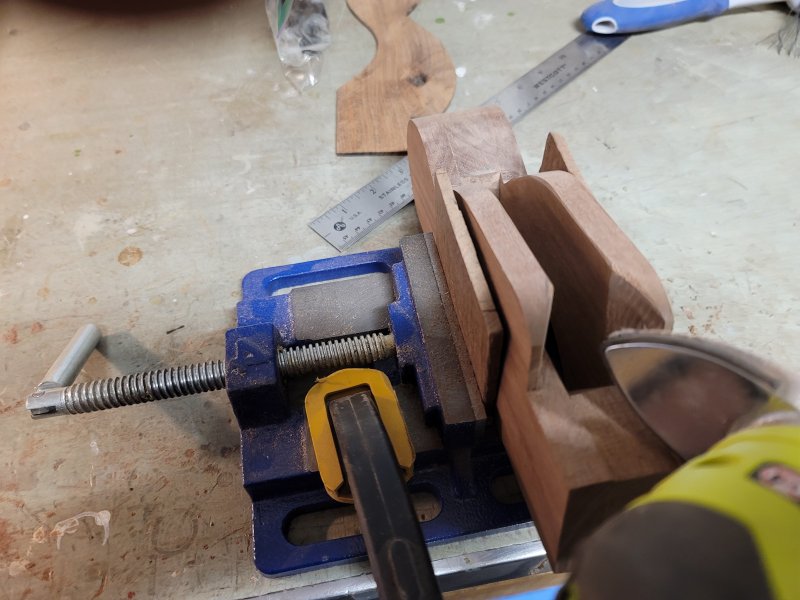
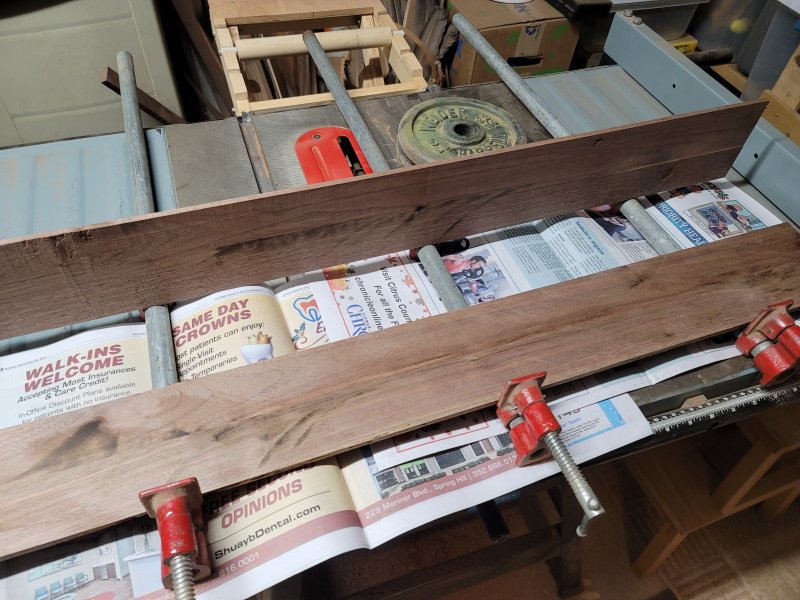
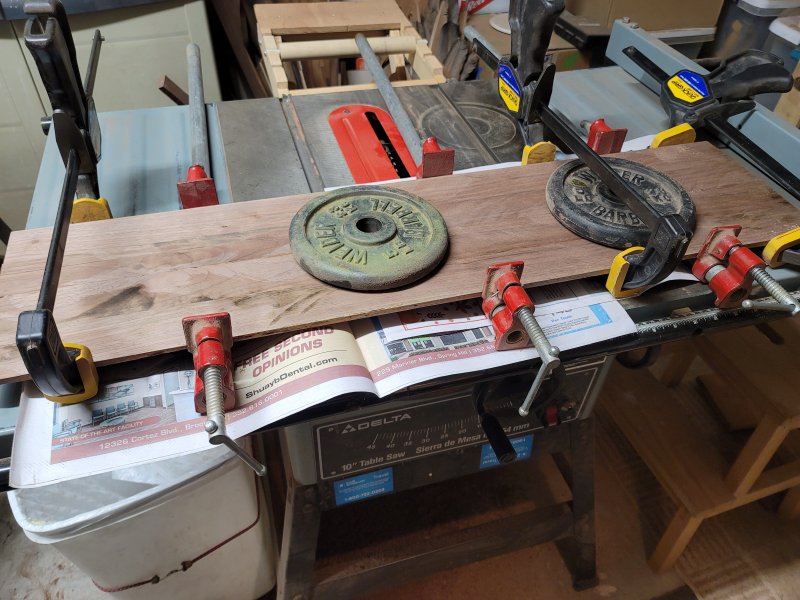
I cut the strum hollow after measuring the scale length of the frets and then hollowed out the underside of the fretboard. Here it is beside the other rough-cut blank. I then turned to the construction of the peghead. This is another piece that must perfectly align with the fretboard. Here, I am using a jig that I designed for resawing lumber into thin pieces. I just needed to remove about 1/8 inch from this board and the jig made quick work of it.
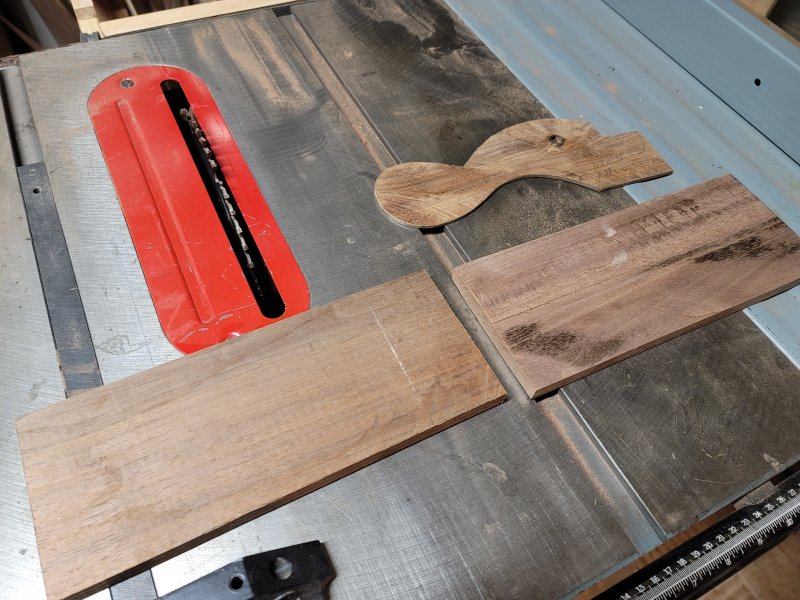
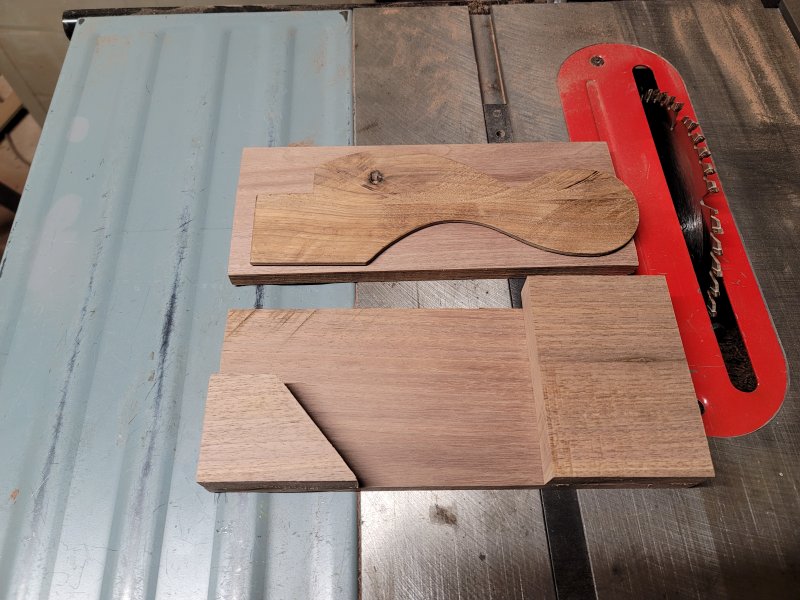
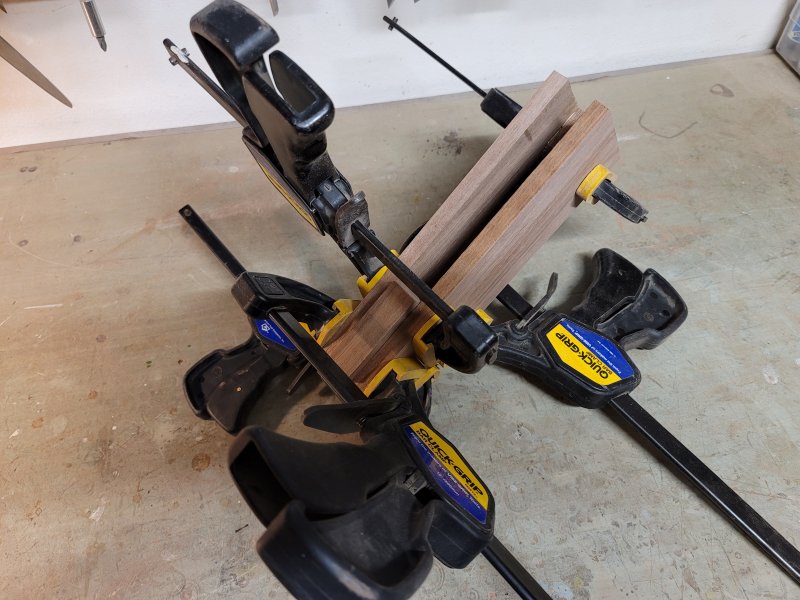
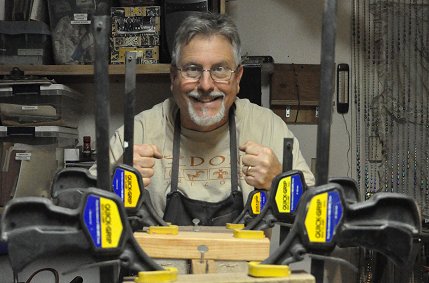
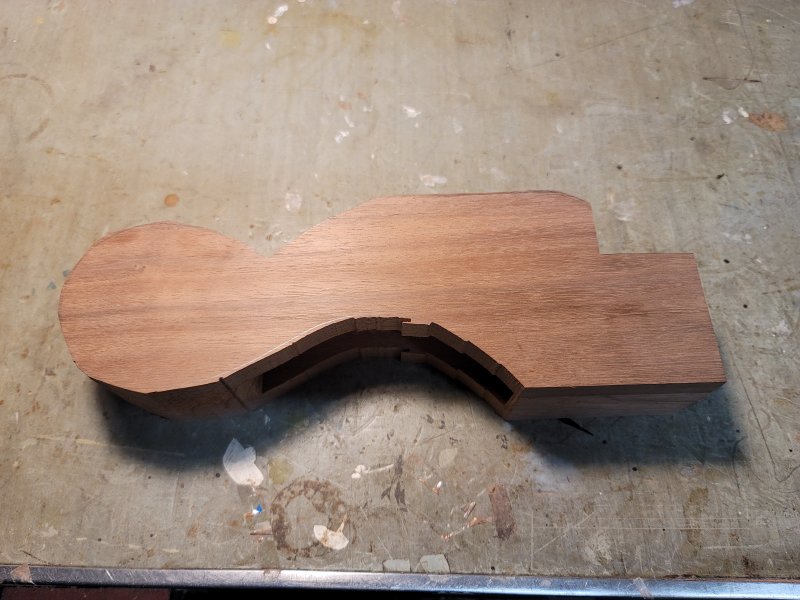
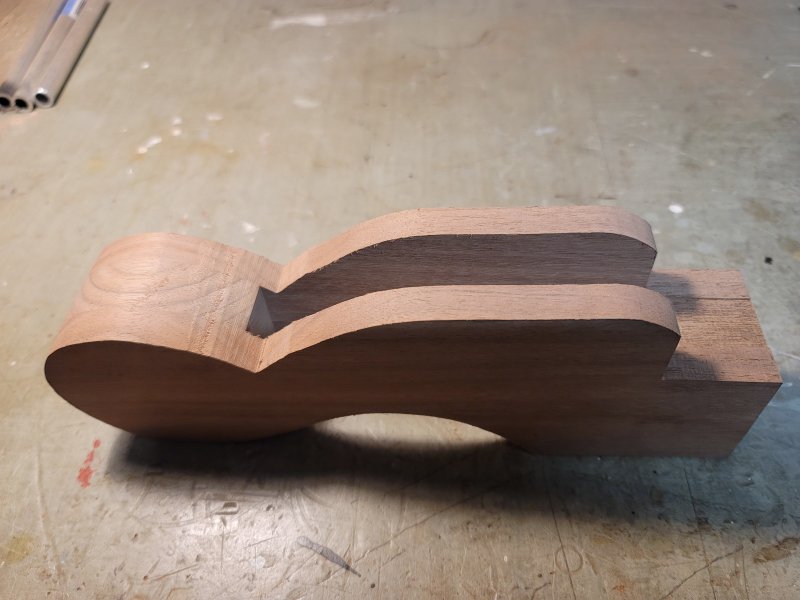
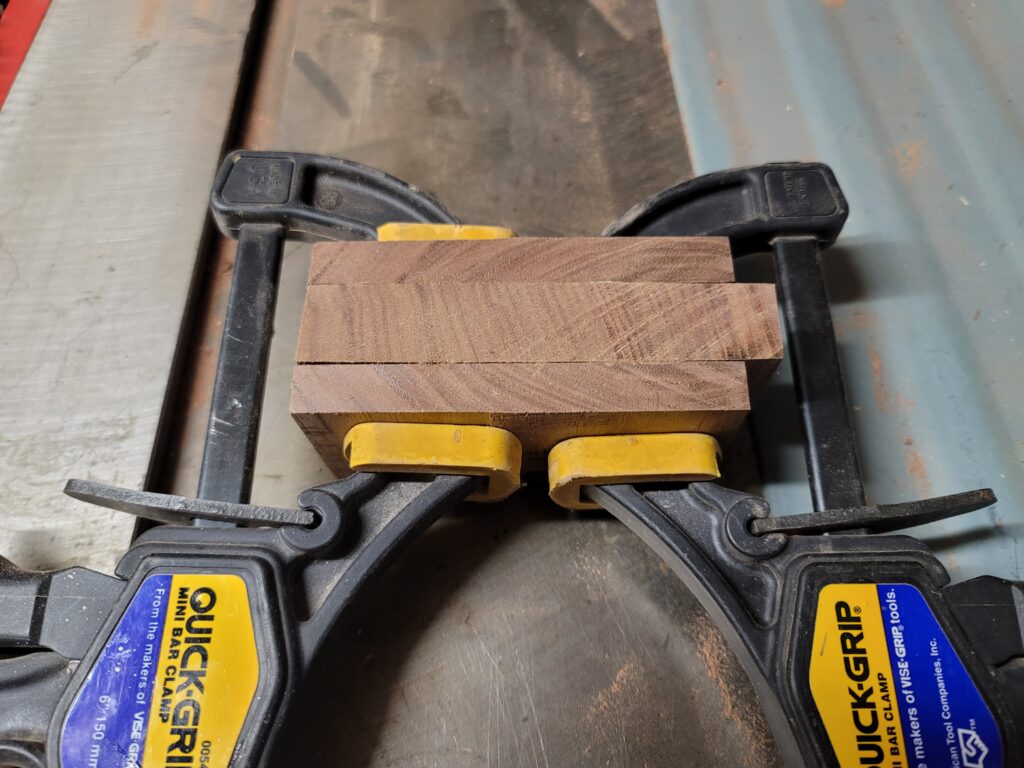
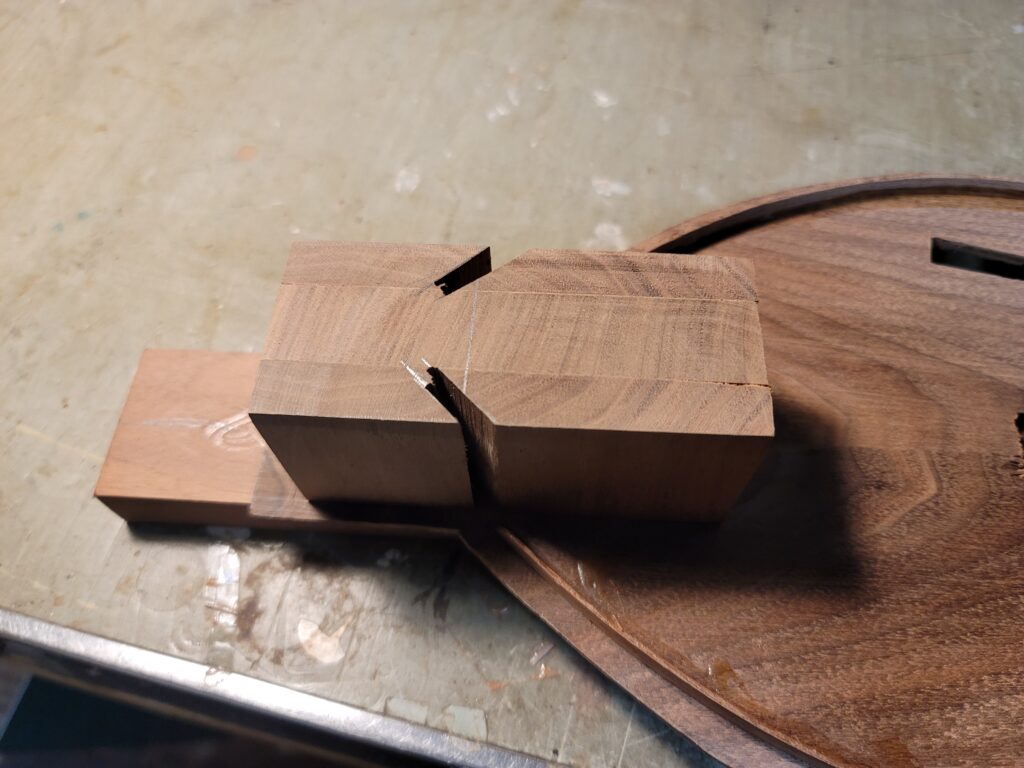
I then cut out and sanded the pieces of the peghead to fit the template that I usually use. I measured the width needed to match the fretboard and prepped a couple of pieces to fill in the middle. I like to get to a gluing stage before turning in for the evening.
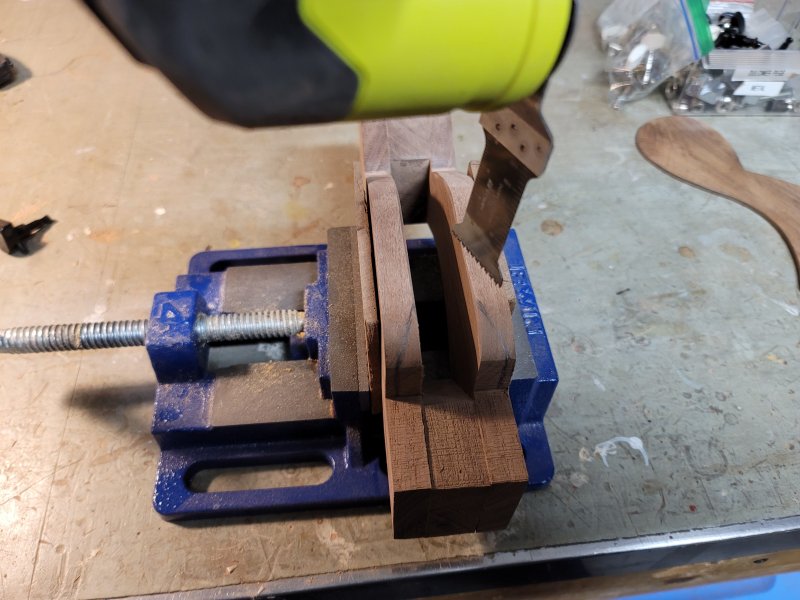

Squeezing in time to build the pieces in between teaching responsibilities and holiday activities. My new Ryobi multi-tool helped speed up the process with the peg head.
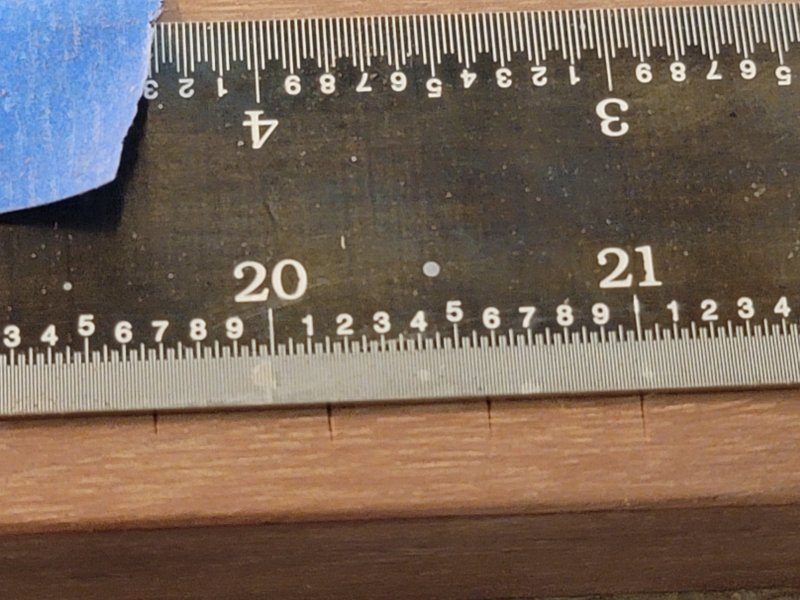
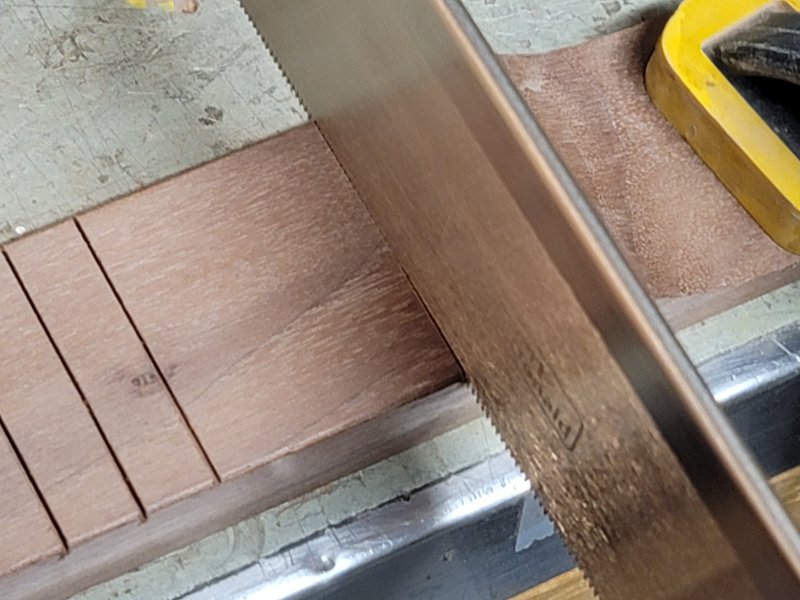
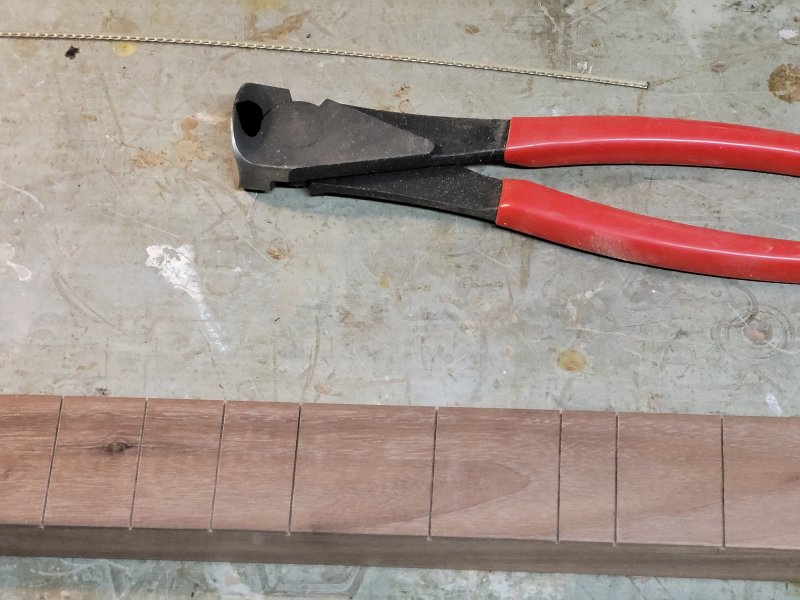
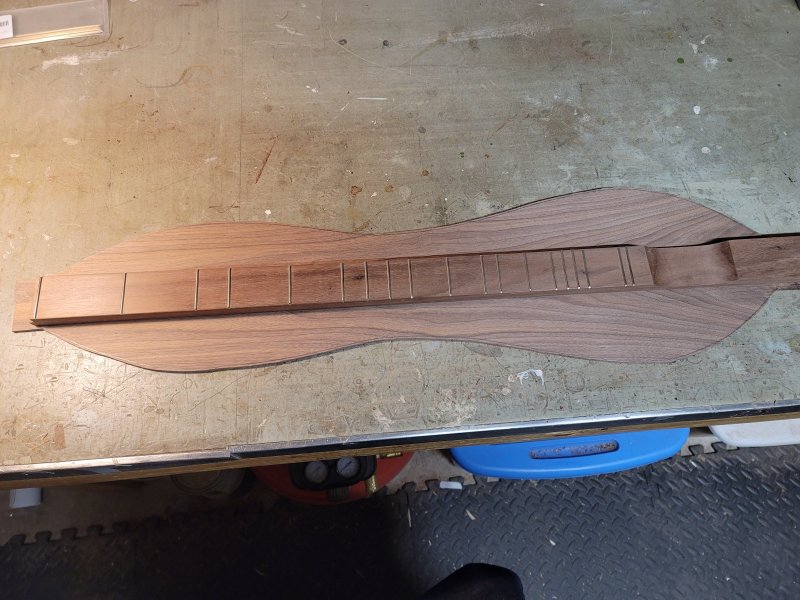
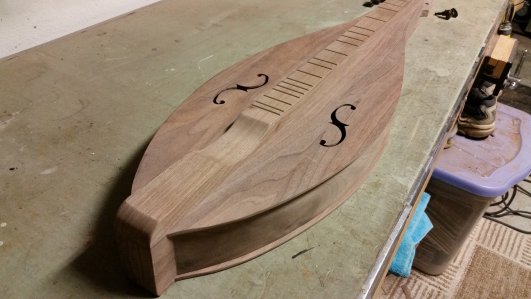
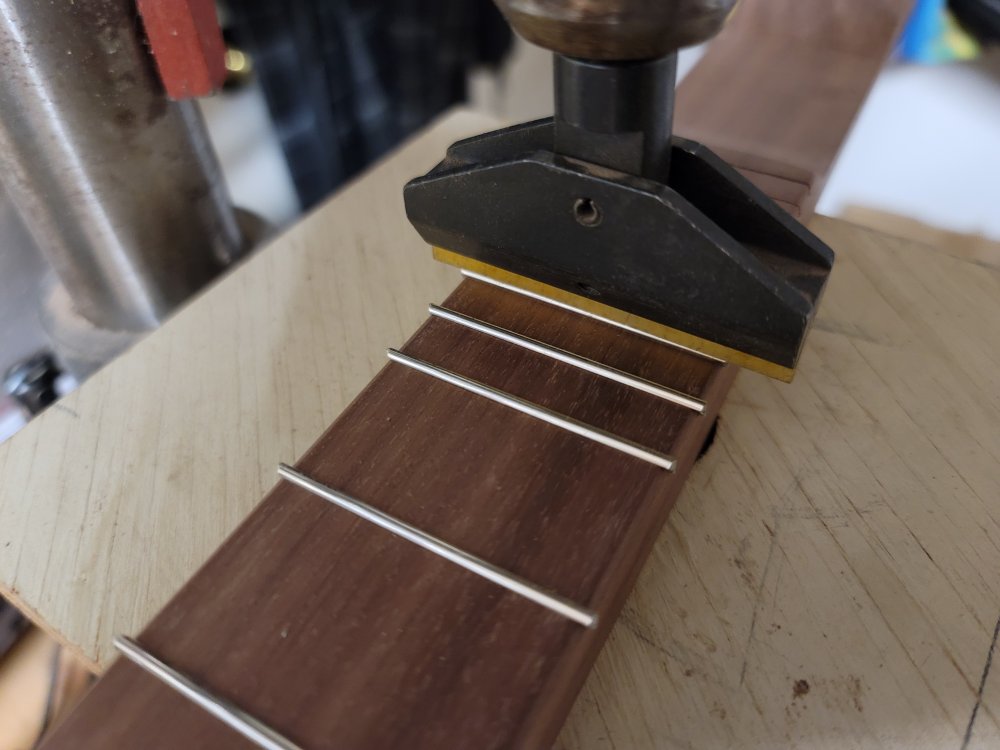
The fretboard is the most important component. I use a fret position calculator from Stewart-MacDonald’s website to determine each fret’s location within 1/100th of an inch. I test-fit the completed fretboard onto the soundboard.
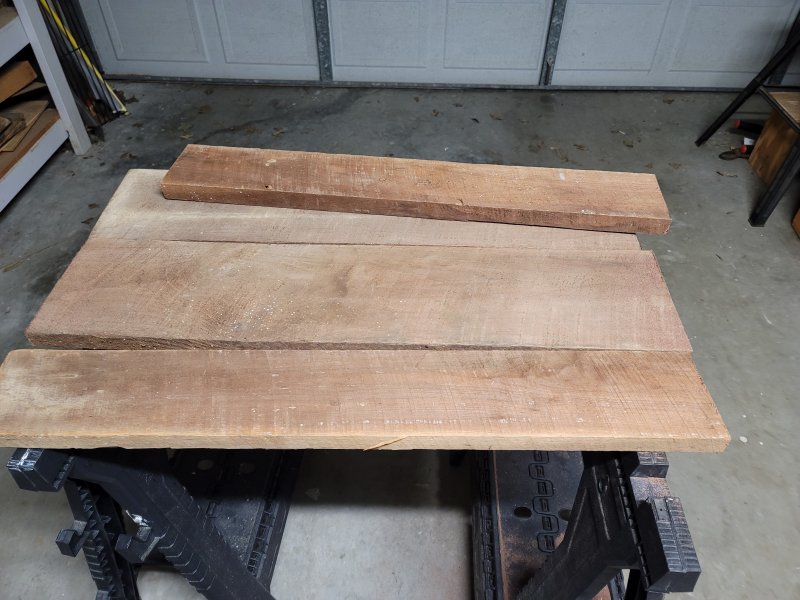
I went to my stock pile to find the back piece. I planed down the narrower board and bookmatched it using my resaw jig. I will thin and cut out the shape as soon as possible.
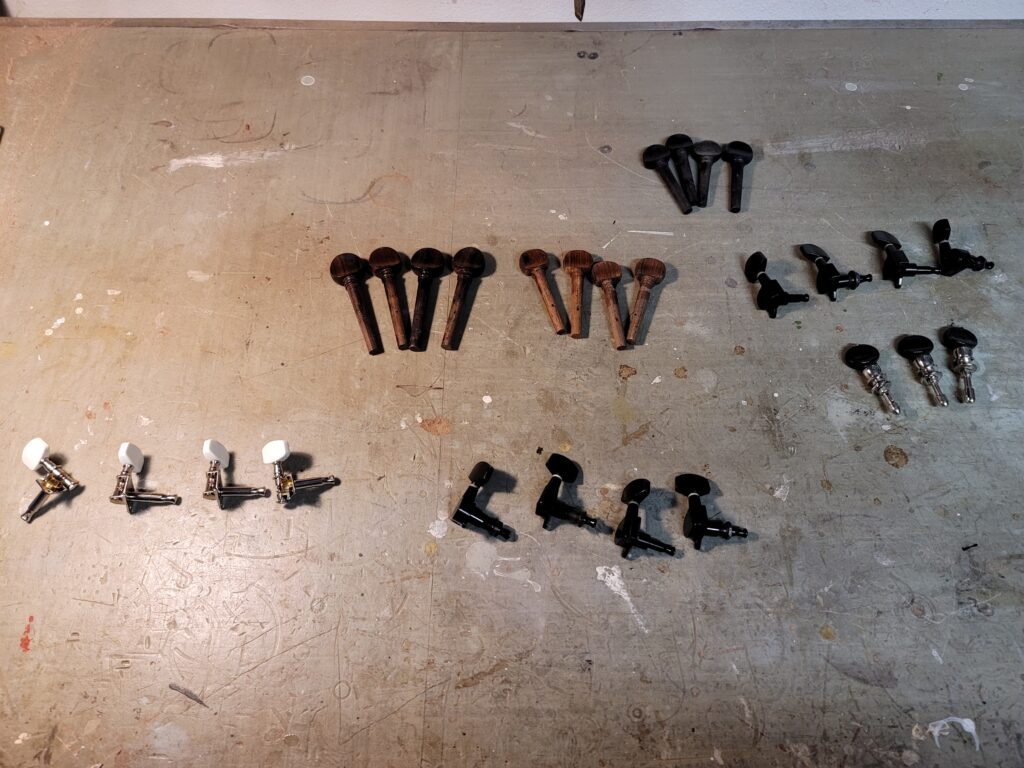
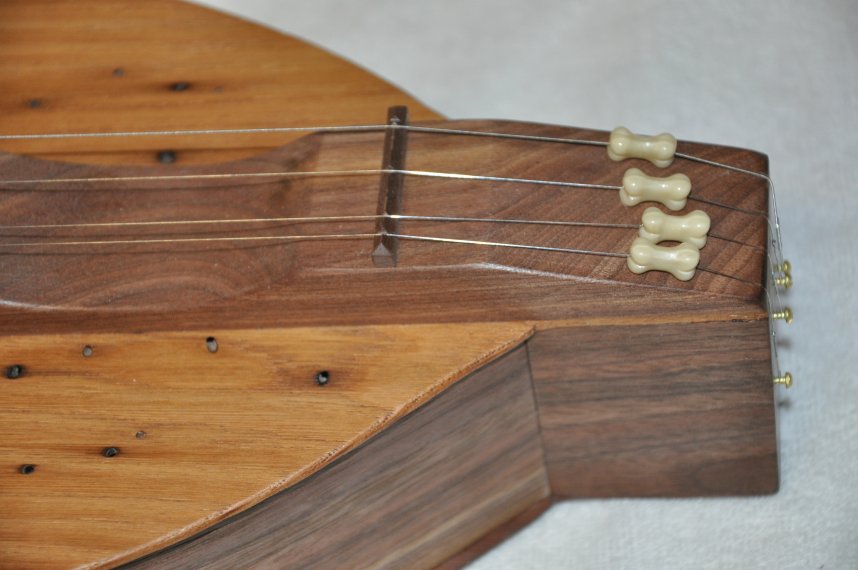
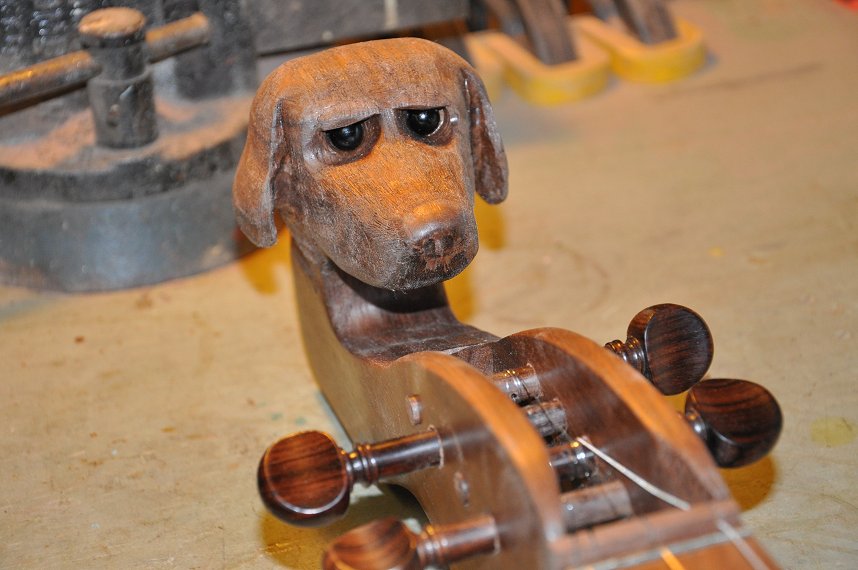
The tailstock was pretty straightforward. All we needed were some slots for the side pieces. This must be cut before being glued down. I presented Bill with as assortment of possibilities with regard to tuning pegs. He chose the black tuning machines in the forefront.
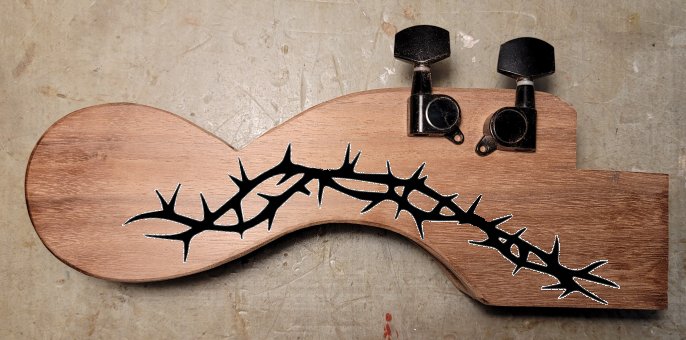
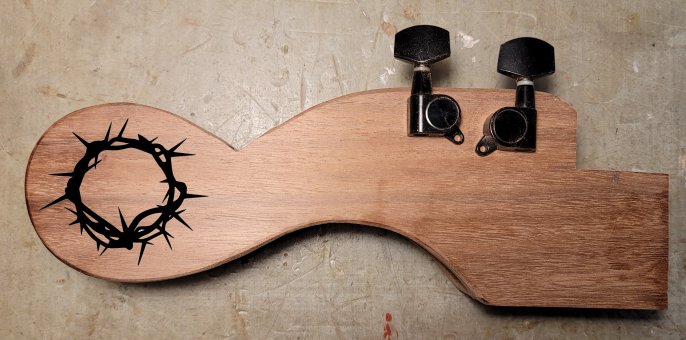
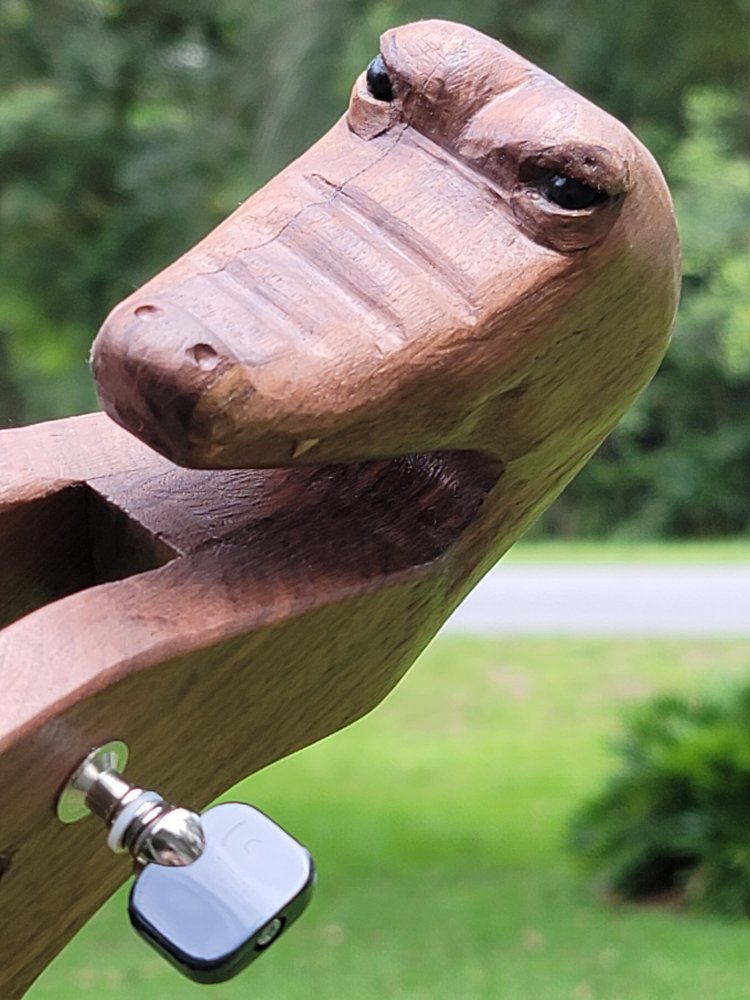
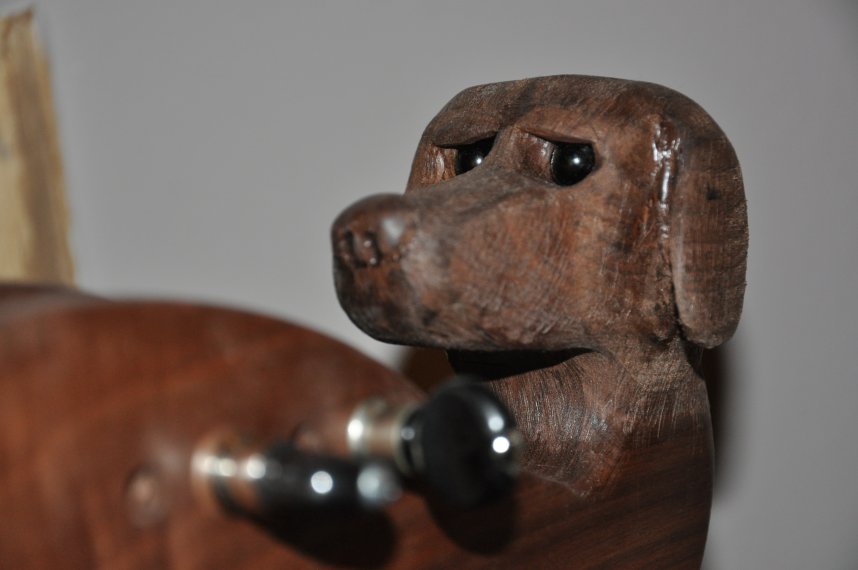
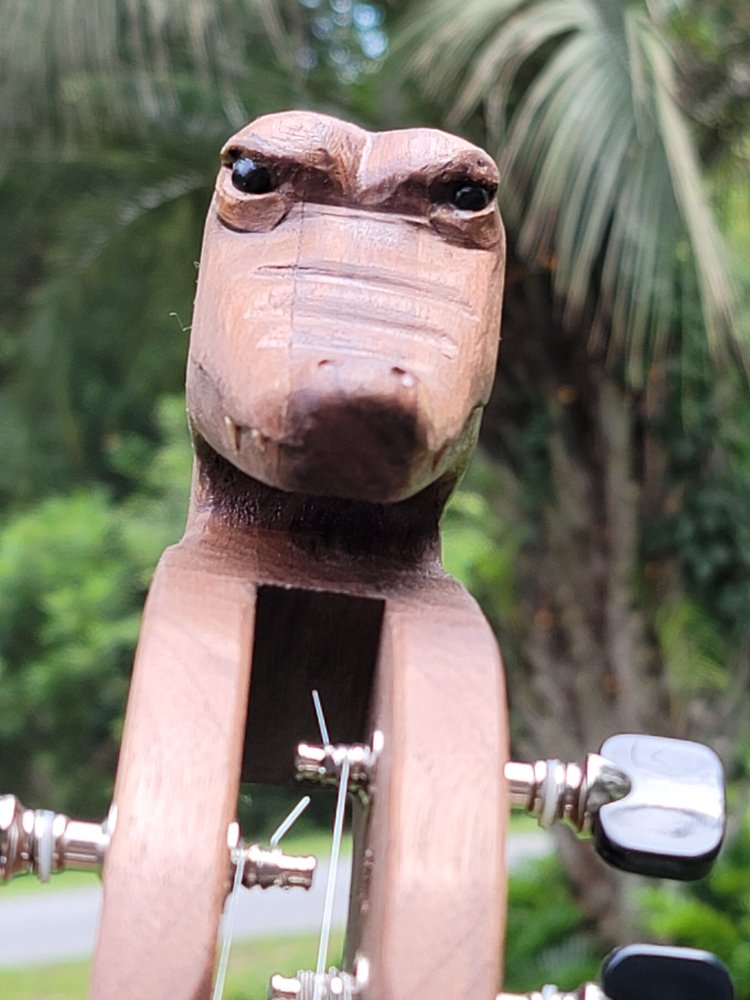
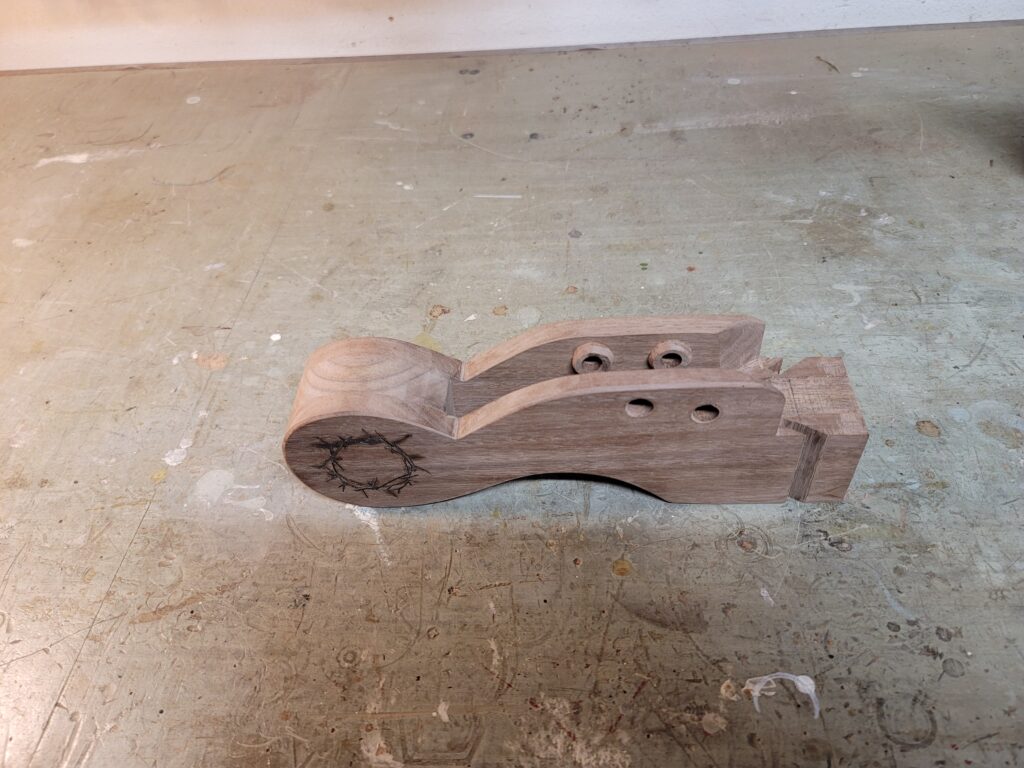
I normally woodburn ferns along the peg head, but since this is going to be a dulcimer used for worship services, Bill asked about a crown of thorns. I snapped a picture of the peg head, put 2 of the pegs in place and searched online for some images of thorns. I had a tough time getting away from the ferns, so the first one is thorns replacing the ferns. Then a colleague suggested the circular patterns, and Bill said he liked the design in the middle. I did, too.

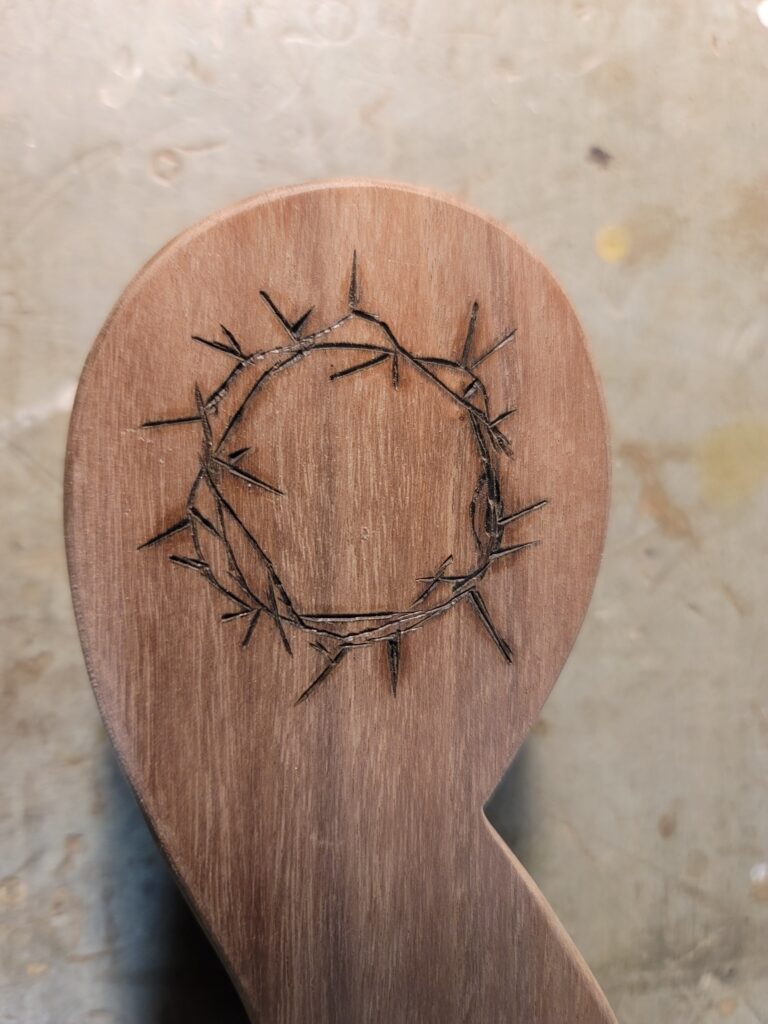
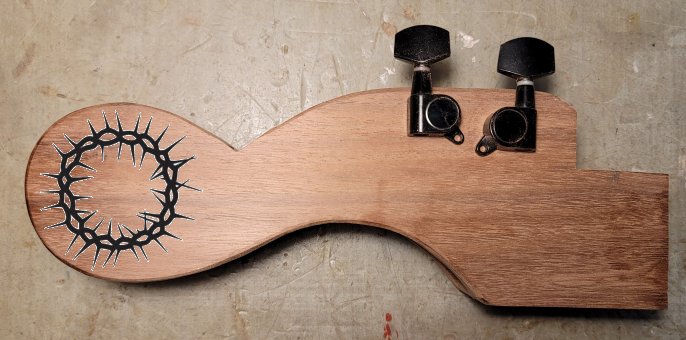
This is the design woodburned
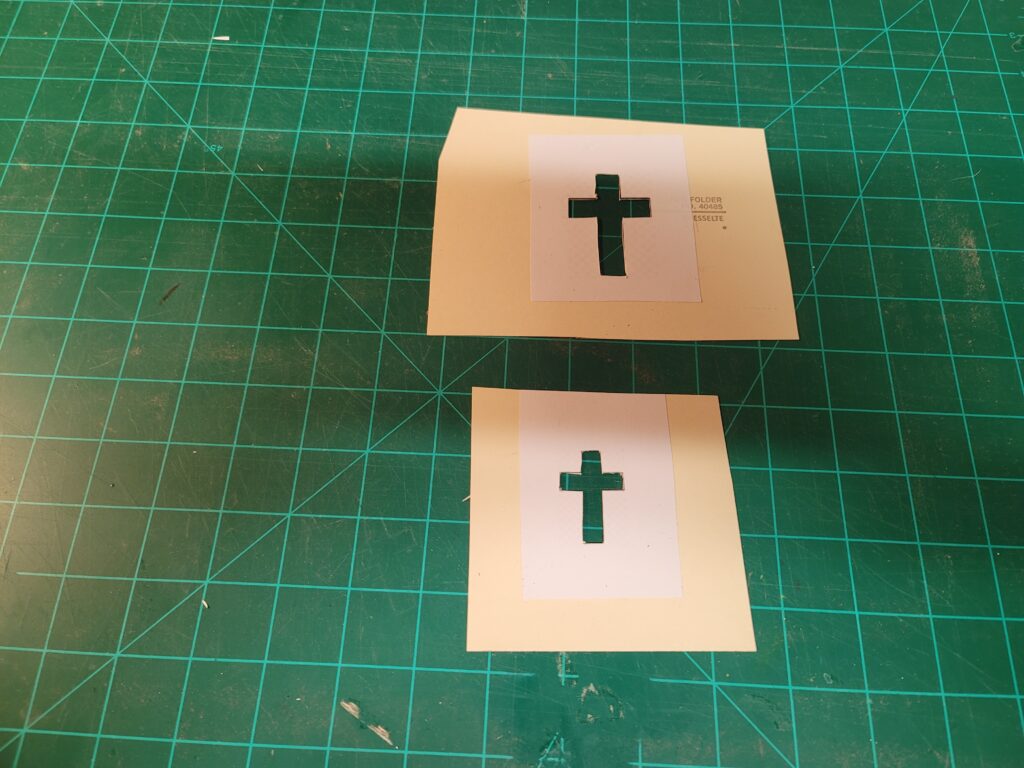
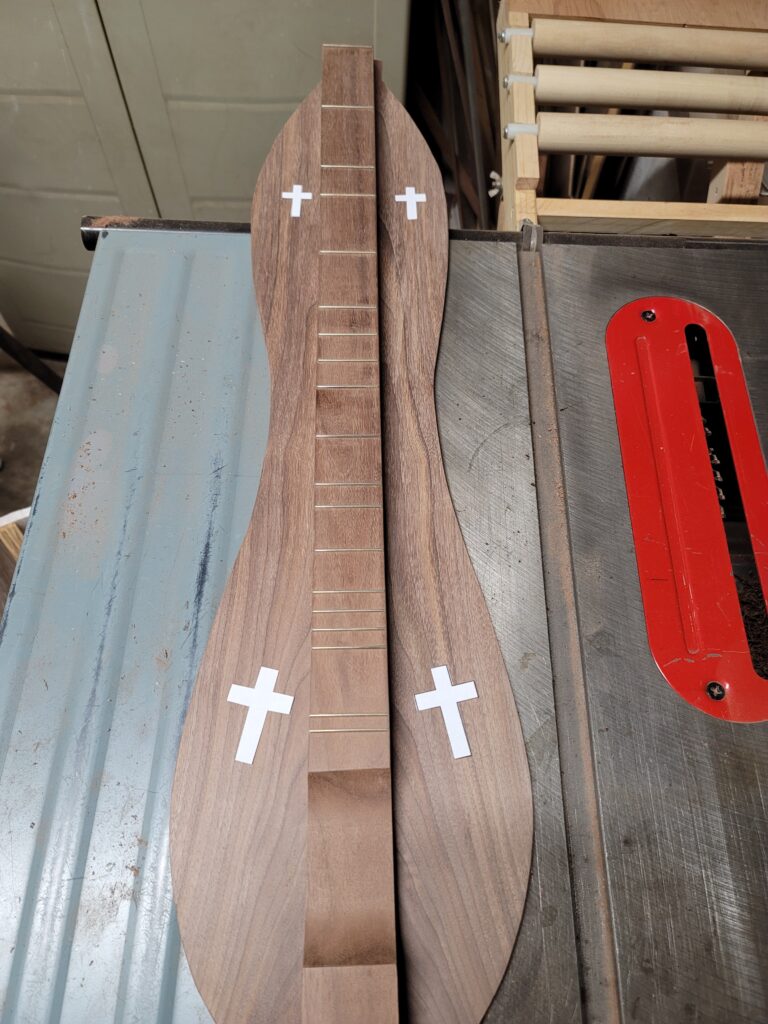

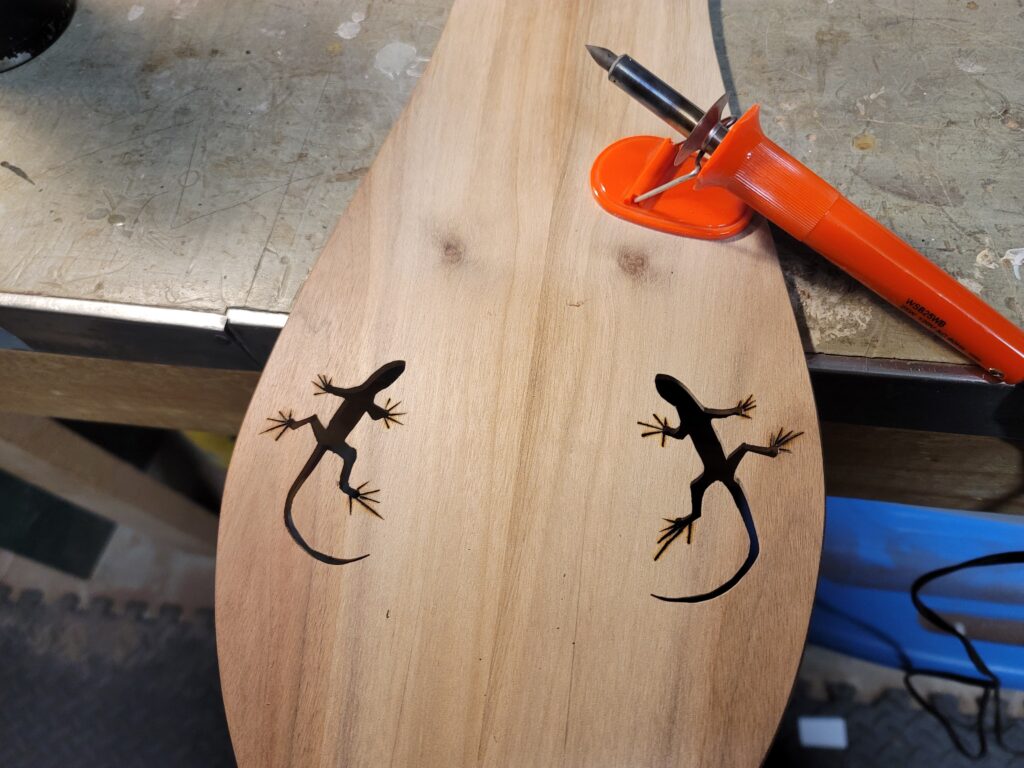
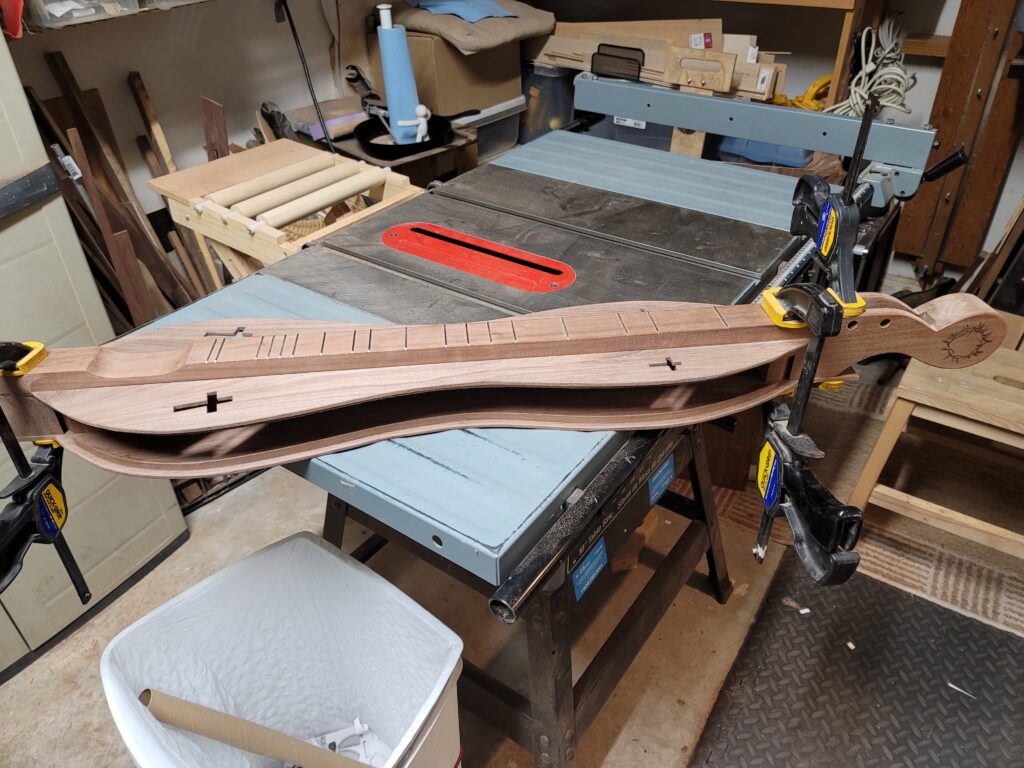
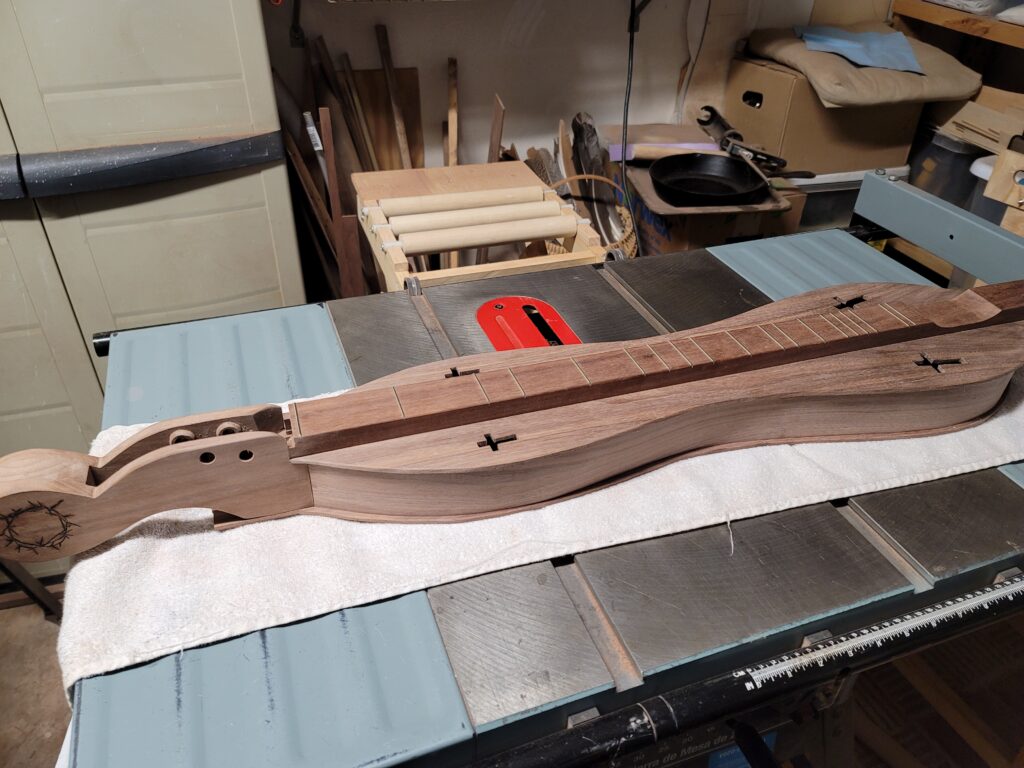
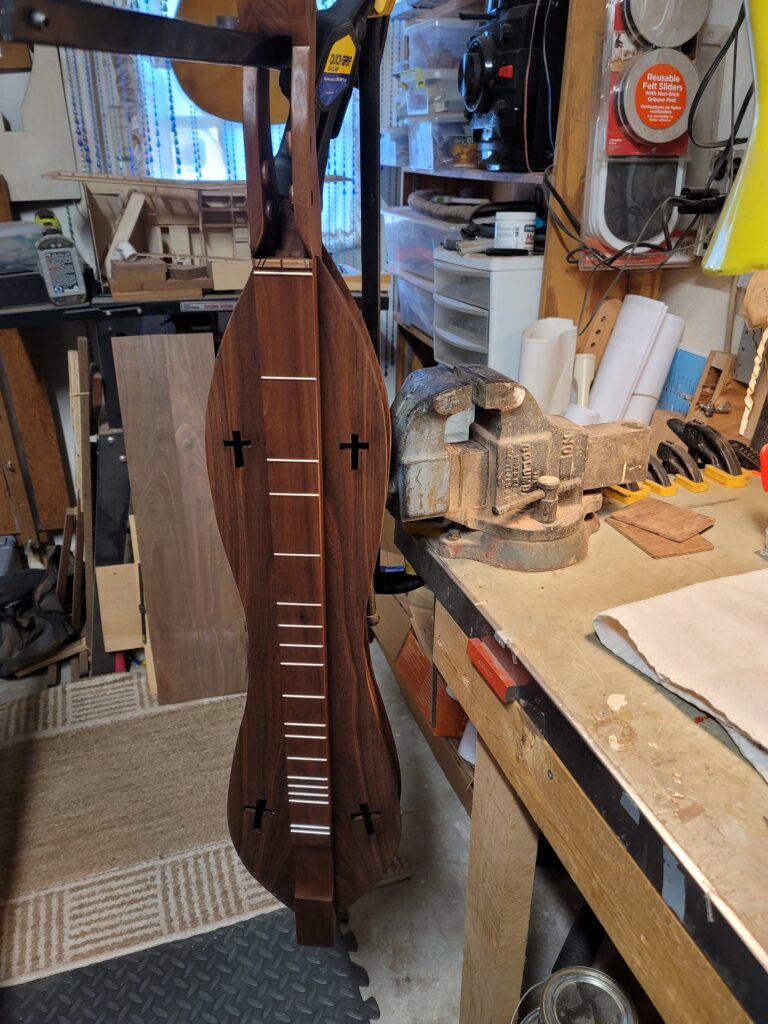
Next came the sound holes. I created the design (two large and two small crosses) and cut them out of manila folders. Again, I collaborated with Bill, and he wanted the crosses on the bottom to follow the grain of the wood. The middle image is just a test-fit. The next steps were to cut and smooth the sound holes, then glue down the fretboard.
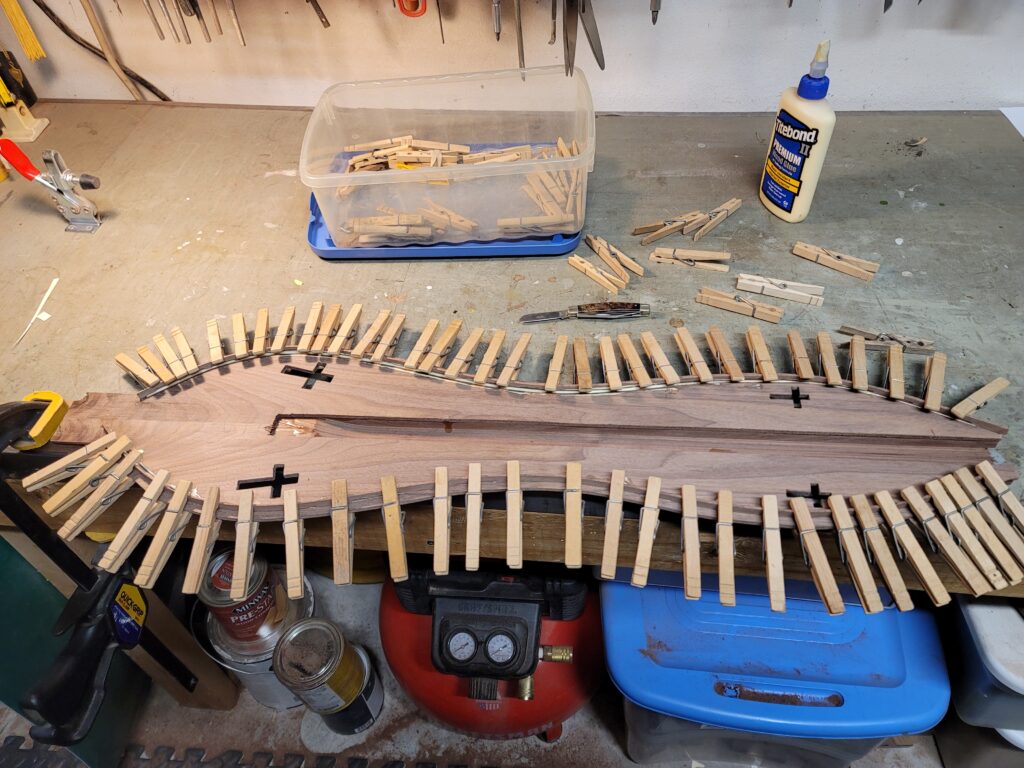
After gluing the strips around the edges, I attached the front to the back. I then carefully slip some painter’s tape into the slots for the side pieces and stick it down to the flanges. This gives me the exact measurement of the lengths of the sides
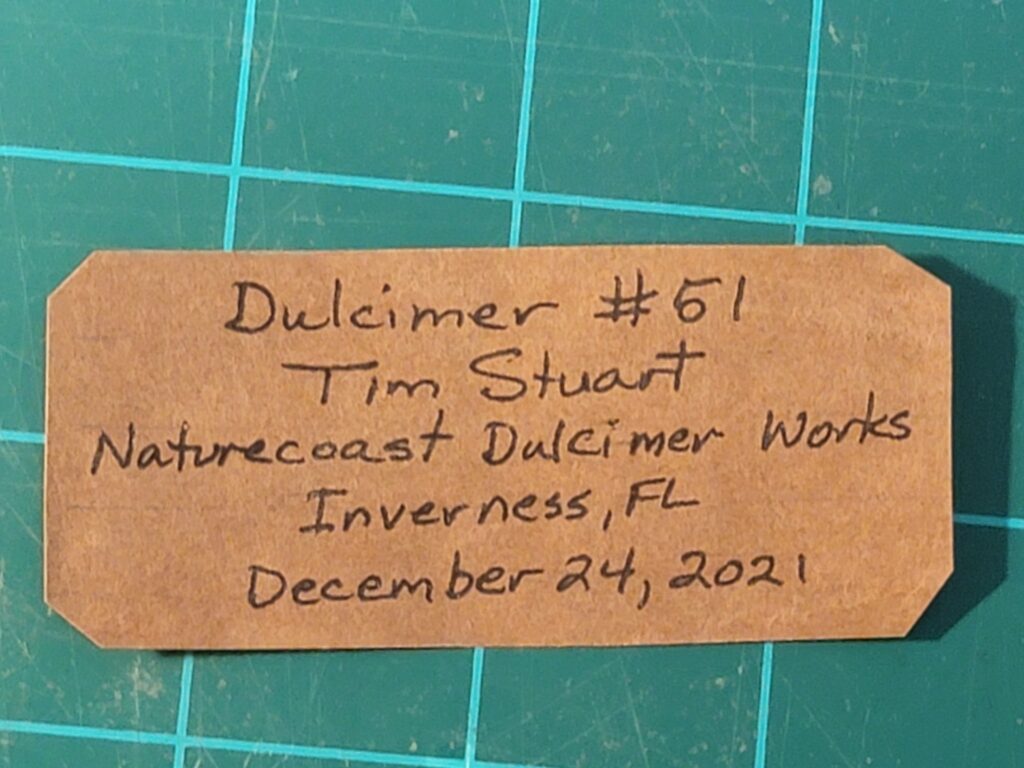

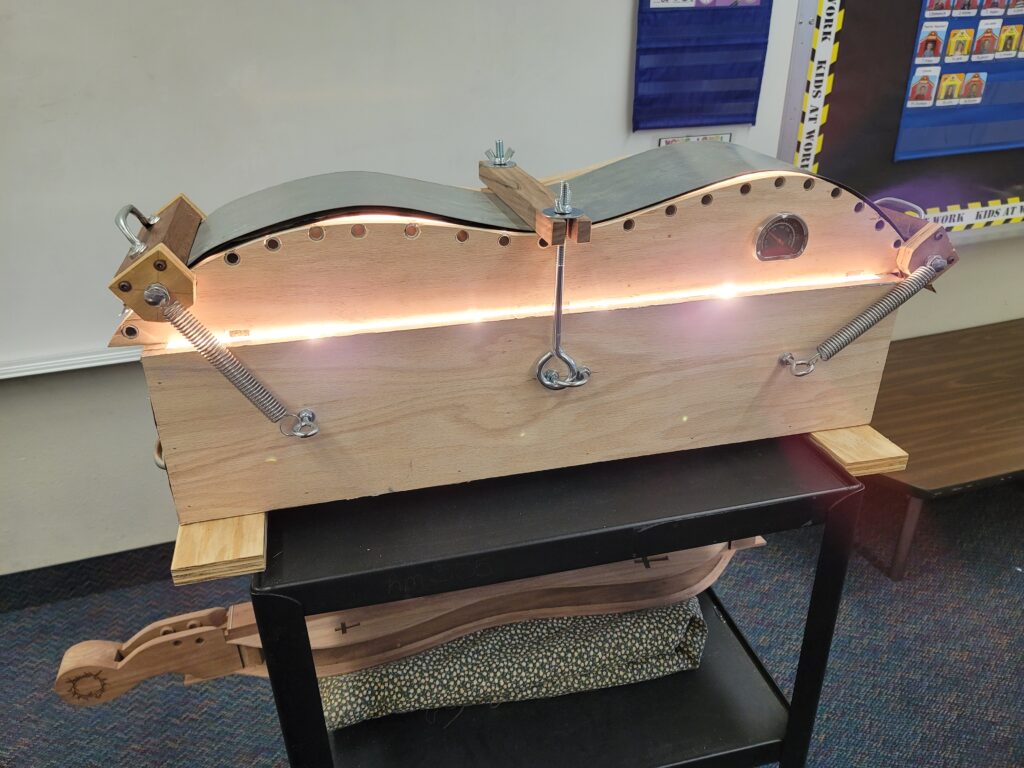
Before attaching the side pieces, I have found it easier to glue in my signature in the proper place. This build would represent the inaugural use of the specialty side-bending jig that I built. The video that I made to illustrate the design and construction was intended to tie in with our 2nd grade Science chapter about the design process. So, I set up the jig in my classroom and enlisted my students to assist me with bending the first side pieces for Bill’s dulcimer.
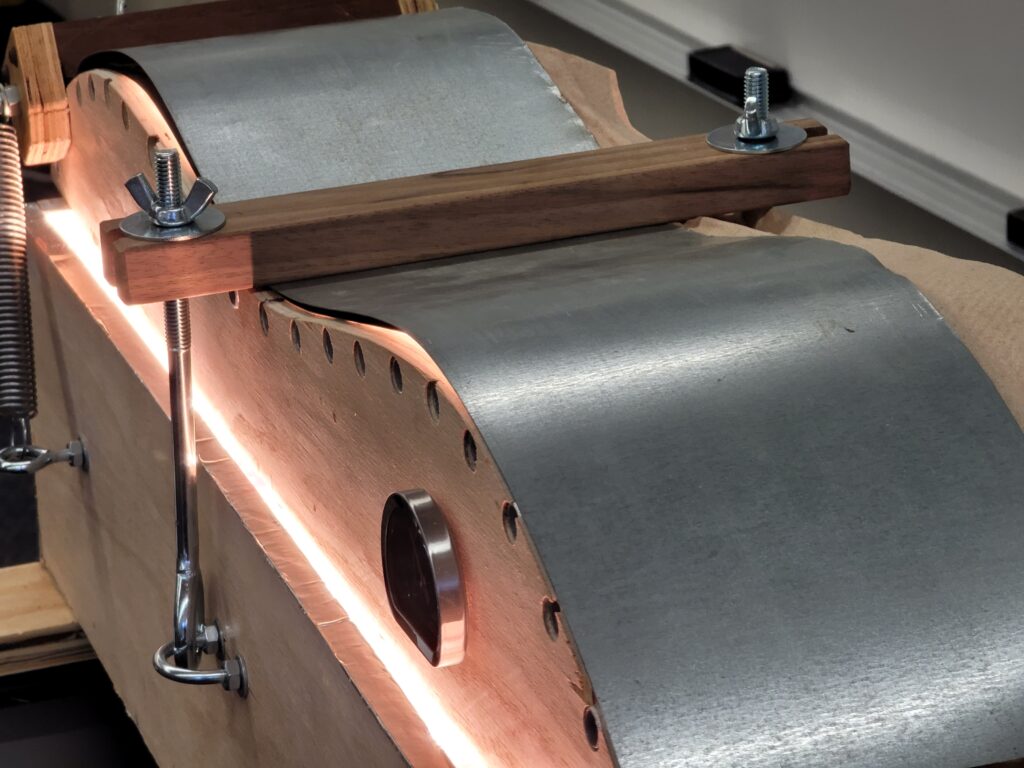
It only took about 5 minutes to bend the sides, and it worked like a charm.
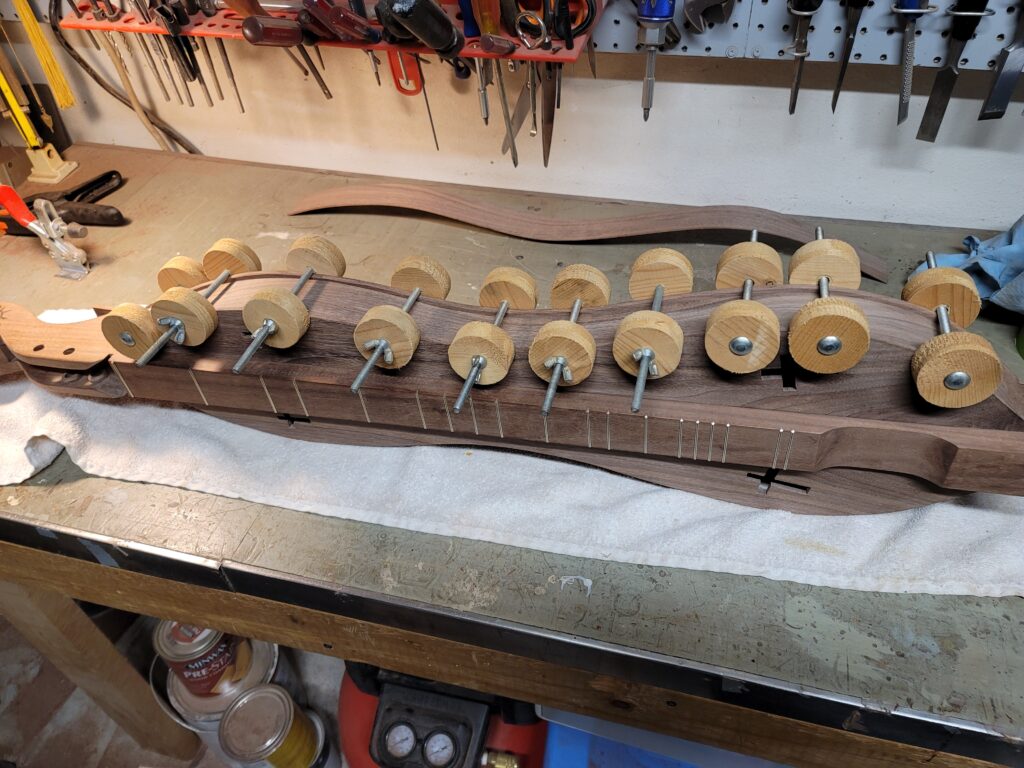
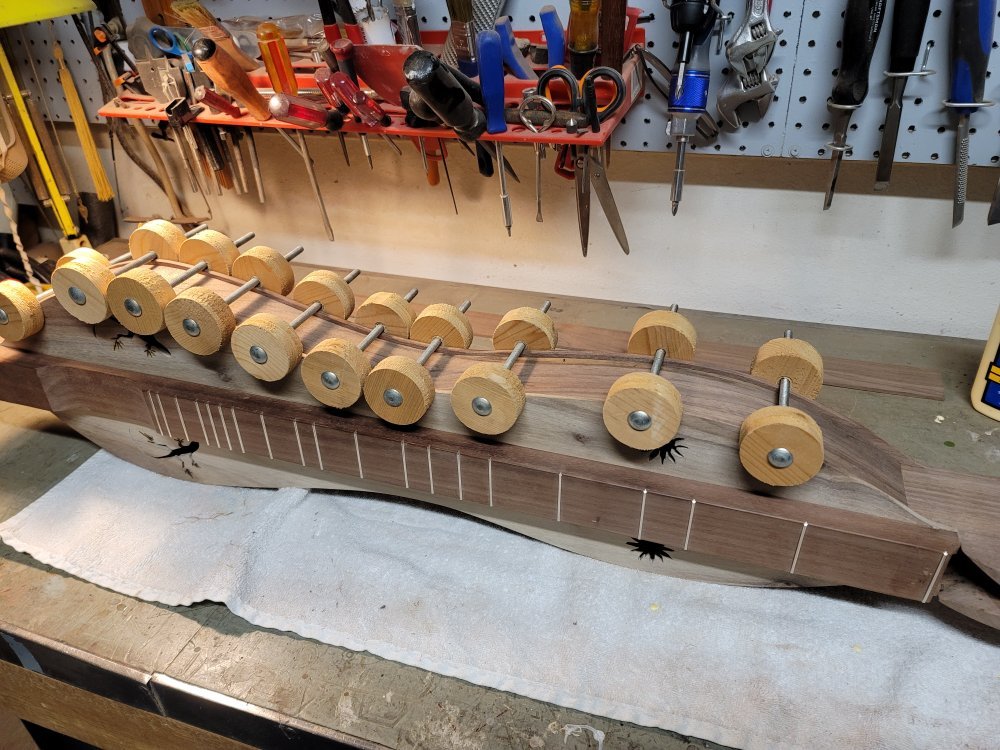
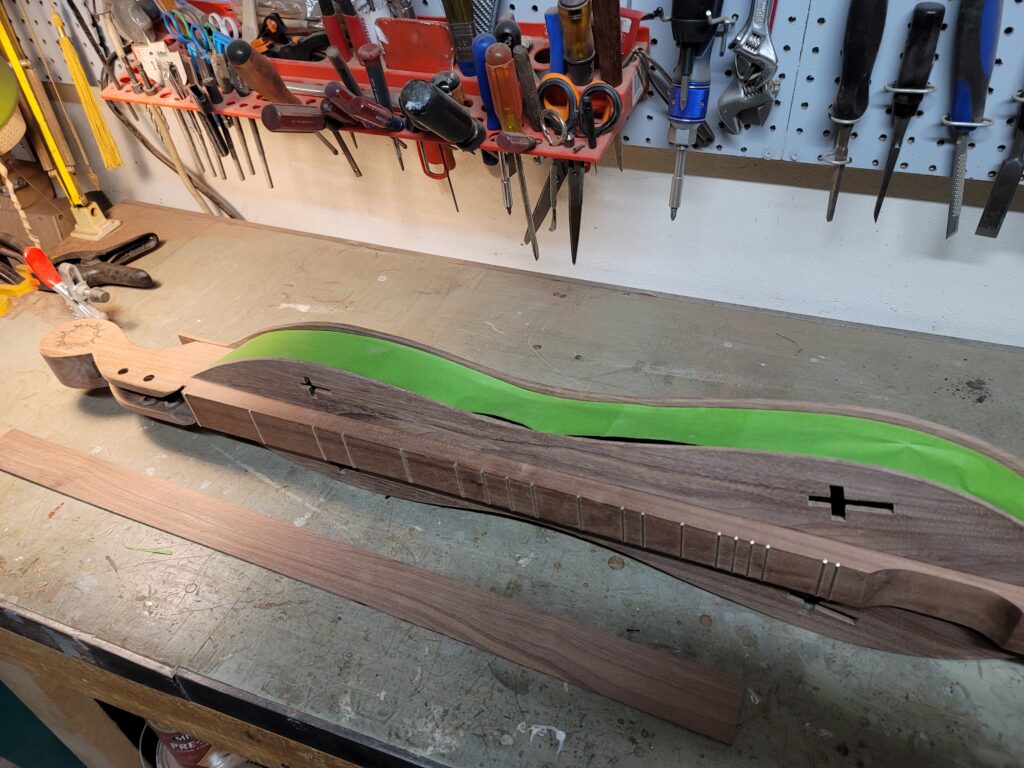
All I needed to do was clamp and glue the sides on and put on a couple of coats of polyurethane. Then, all that was left was the hardware and strings.

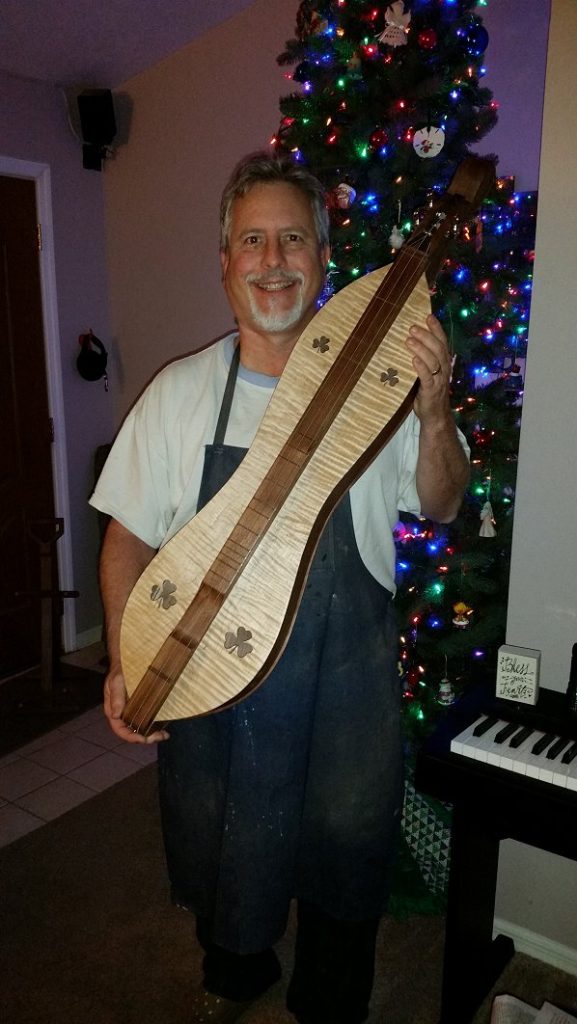
She is finished, and just in time, before we left on our trip to Tennessee for Christmas.
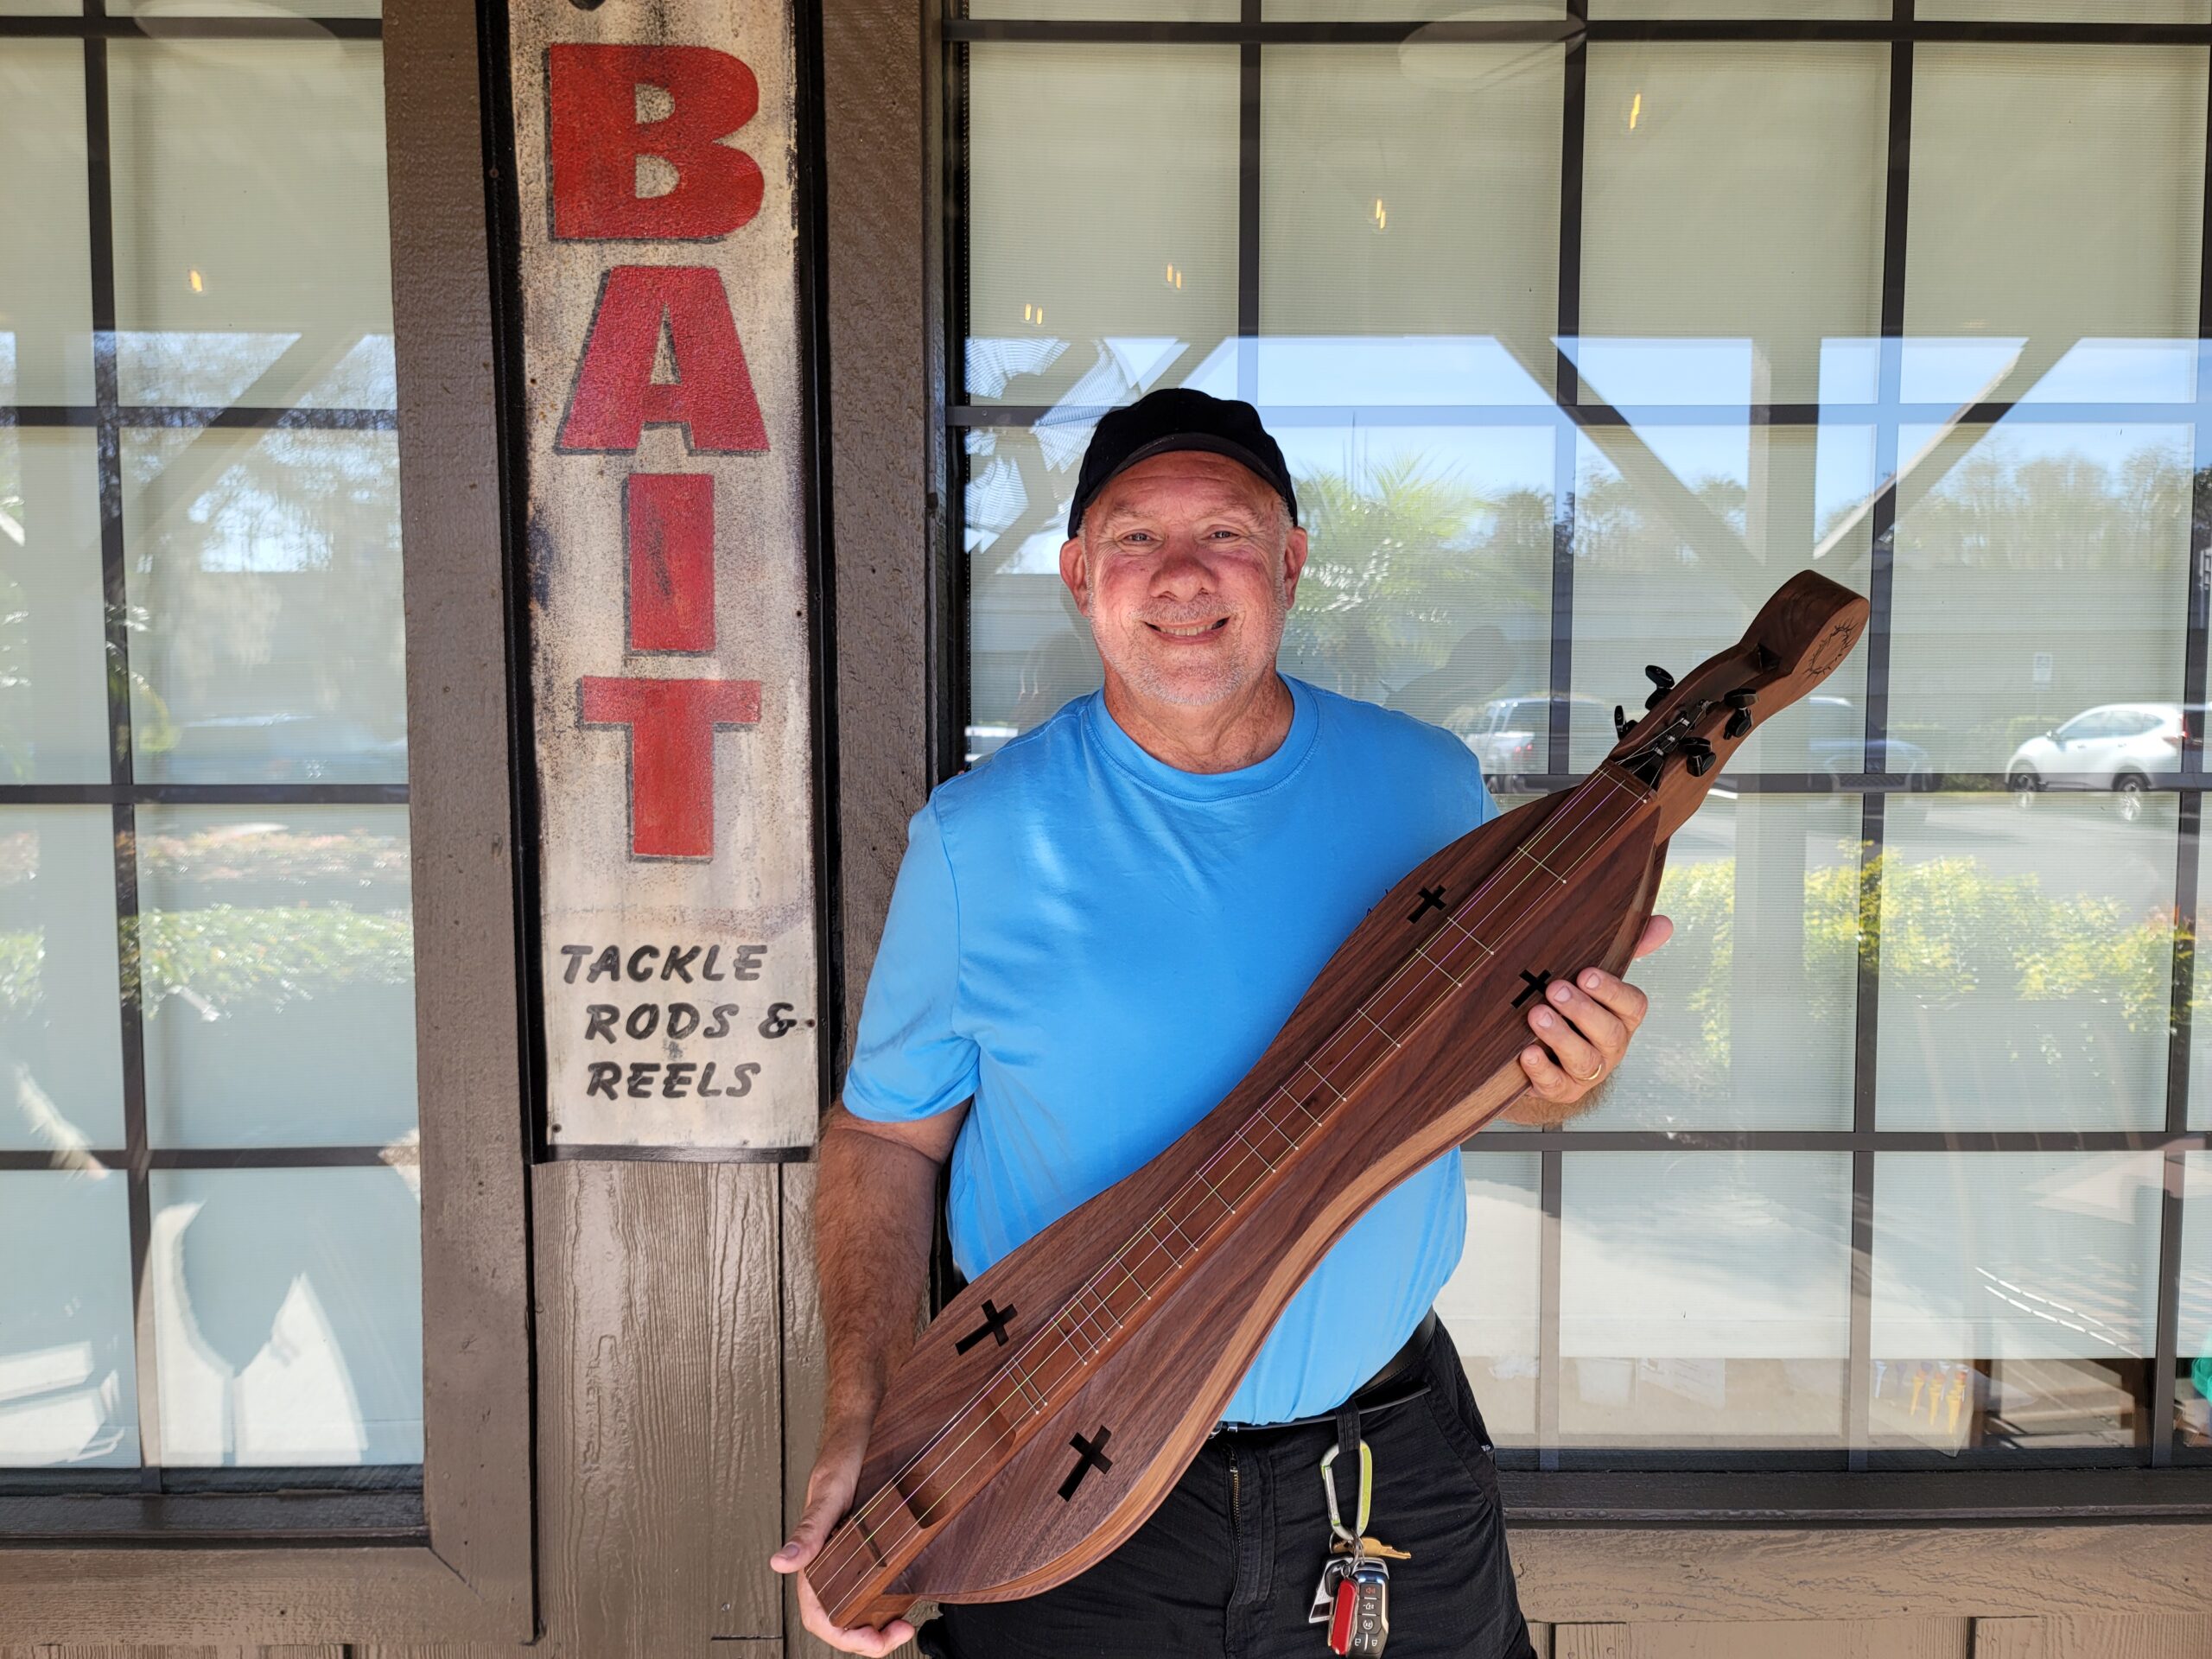
Since Bill lived south of Tampa, we met for breakfast at a Cracker Barrel and made the exchange. Mission accomplished!