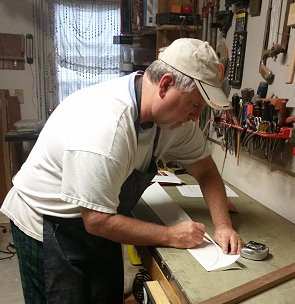
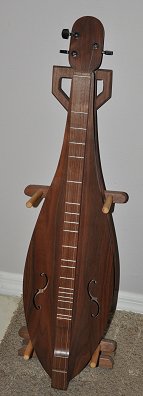
A new custom instrument begins with preliminary sketches and design choices aided by the wishes of the client. Jean has ordered a 3-stringed teardrop dulcimer with an added fret between the first and second frets. Here I am sketching the design on folded butcher paper.
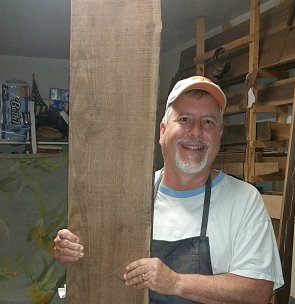
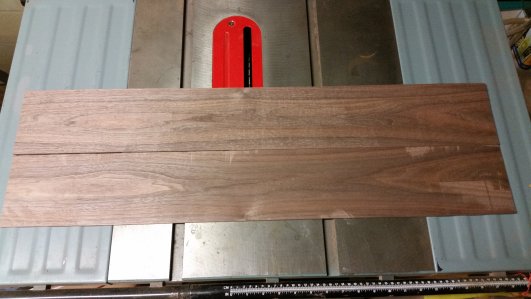
This dulcimer is to be constructed exclusively from walnut. I have selected a 6′ plank of walnut which I have brought down from Tennessee. There are a couple of knotholes it it, but I believe I can work around these, thanks to the teardrop design.
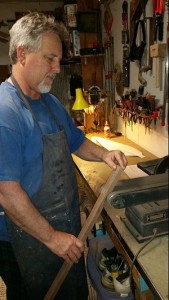
It’s important that the fretboard is completely flat and level. No matter how beautiful an instrument is, if the sound is not right it’s basically wall art.
The strum hollow must be first cut on a table saw and then shaped with varying grades of sandpaper. I like to use a power planer and belt sander for the rough shaping and specialty tools to insure the flatness of the fretboard.

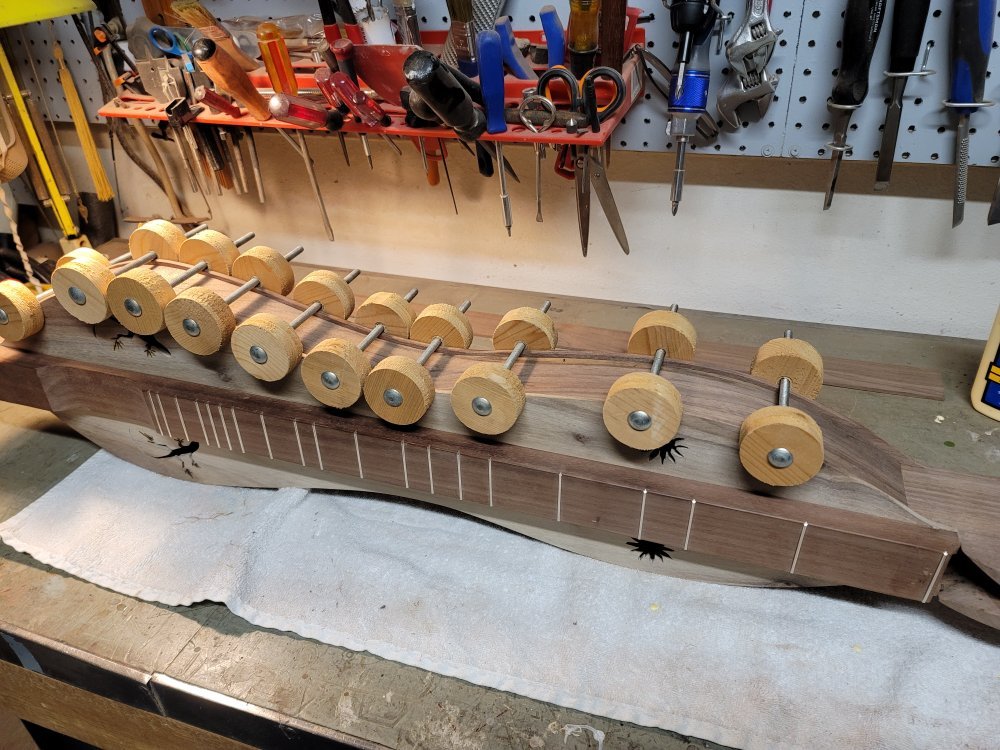
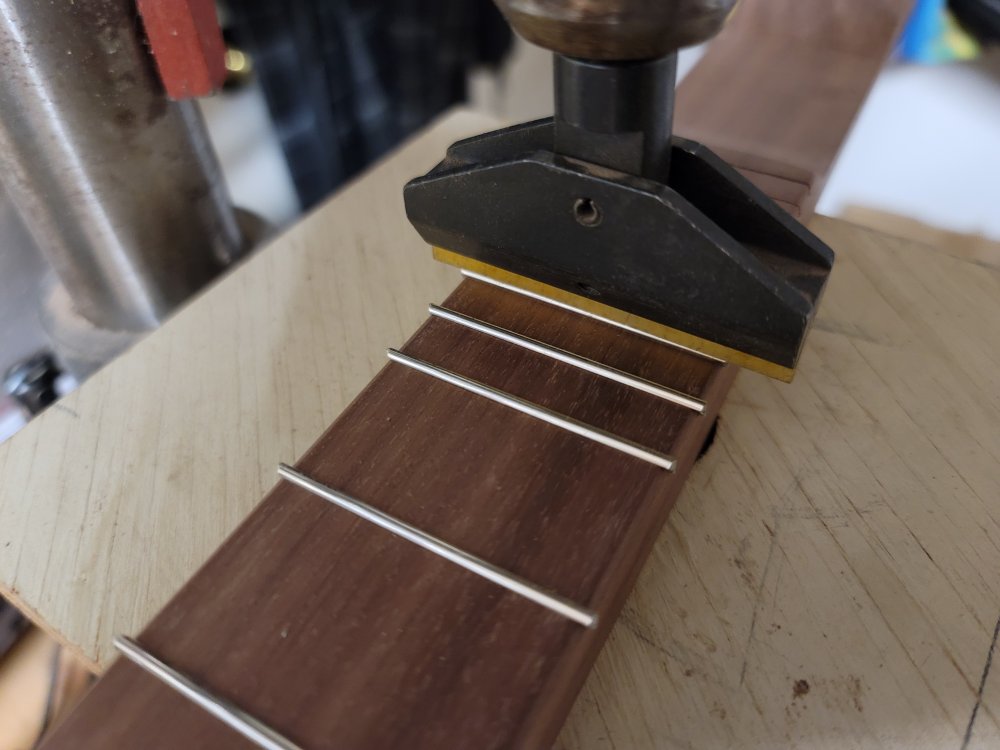
The frets, of course, have to be as close to perfect as possible on that flat fretboard. The placement of the frets is determined by a mathematical formula. There is a fret calculator on the Stewart MacDonald website, and all I need to do is plug in the scale length (in this case 28″), choose “dulcimer” as the instrument, and indicate how many frets I will use (typically 19). Out spews the formula for placement, down to the 1000th of an inch. Of course, there’s no physical way to be THAT accurate, but I do have a specialty ruler that is marked to the 100th of an inch. I use an exacto blade and magnifying glasses to determine the frets (and in this case, including one at the one and a half position). I’m usually too bleary-eyed to finish a fretboard in one sitting, so once it’s scored, I’ll come back later with my Japanese fret saw to make the official cuts.
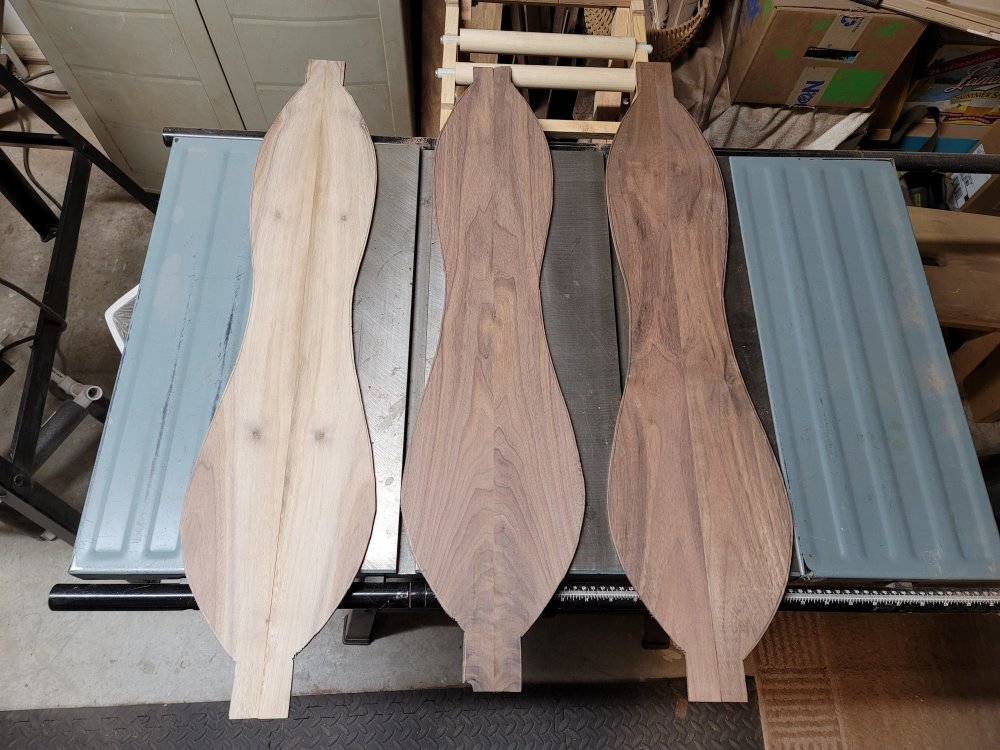
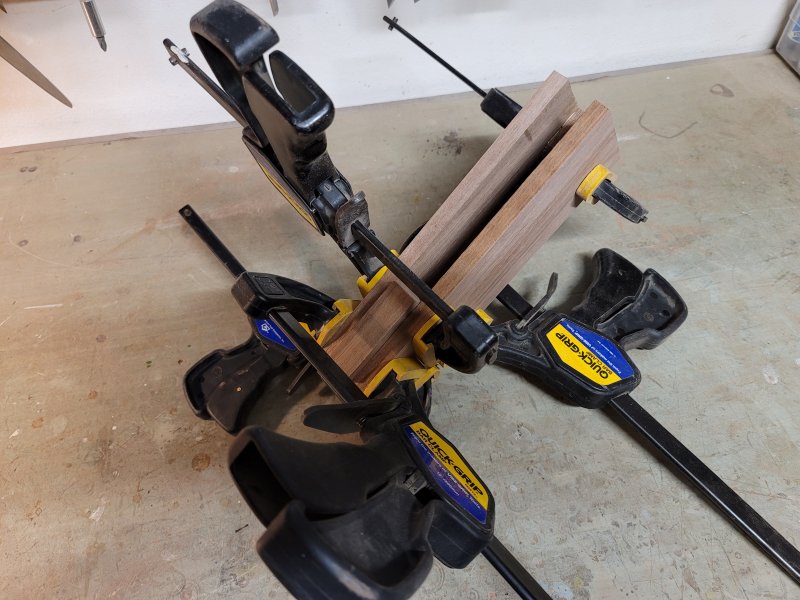
I re-sawed a plank using the table saw, finishing up with the bandsaw. Opening up the thin panels like a book gives us a nice mirror-image with the grain pattern.
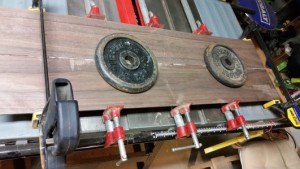
The gluing of these panels is decidedly inelegant, but effective. At this point, I’m not sure whether this will be the top or the back. It’ll still need a lot of planing and sanding once the glue dries.
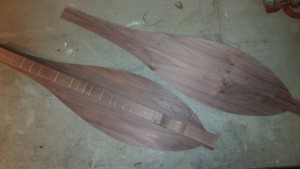
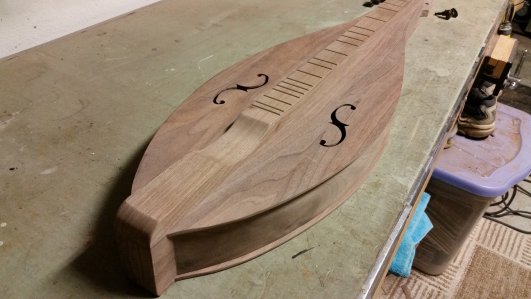
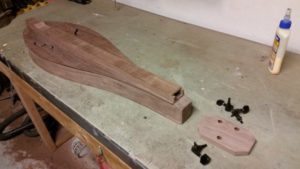
I have cut the back and top to shape, then focused my attention to the back. The fretboard can only be attached after the sound holes are cut.
I thinned it evenly and attached the ribs that will hold the sides.
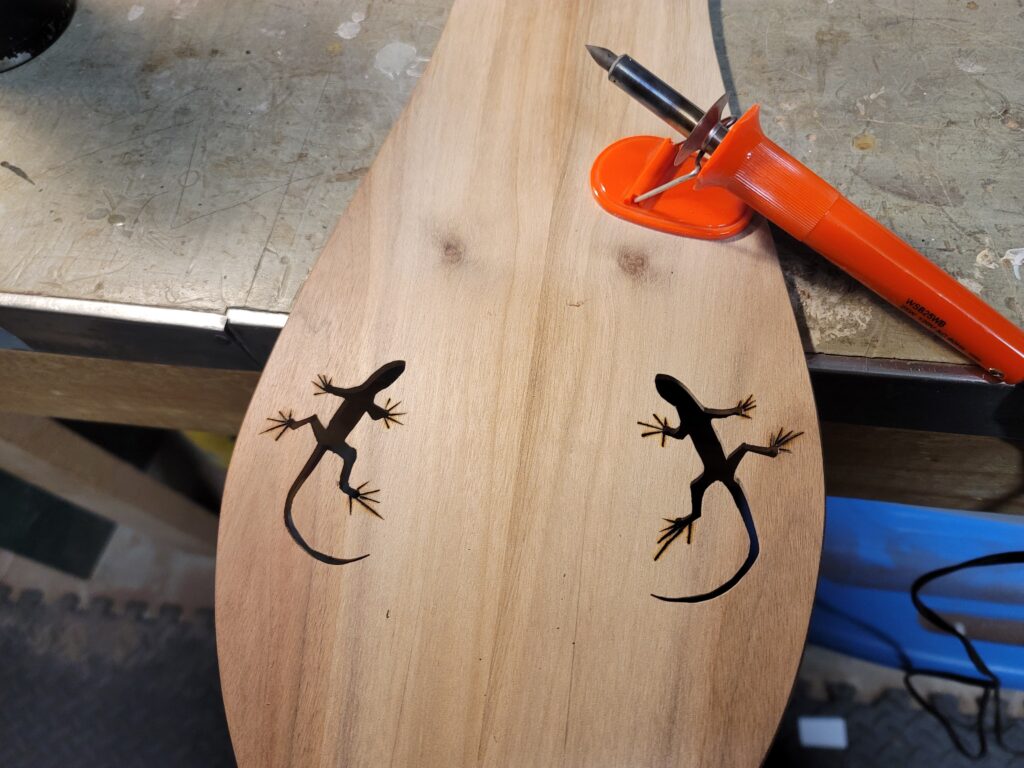
Finished sanding the top and began cutting out the patterns for the sound holes. Using the scroll saw, I cut out the sound holes in the top.
They still need some final shaping before moving on to the next step.
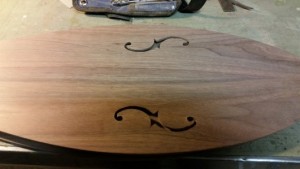
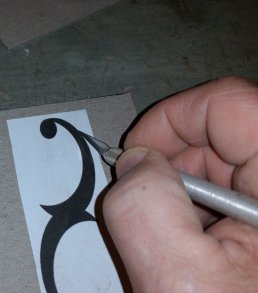
The sound holes are cut and carefully shaped.
We can then install the fretboard.
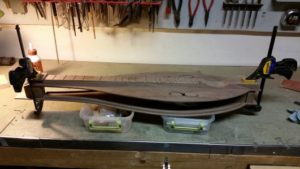
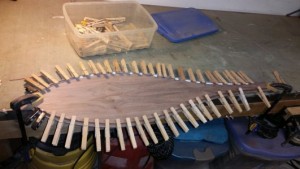
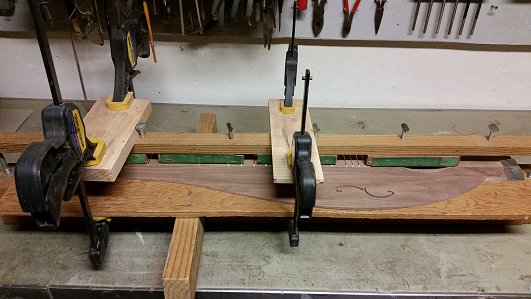
Shaped the head and tail blocks, adding slots for the sides to slide into before gluing them into position. Then attached the back insuring that the gluing strips line up perfectly so that the sides will be nice and square.
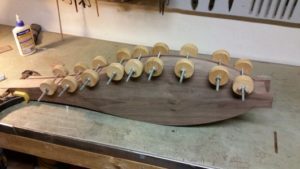
Secured the sides by steaming them to increase their flexibility and clamping them in place with homemade clamps. Since there are not a lot of intricate bends in a teardrop dulcimer, this was a pleasant endeavor.
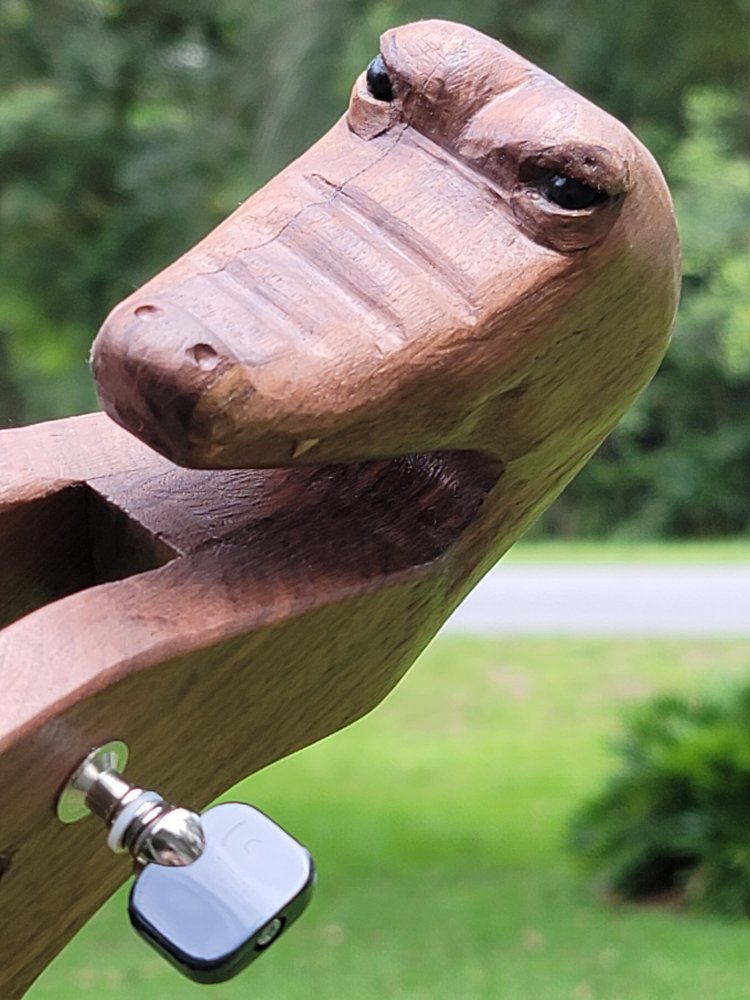
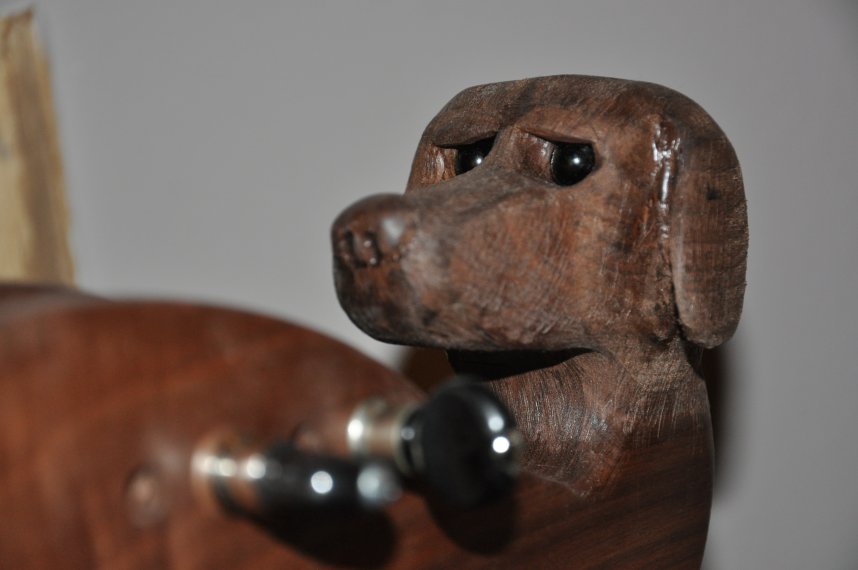
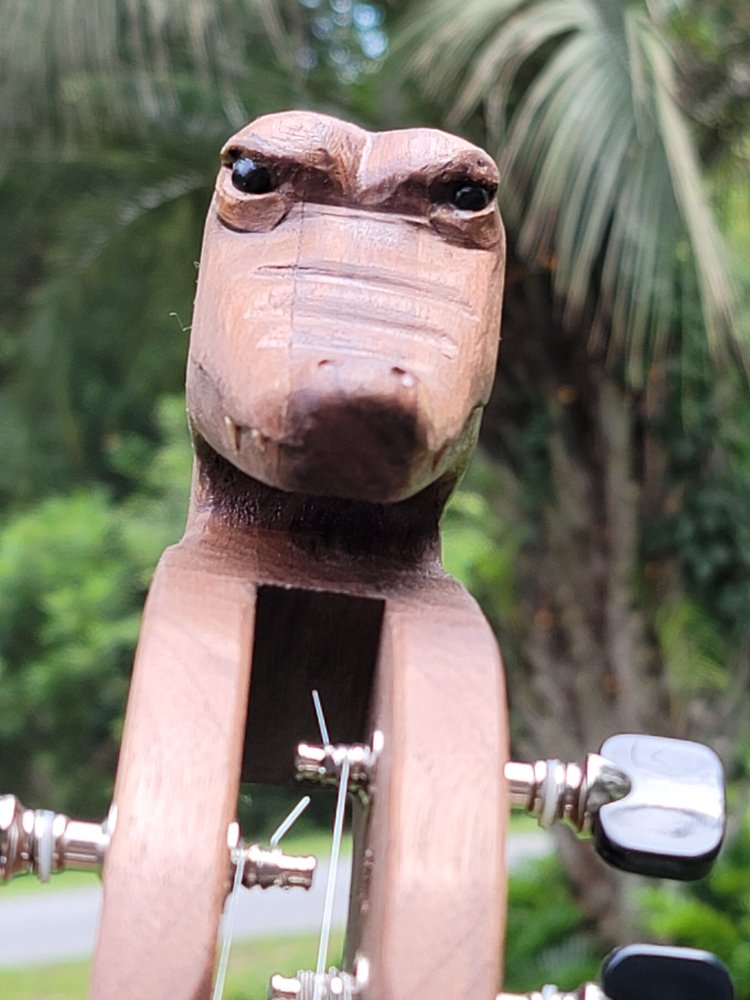
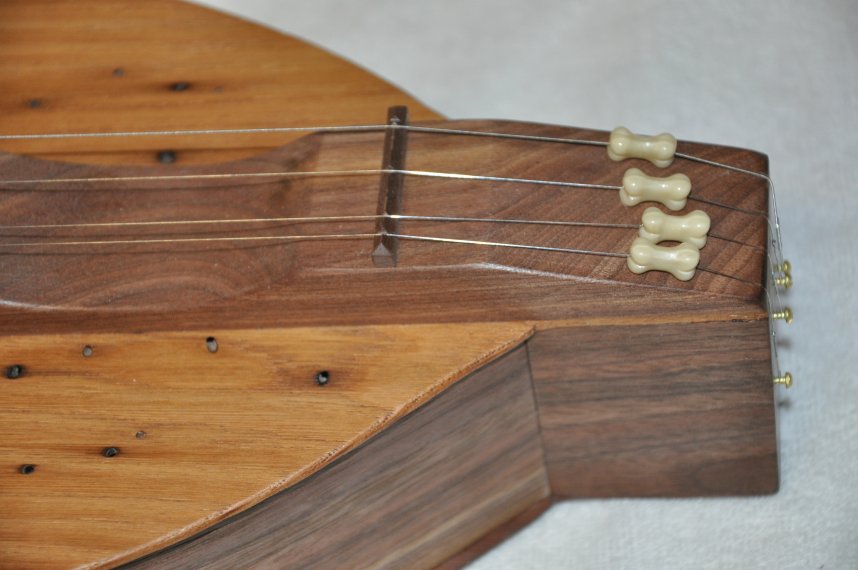
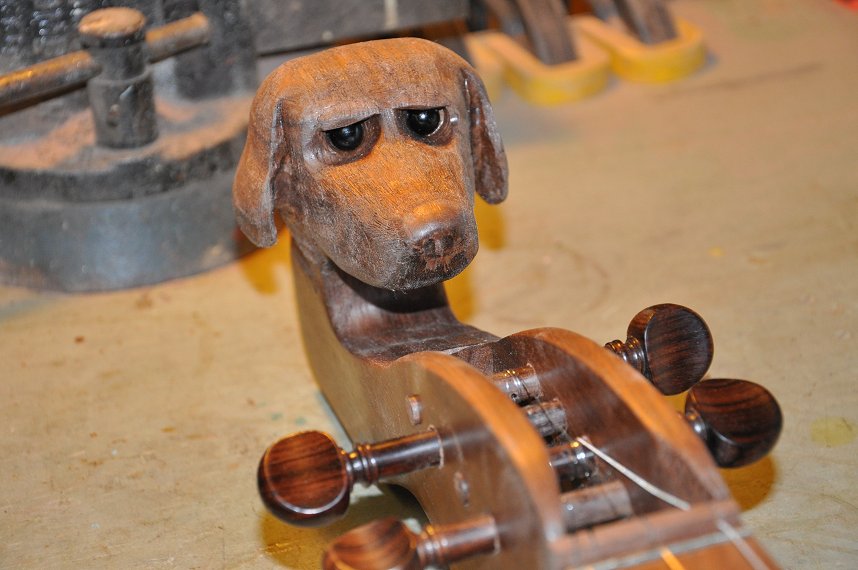
Jean requested a “guitar” type peg head, so I designed and shaped it to fit. I had already allowed for the downward slope of the peg head so the strings would tighten properly.
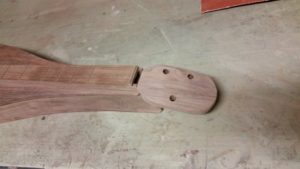
At last–we have reached the final stage of construction. At the suggestion of the client, I rounded the peg head and attached it.
I always do the final sanding of the instrument by hand, because when the finish is applied, there’s no going back.

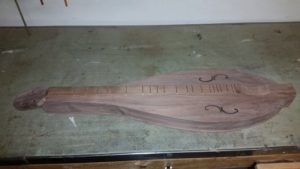
This photo shows the first coat of the hand-rubbed polyurethane. This was all done a few days ago; currently, the second coat is drying. Very soon, it will be time to add the strings and any finishing touches.
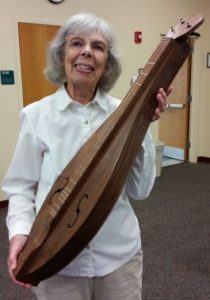
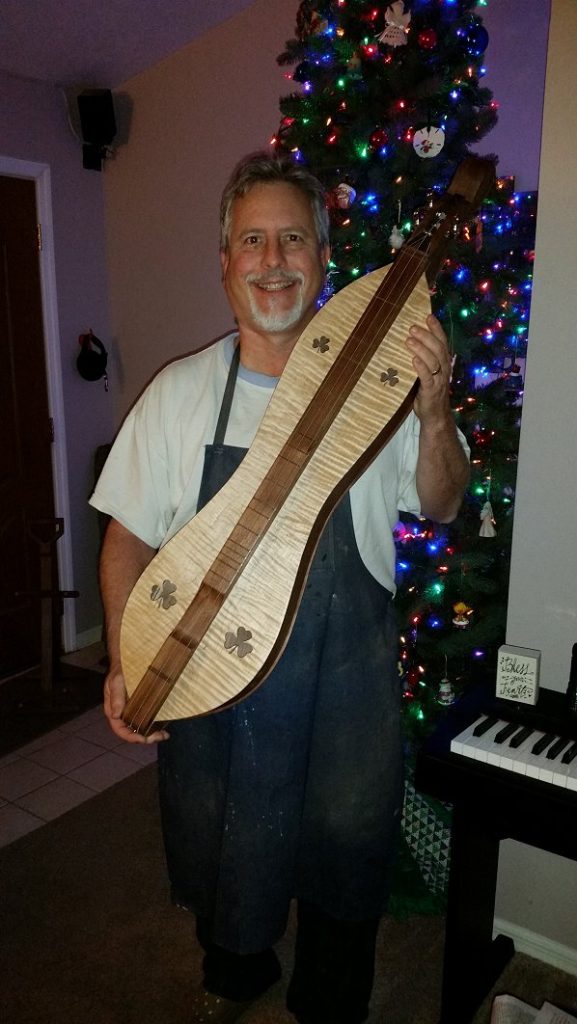
Congratulations, Jean, on your new “baby” — and thank you for your input along the way!